Workspace Login
Workspace Login
In this guide, you will:
- Use Guardrails console to login to the Workspace.
- Perform initial credentials rotation operation.
A Workspace is an independent tenant of Guardrails, with its own version and its own schema (logical shard) in a hive. Each Workspace has its own root resource as Turbot, its own set of mods, and its own web console endpoint. Workspaces will use the Collective, Hive, and versions that you deployed previously, using the TEF, TED, and TE products in the Service Catalog.
[!CAUTION] After the creating the workspace, it is recommended to rotate the initial credentials for the
Adminprofile.
Prerequisites
- You must have completed the Workspace creation.
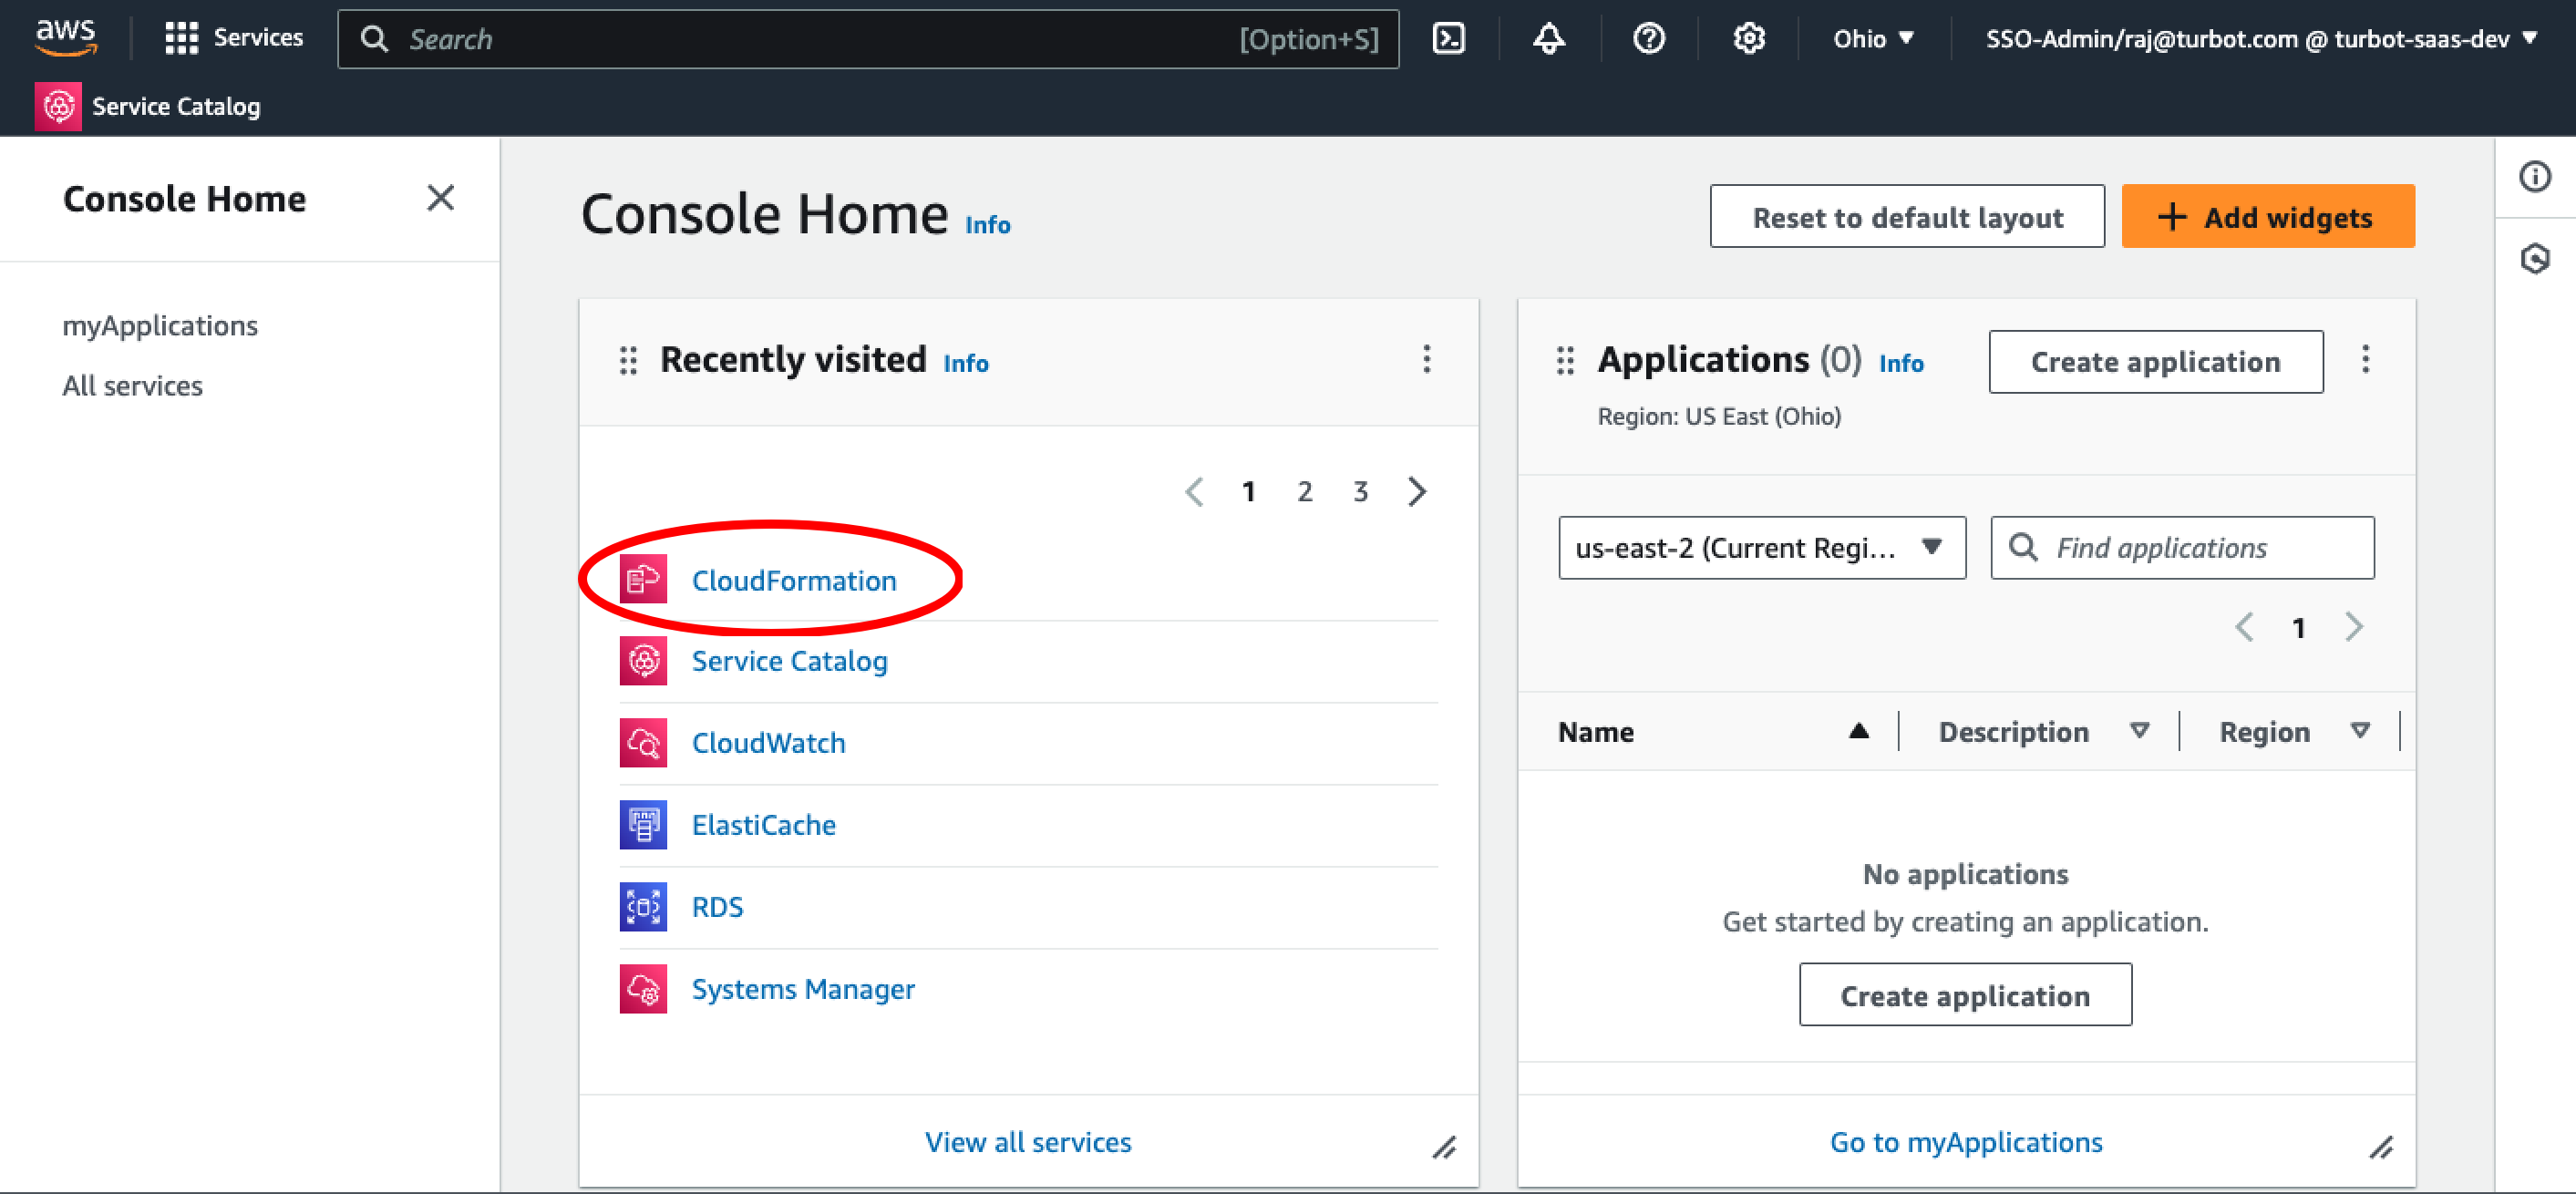
Step 1: Access AWS Console
In the AWS Console, navigate to the CloudFormation service in the alpha region.
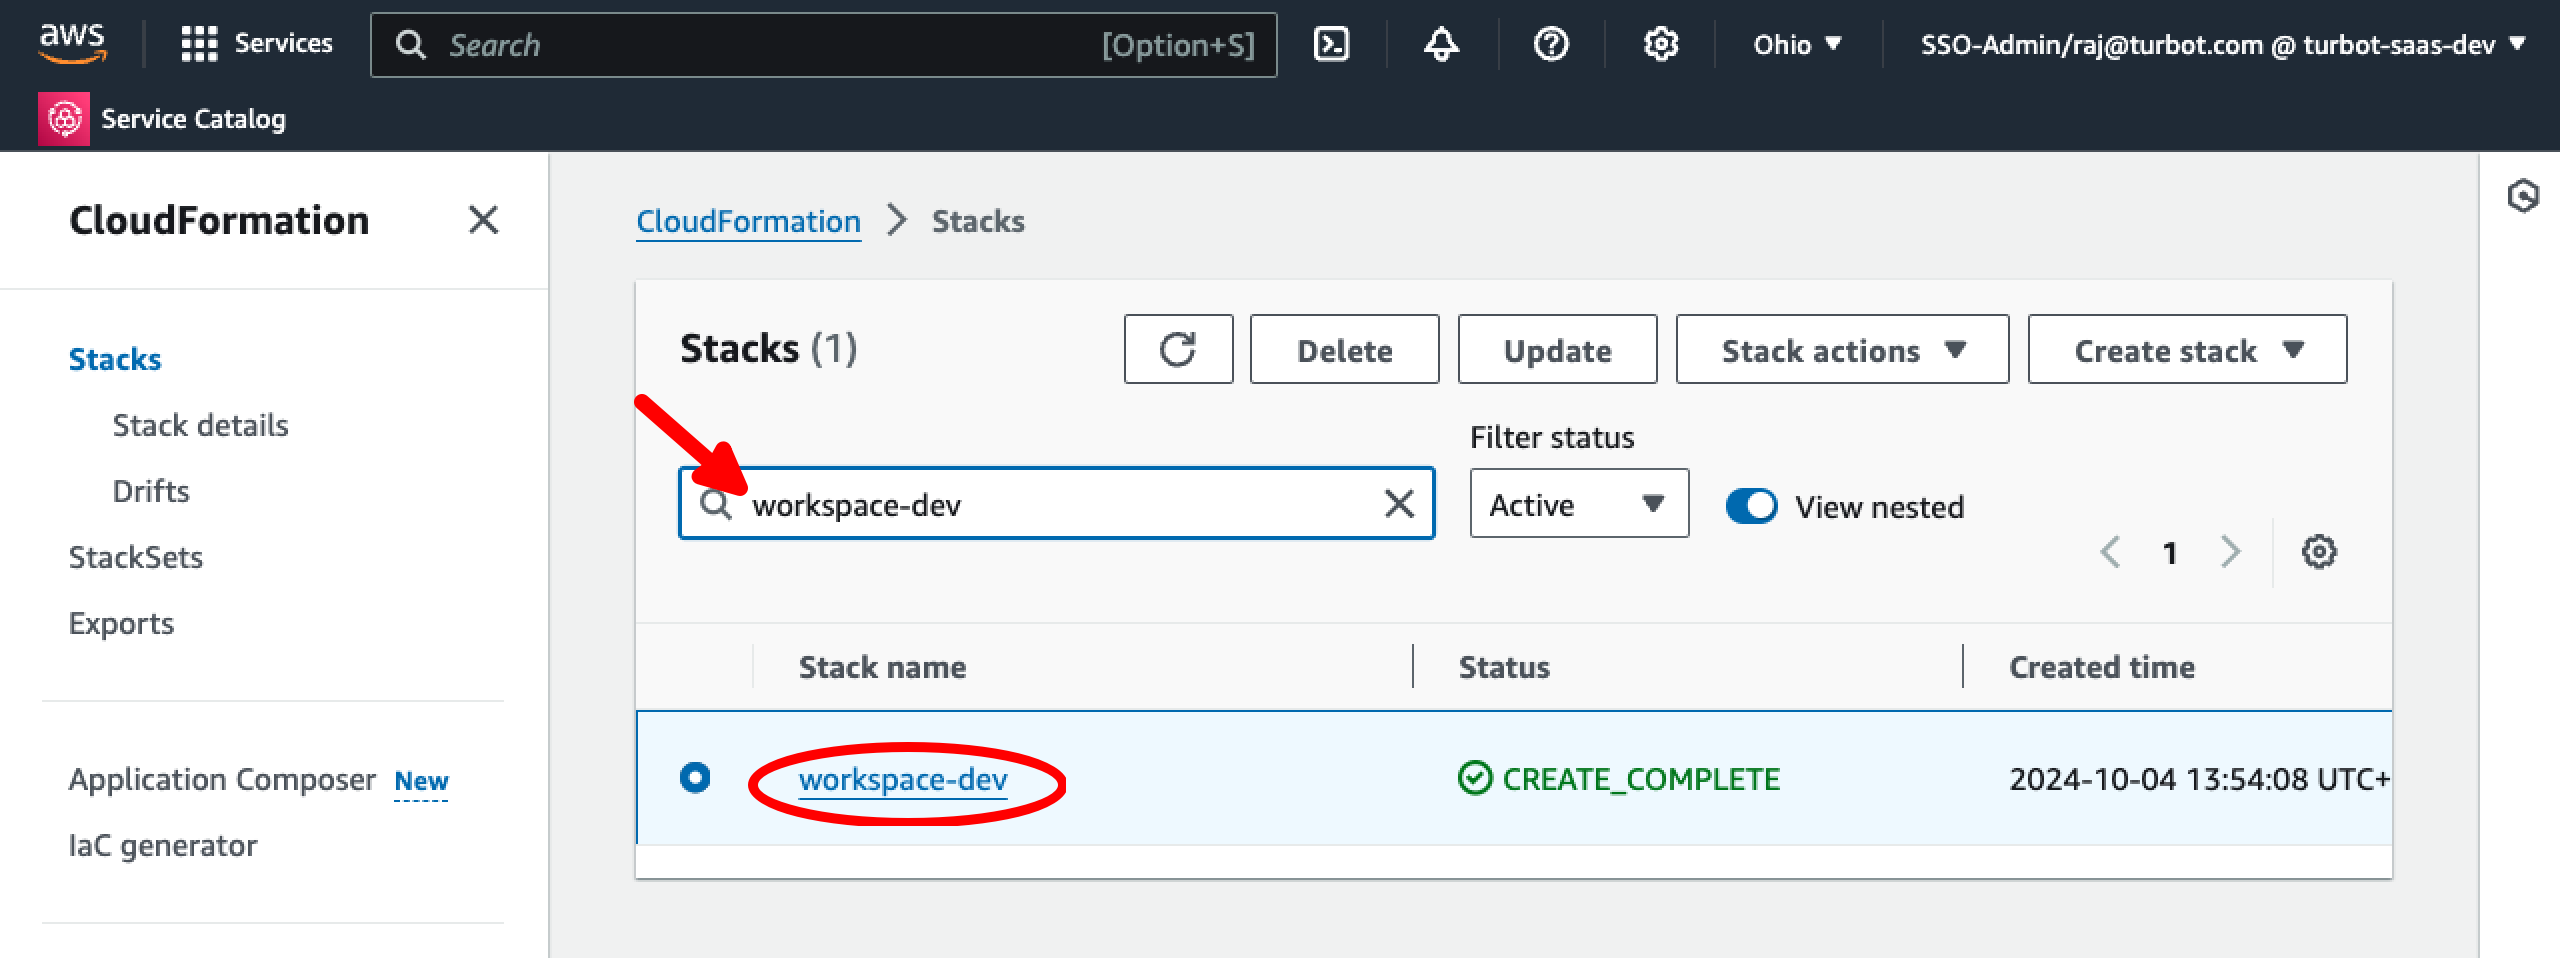
Step 2: Find Workspace Stack
While CloudFormation Stacks, search for the stack name and select the stack.
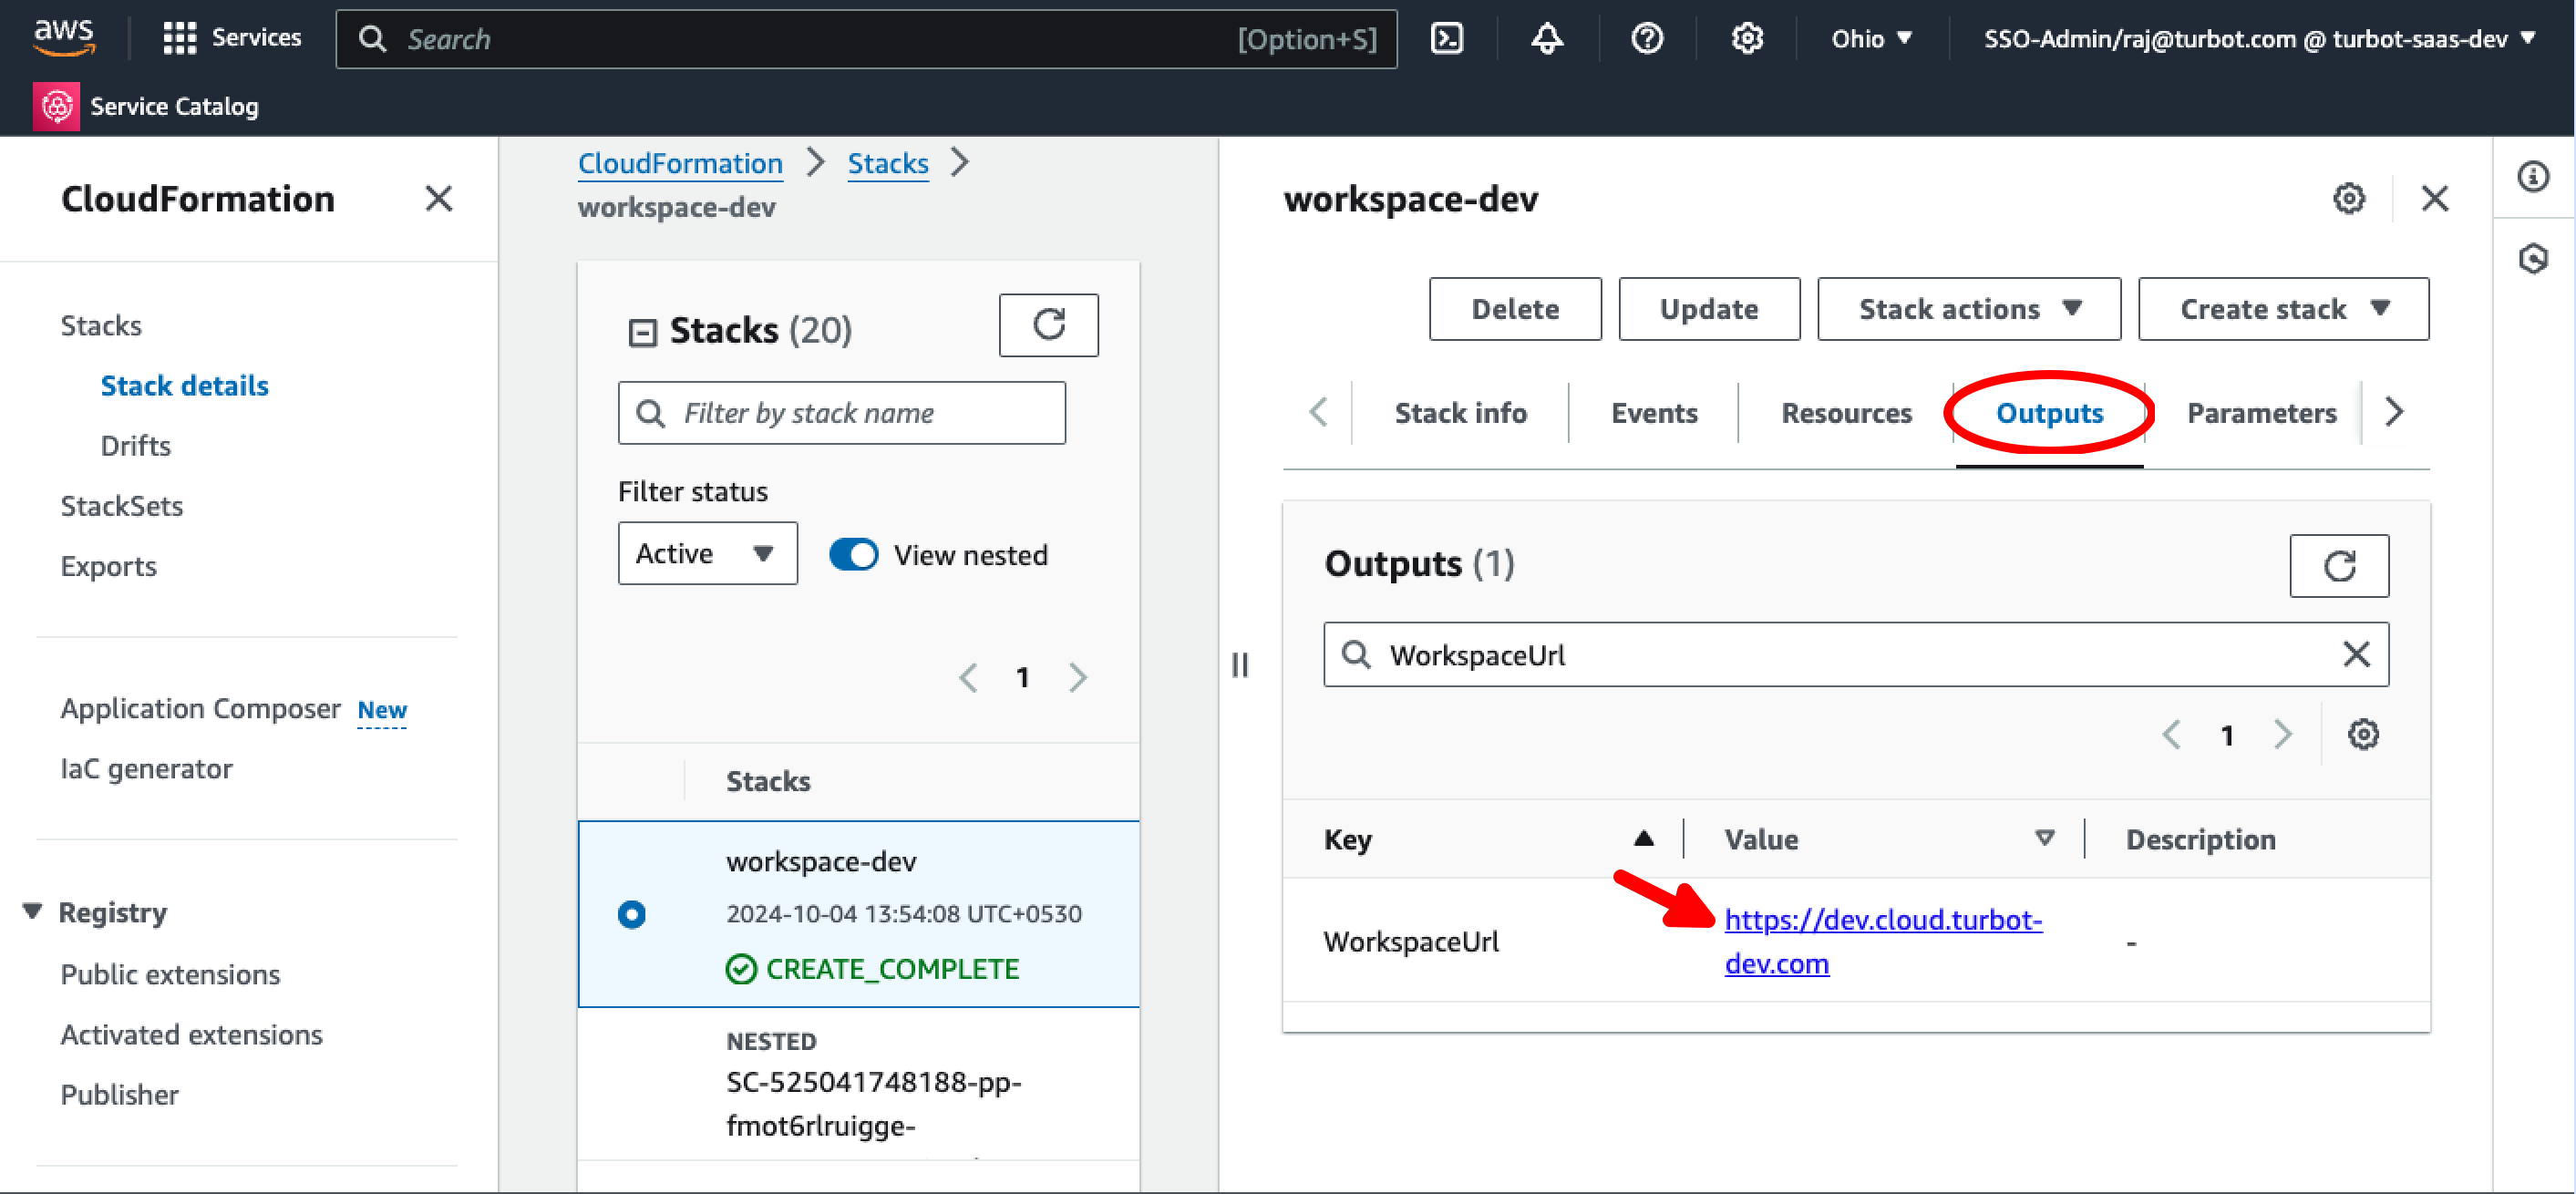
Step 3: Access Initial Credentials
During the Workspace creation, the Workspace Manager generates the initial Turbot Admin profile and password, along with a key pair. Go to the stack outputs to find the required values.
Console URL available in the WorkspaceUrl Outputs variable. Use this WorkspaceUrl link to access the web console.
Admin Credentials is displayed in the WorkspaceManagerOutput variable in the stack outputs.
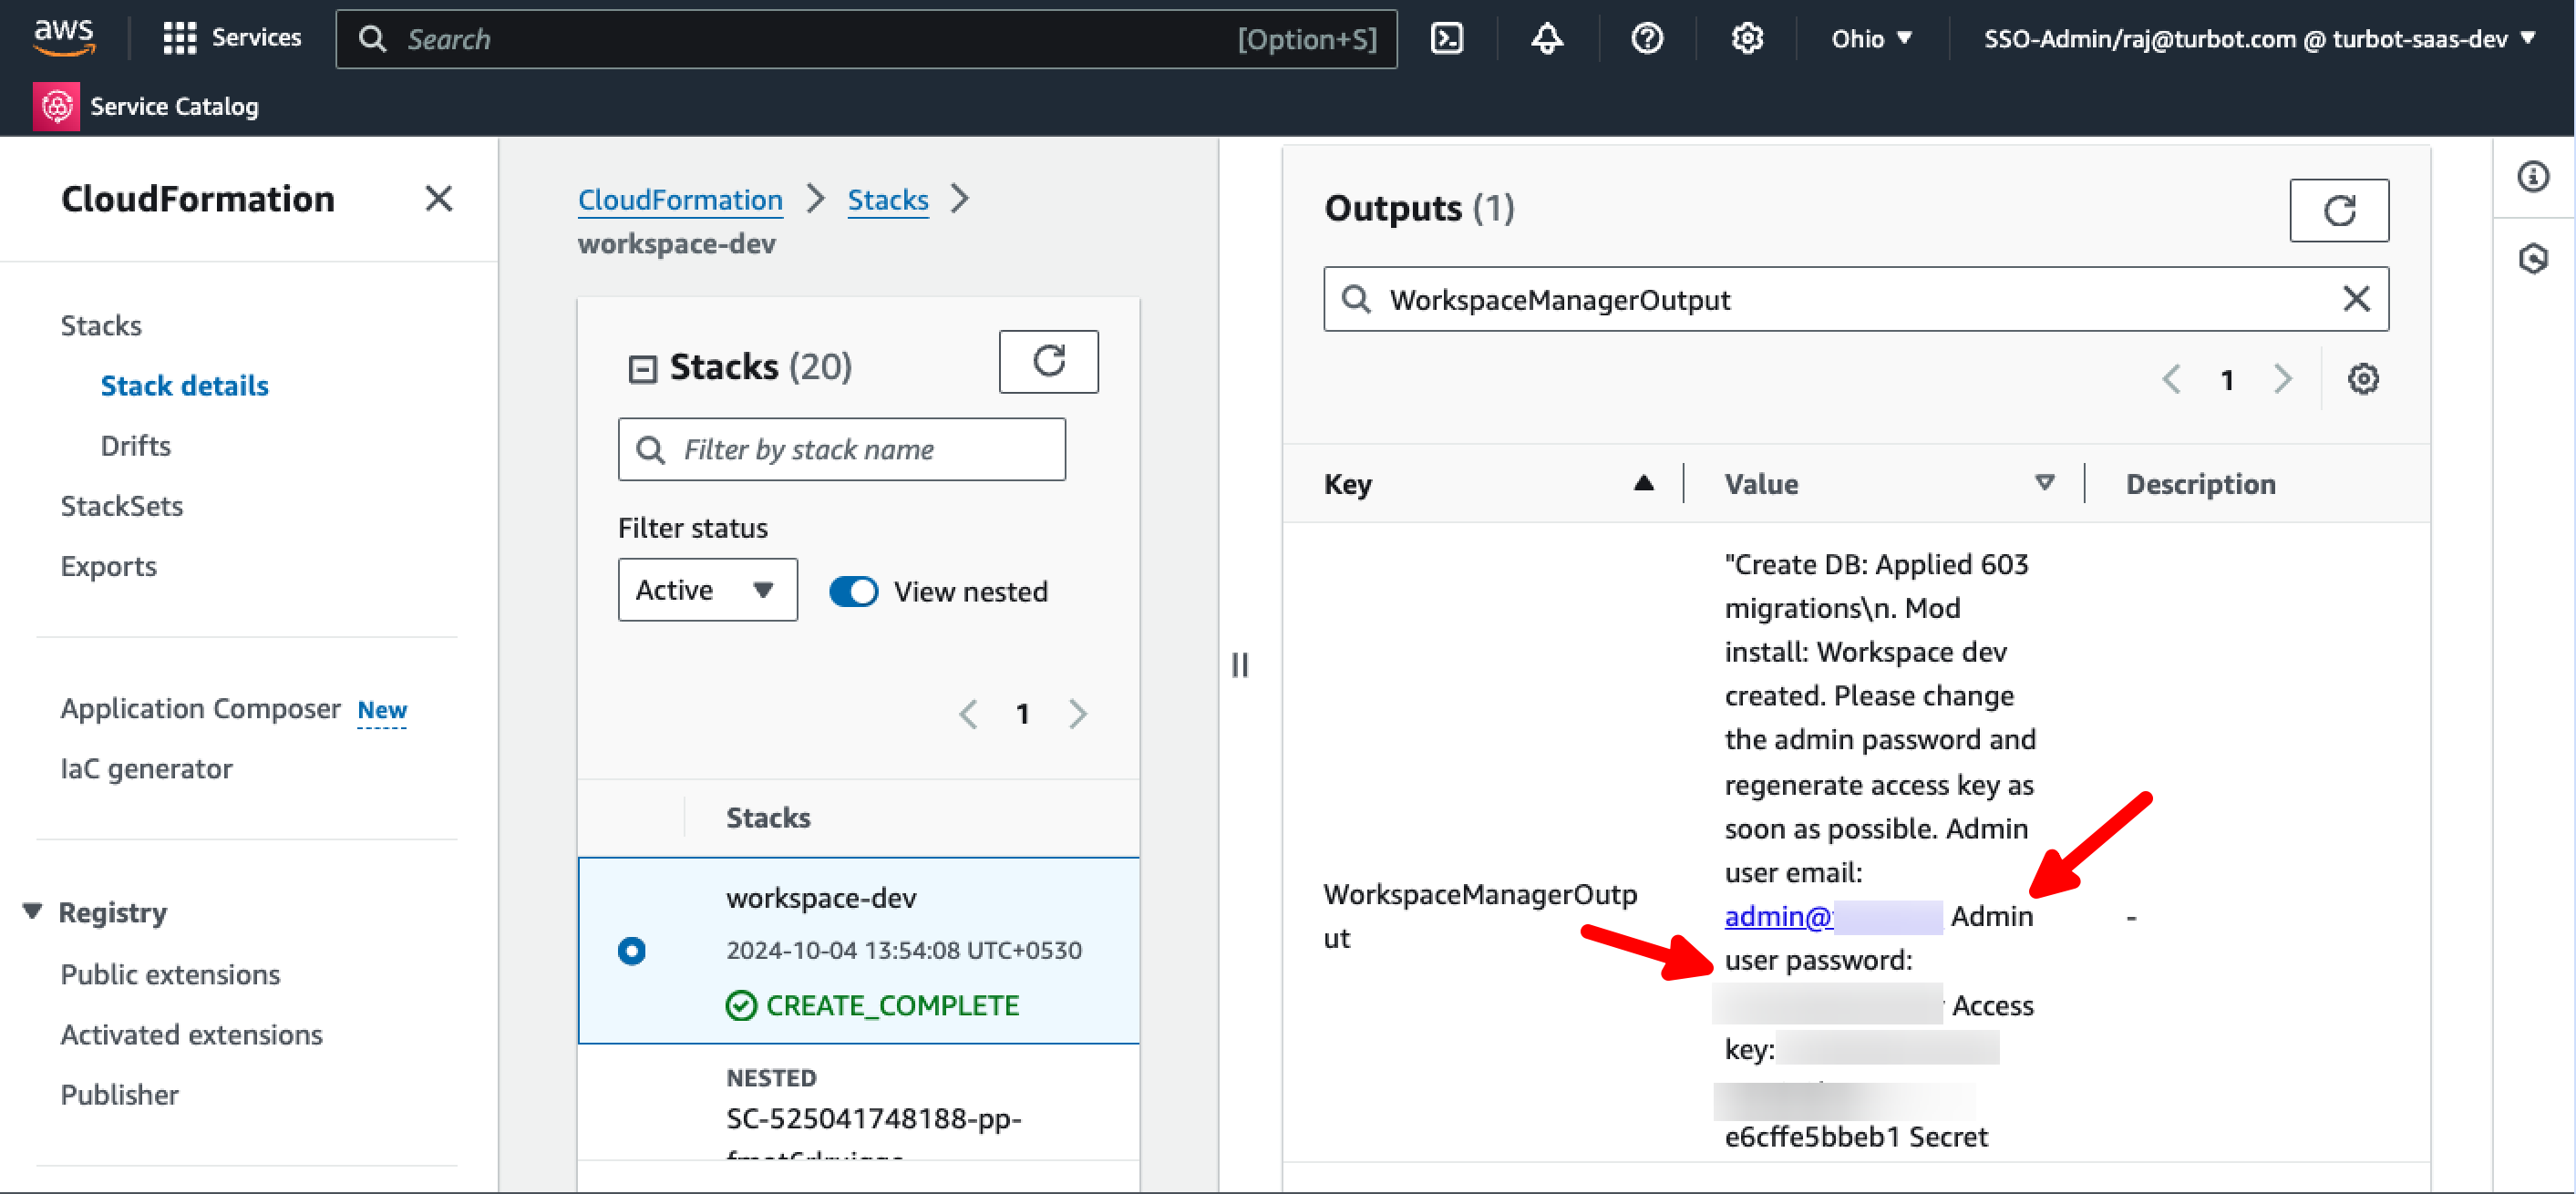
[!WARNING] The username, password, and keys will appear in plain text in the CloudFormation stack output variables. If you re-run the stack, the stack output variables will be overwritten, so it’s important to secure this information immediately after stack creation.
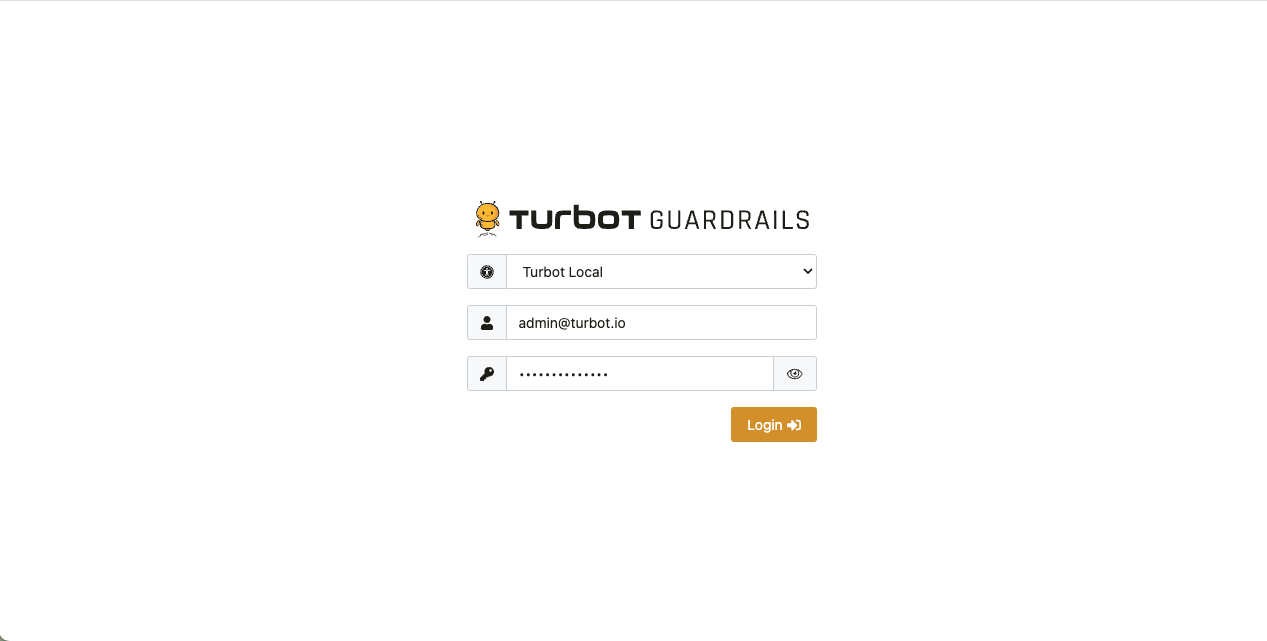
Step 4: Login Workspace with Initial Credentials
Login using the generated admin credentials.
Step 5: Rotate Initial Password
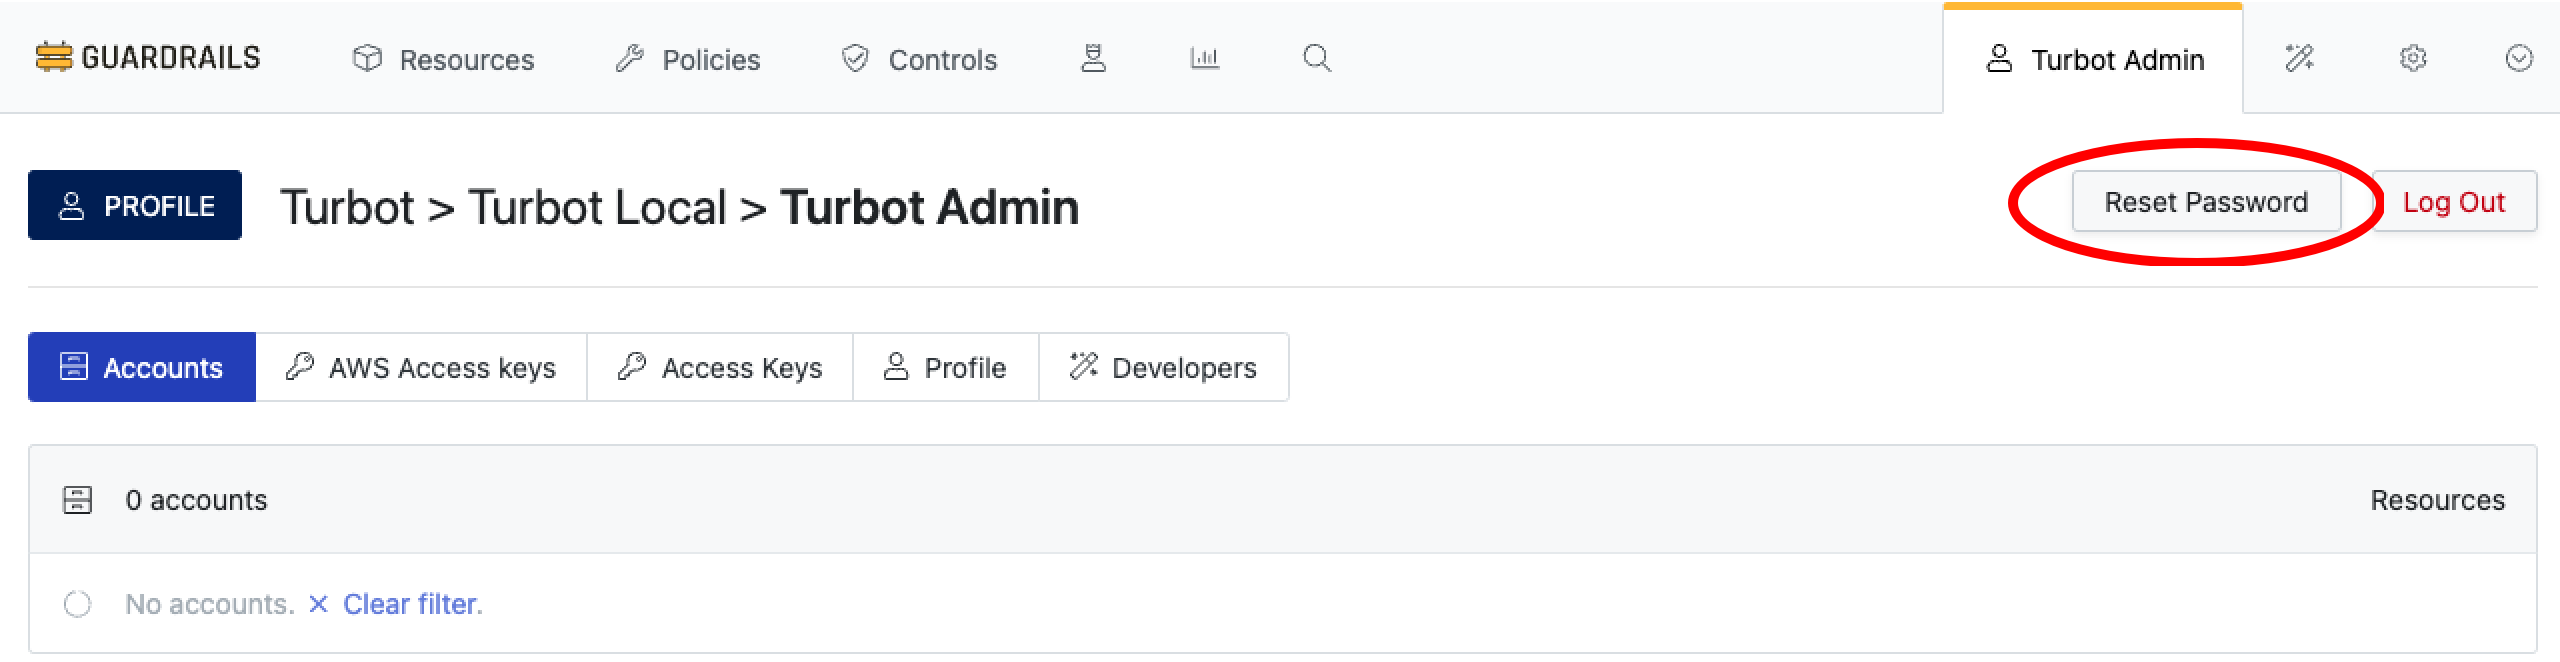
After successful login to Guardrails console, select to Profile in right top corner.

While in Turbot Admin profile, select Reset Password to initiate rotate Password.
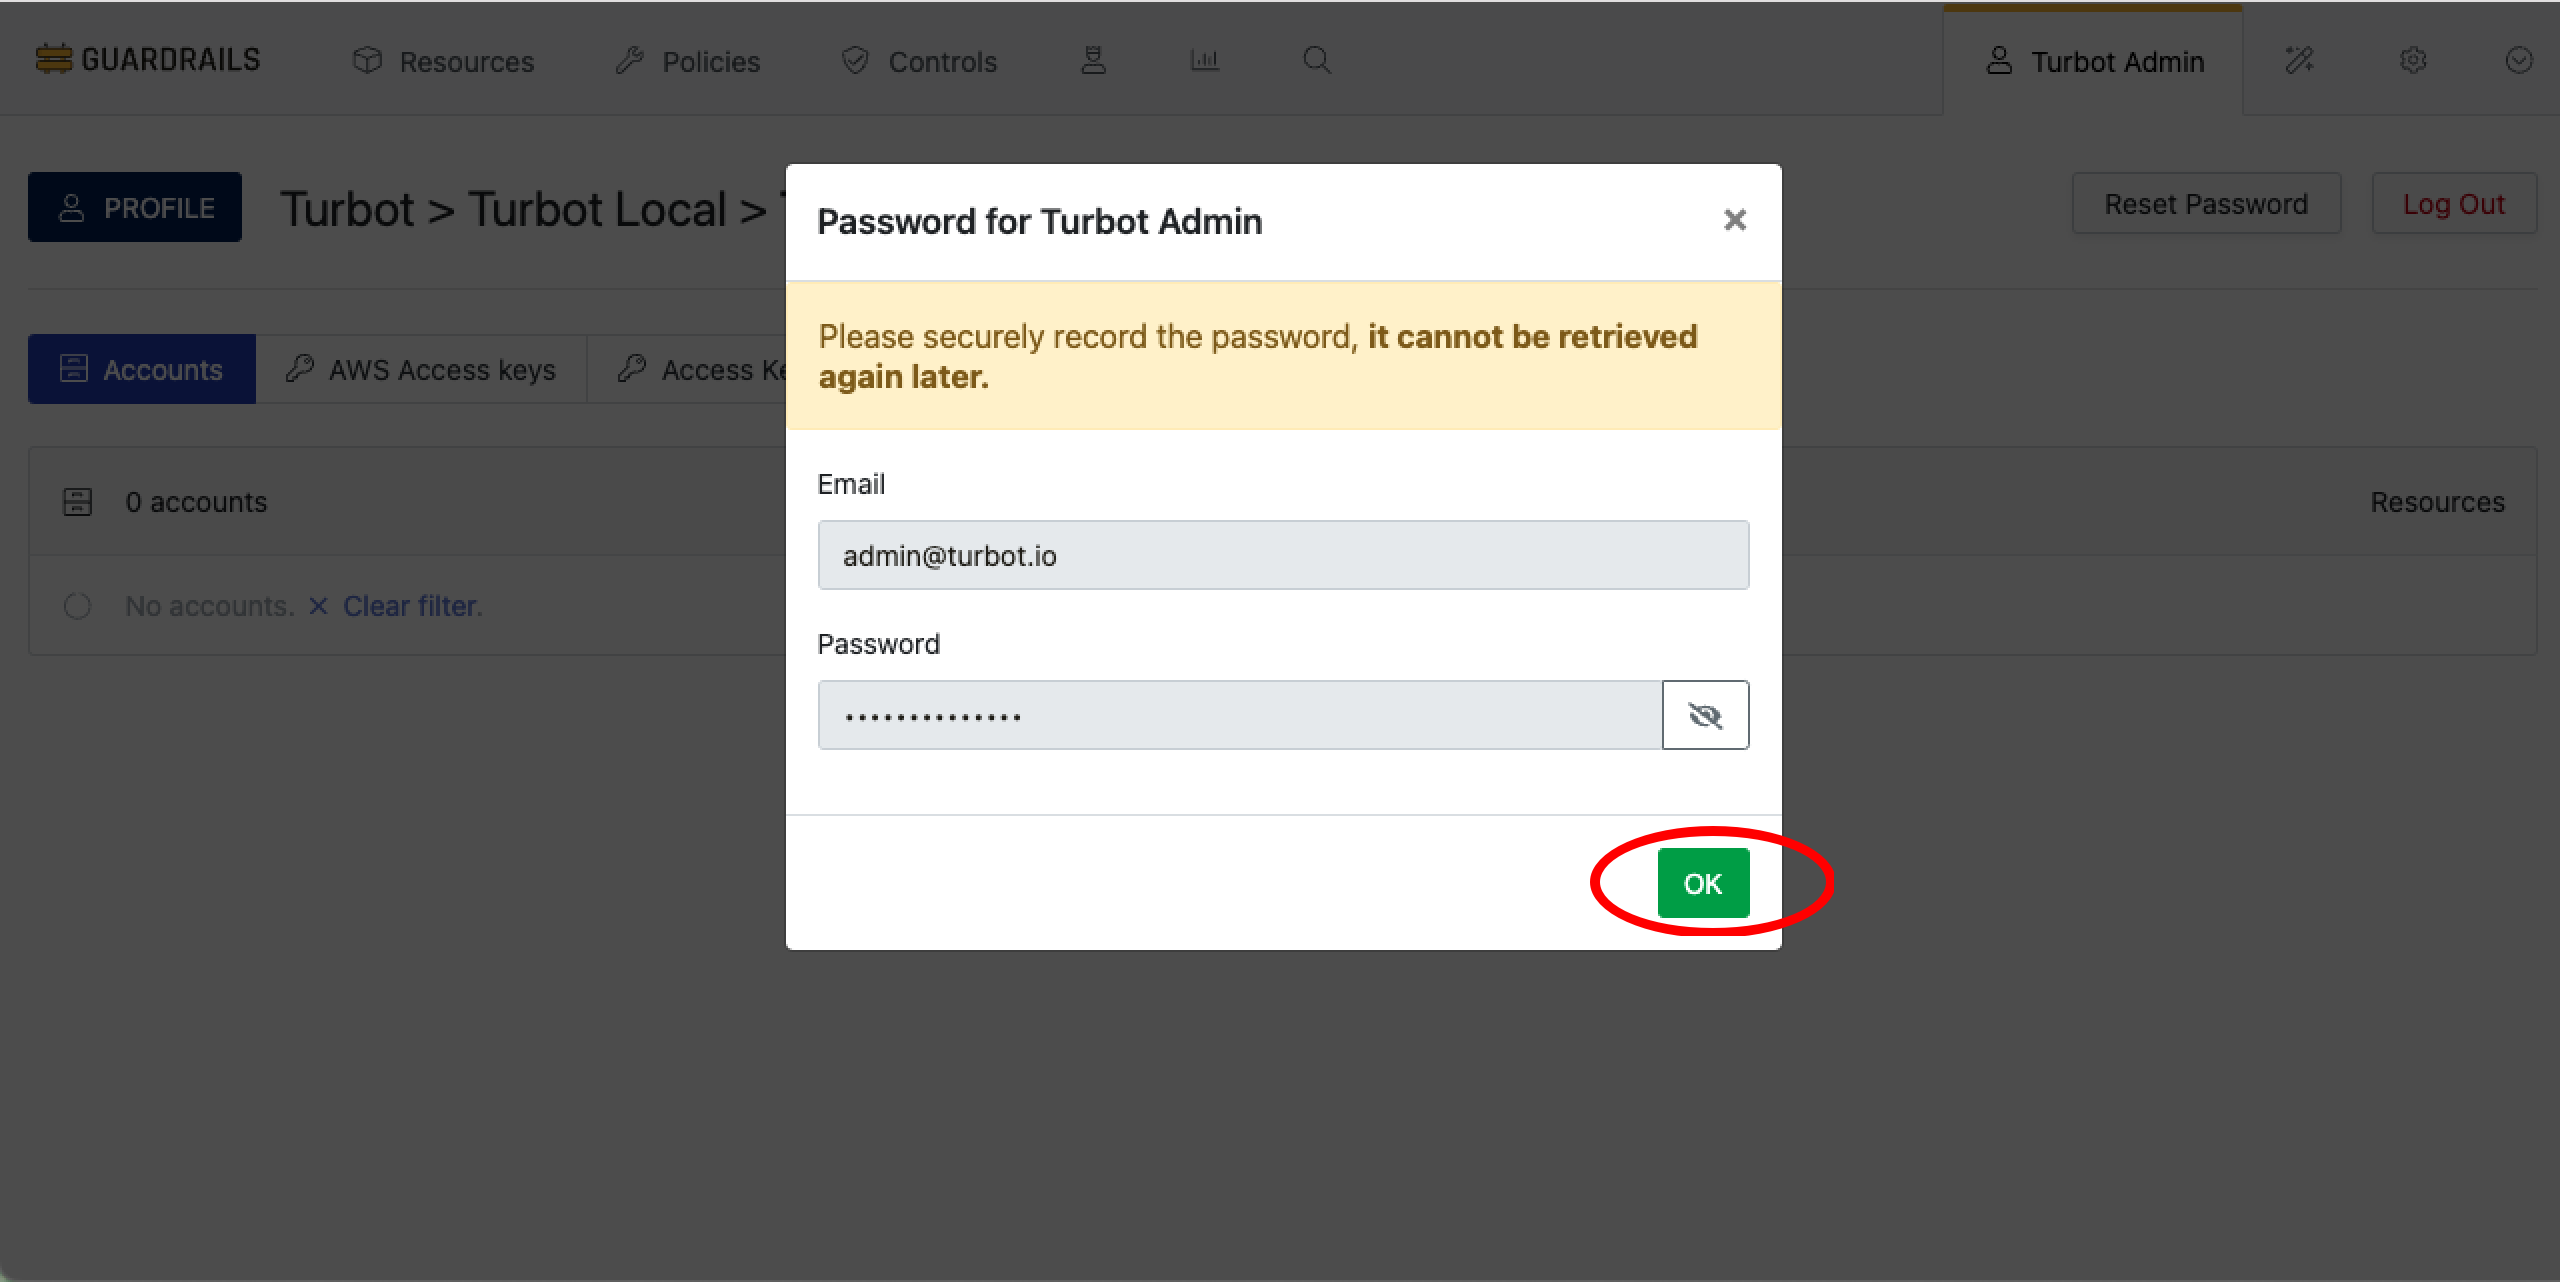
Guardrails generates an automatic complex password, and when you confirm the rotation by selecting OK, the new credentials will be applied.
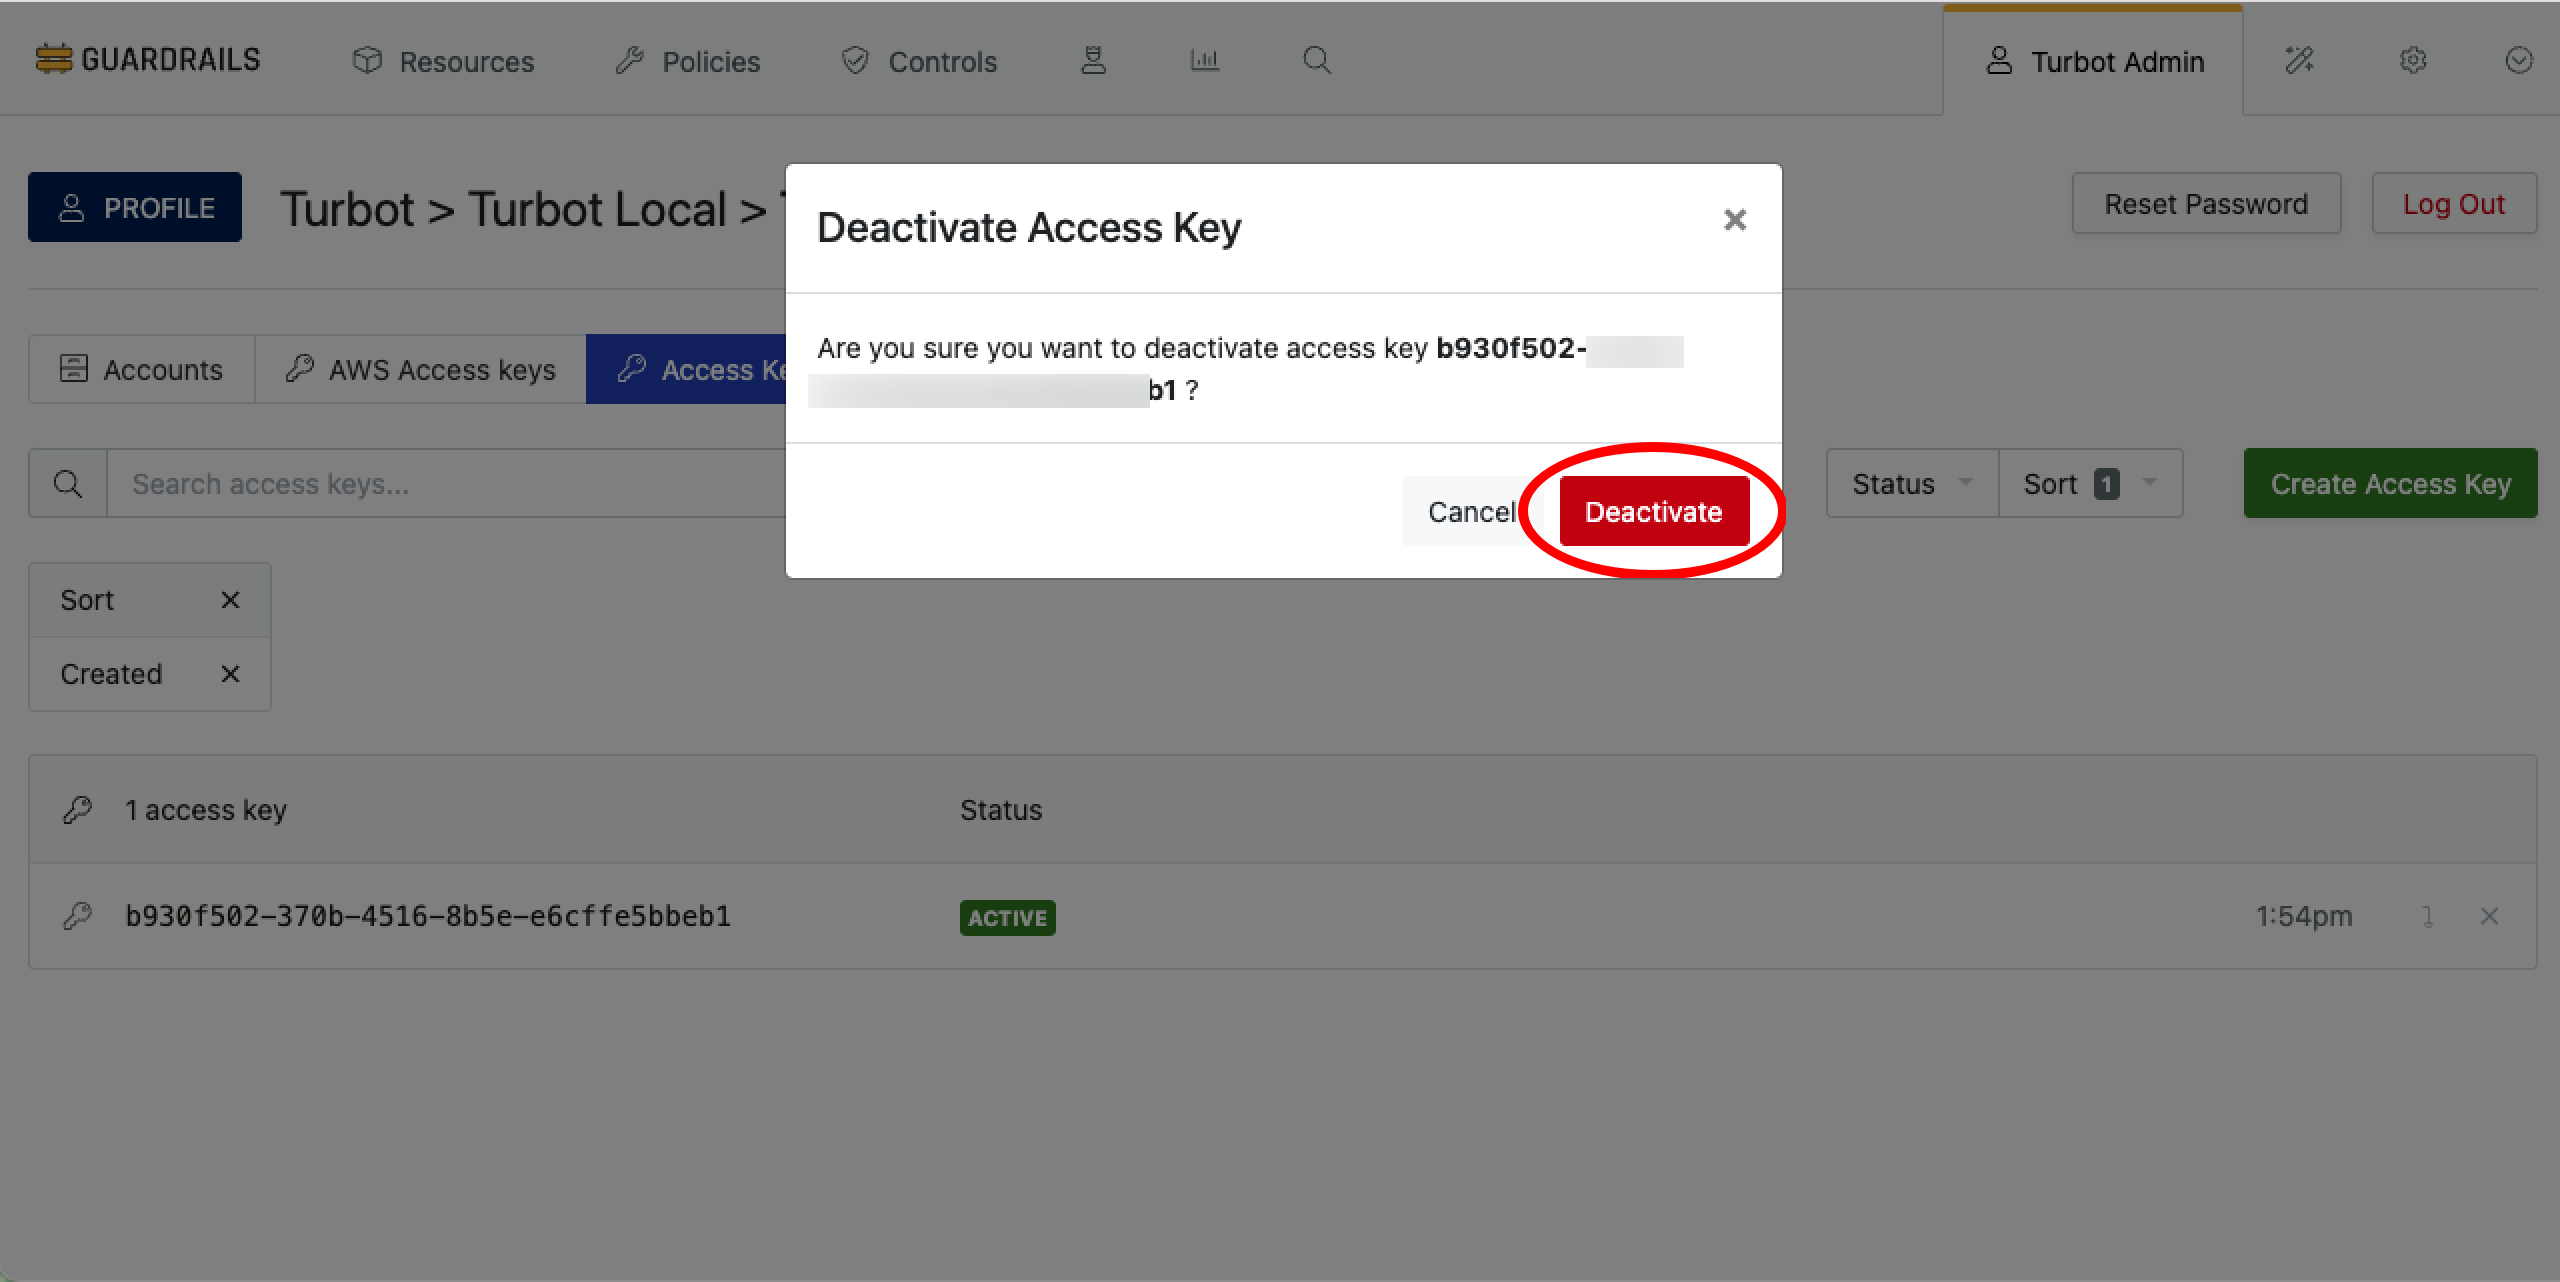
Step 6: Deactivate Access Key
The initial admin login access key created during the workspace creation process remains active. First, deactivate the access key.
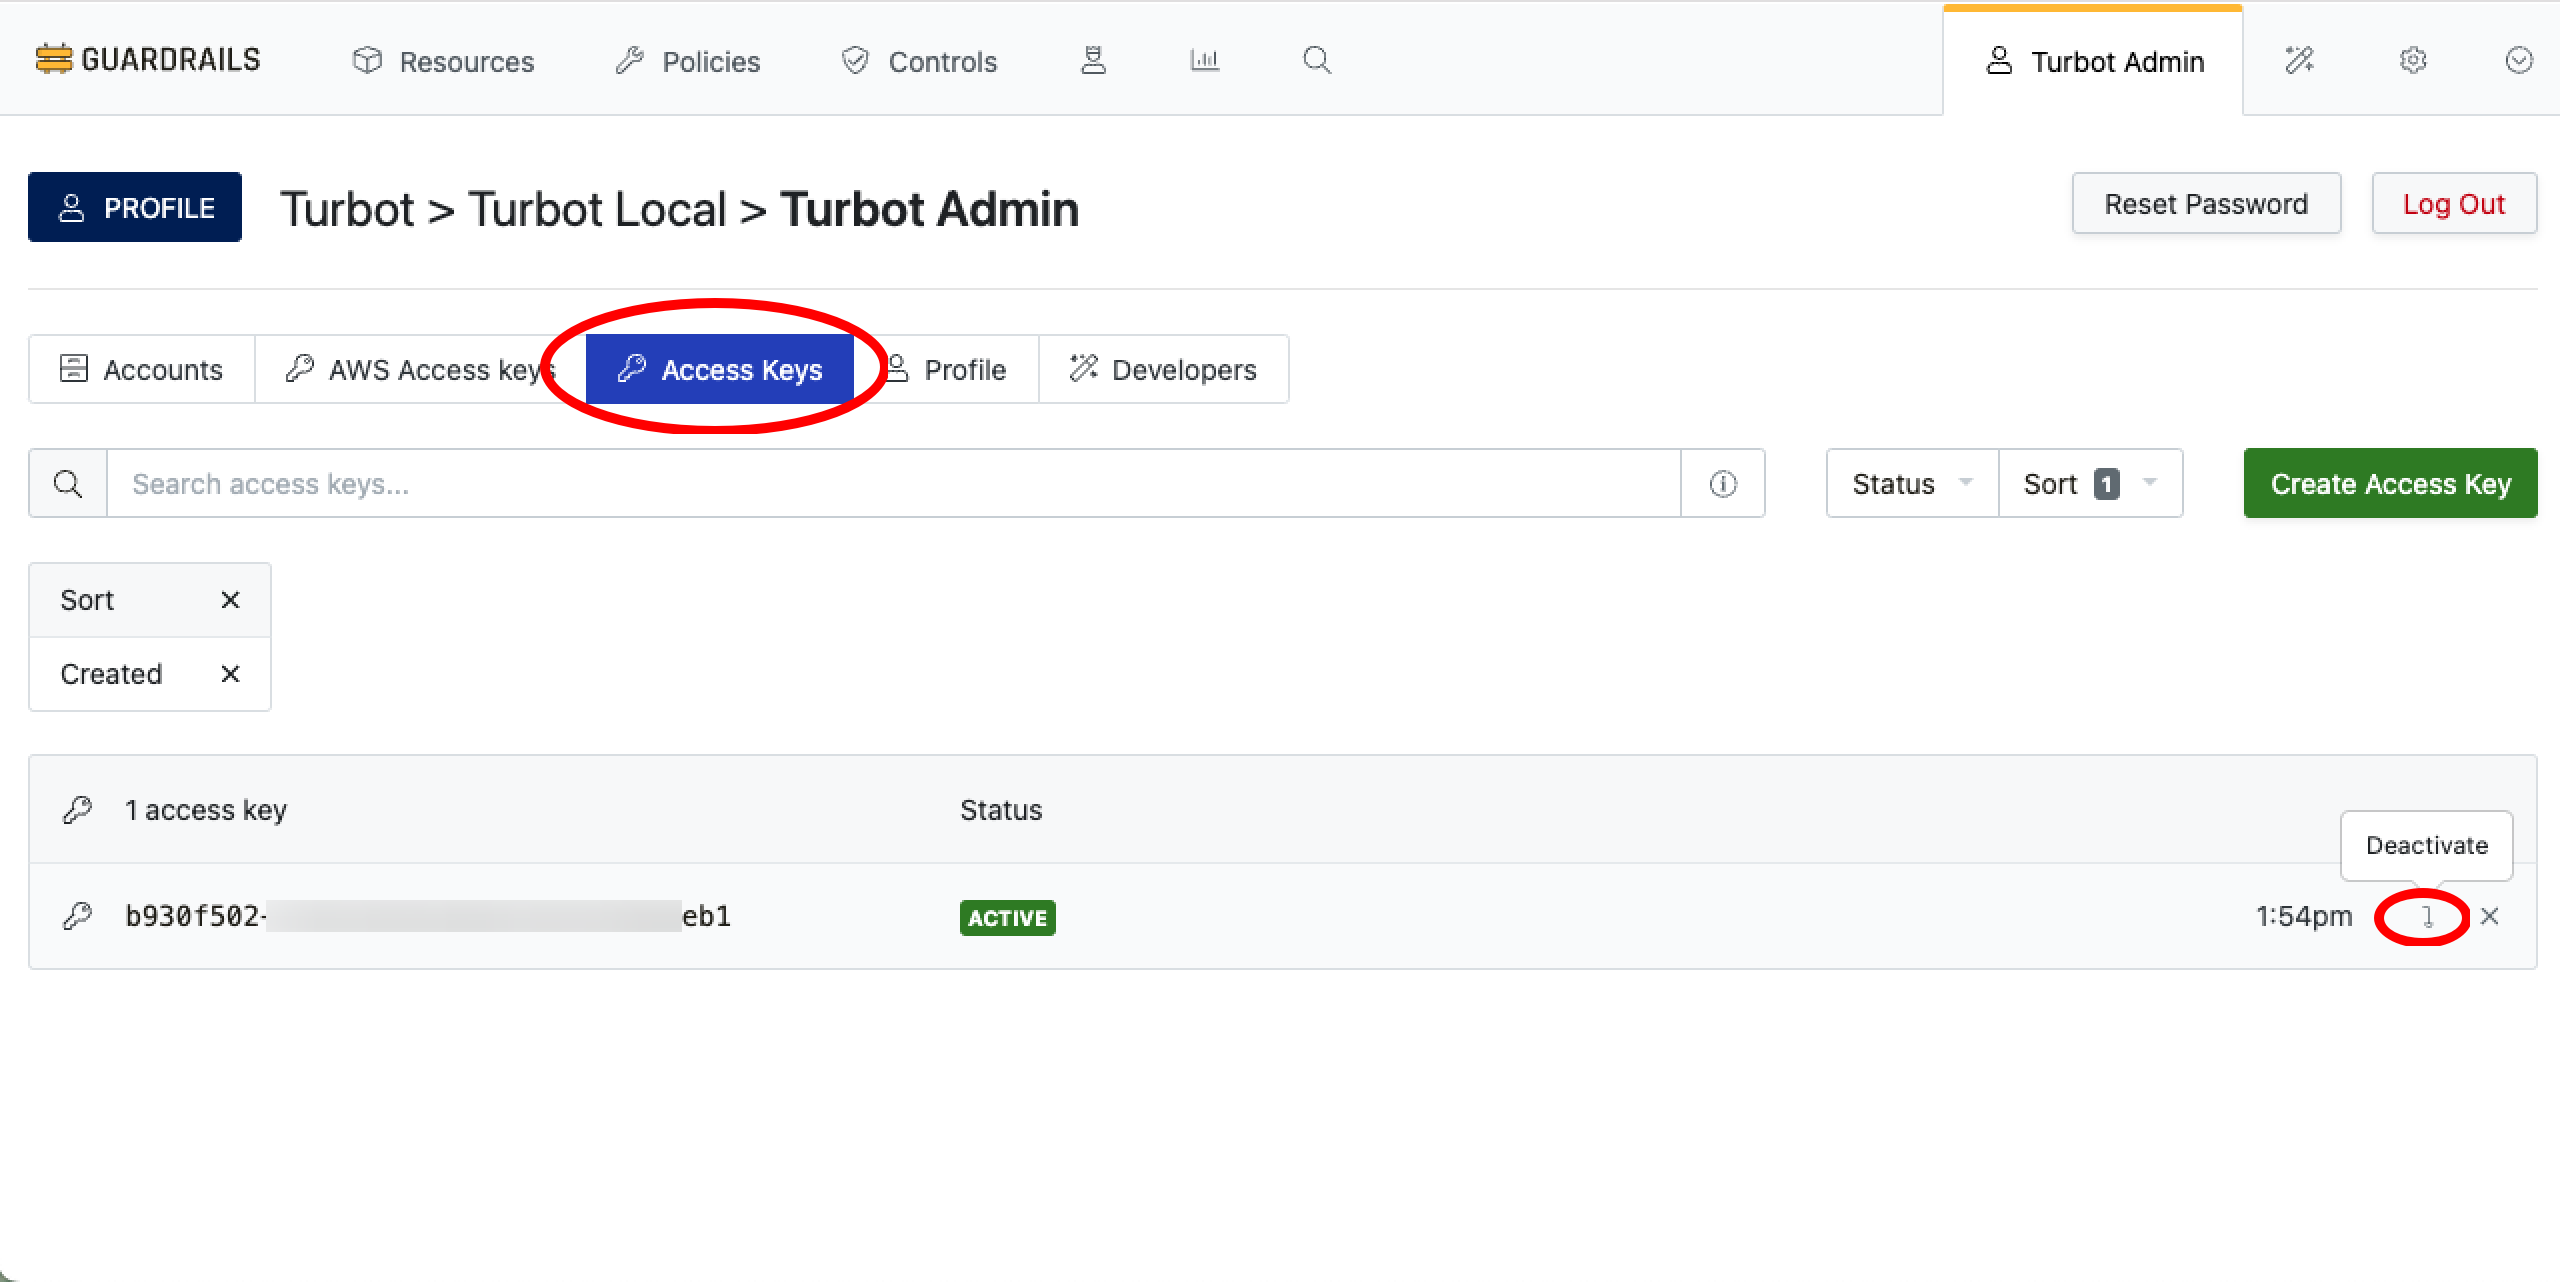
Confirm by selecting Deactivate.
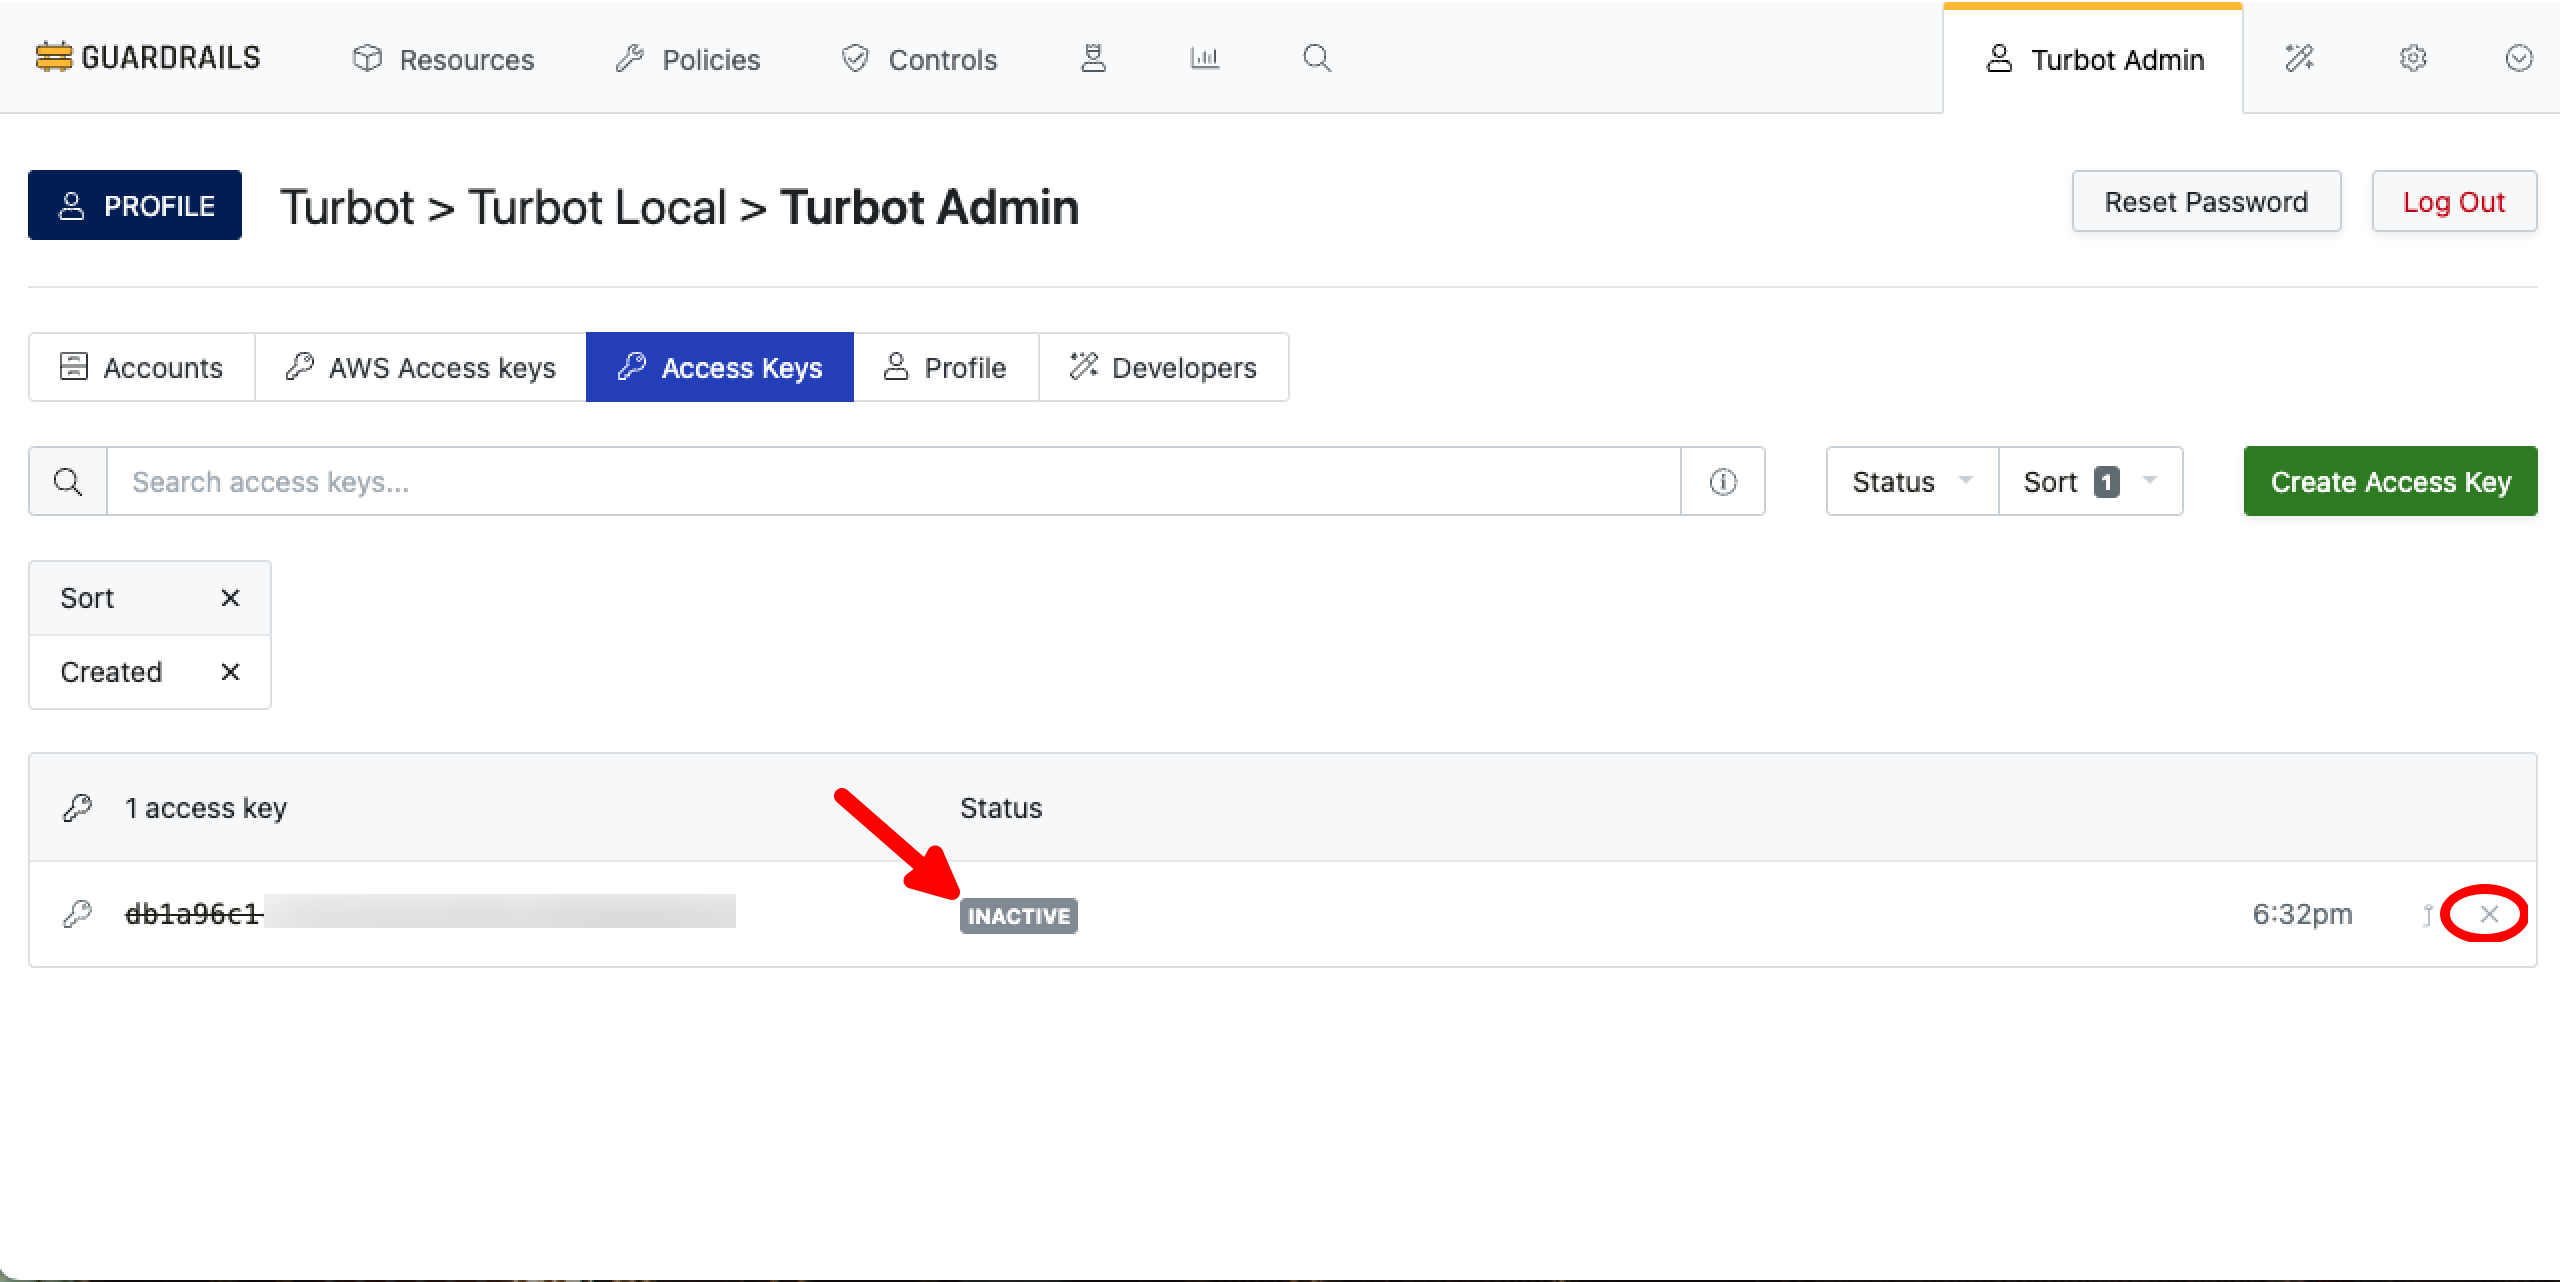
Step 7: Delete Access Key
Once the access key is deactivated, check access key status is shown as INACTIVE, select X to delete.
Confirm deletion by selecting Delete button.
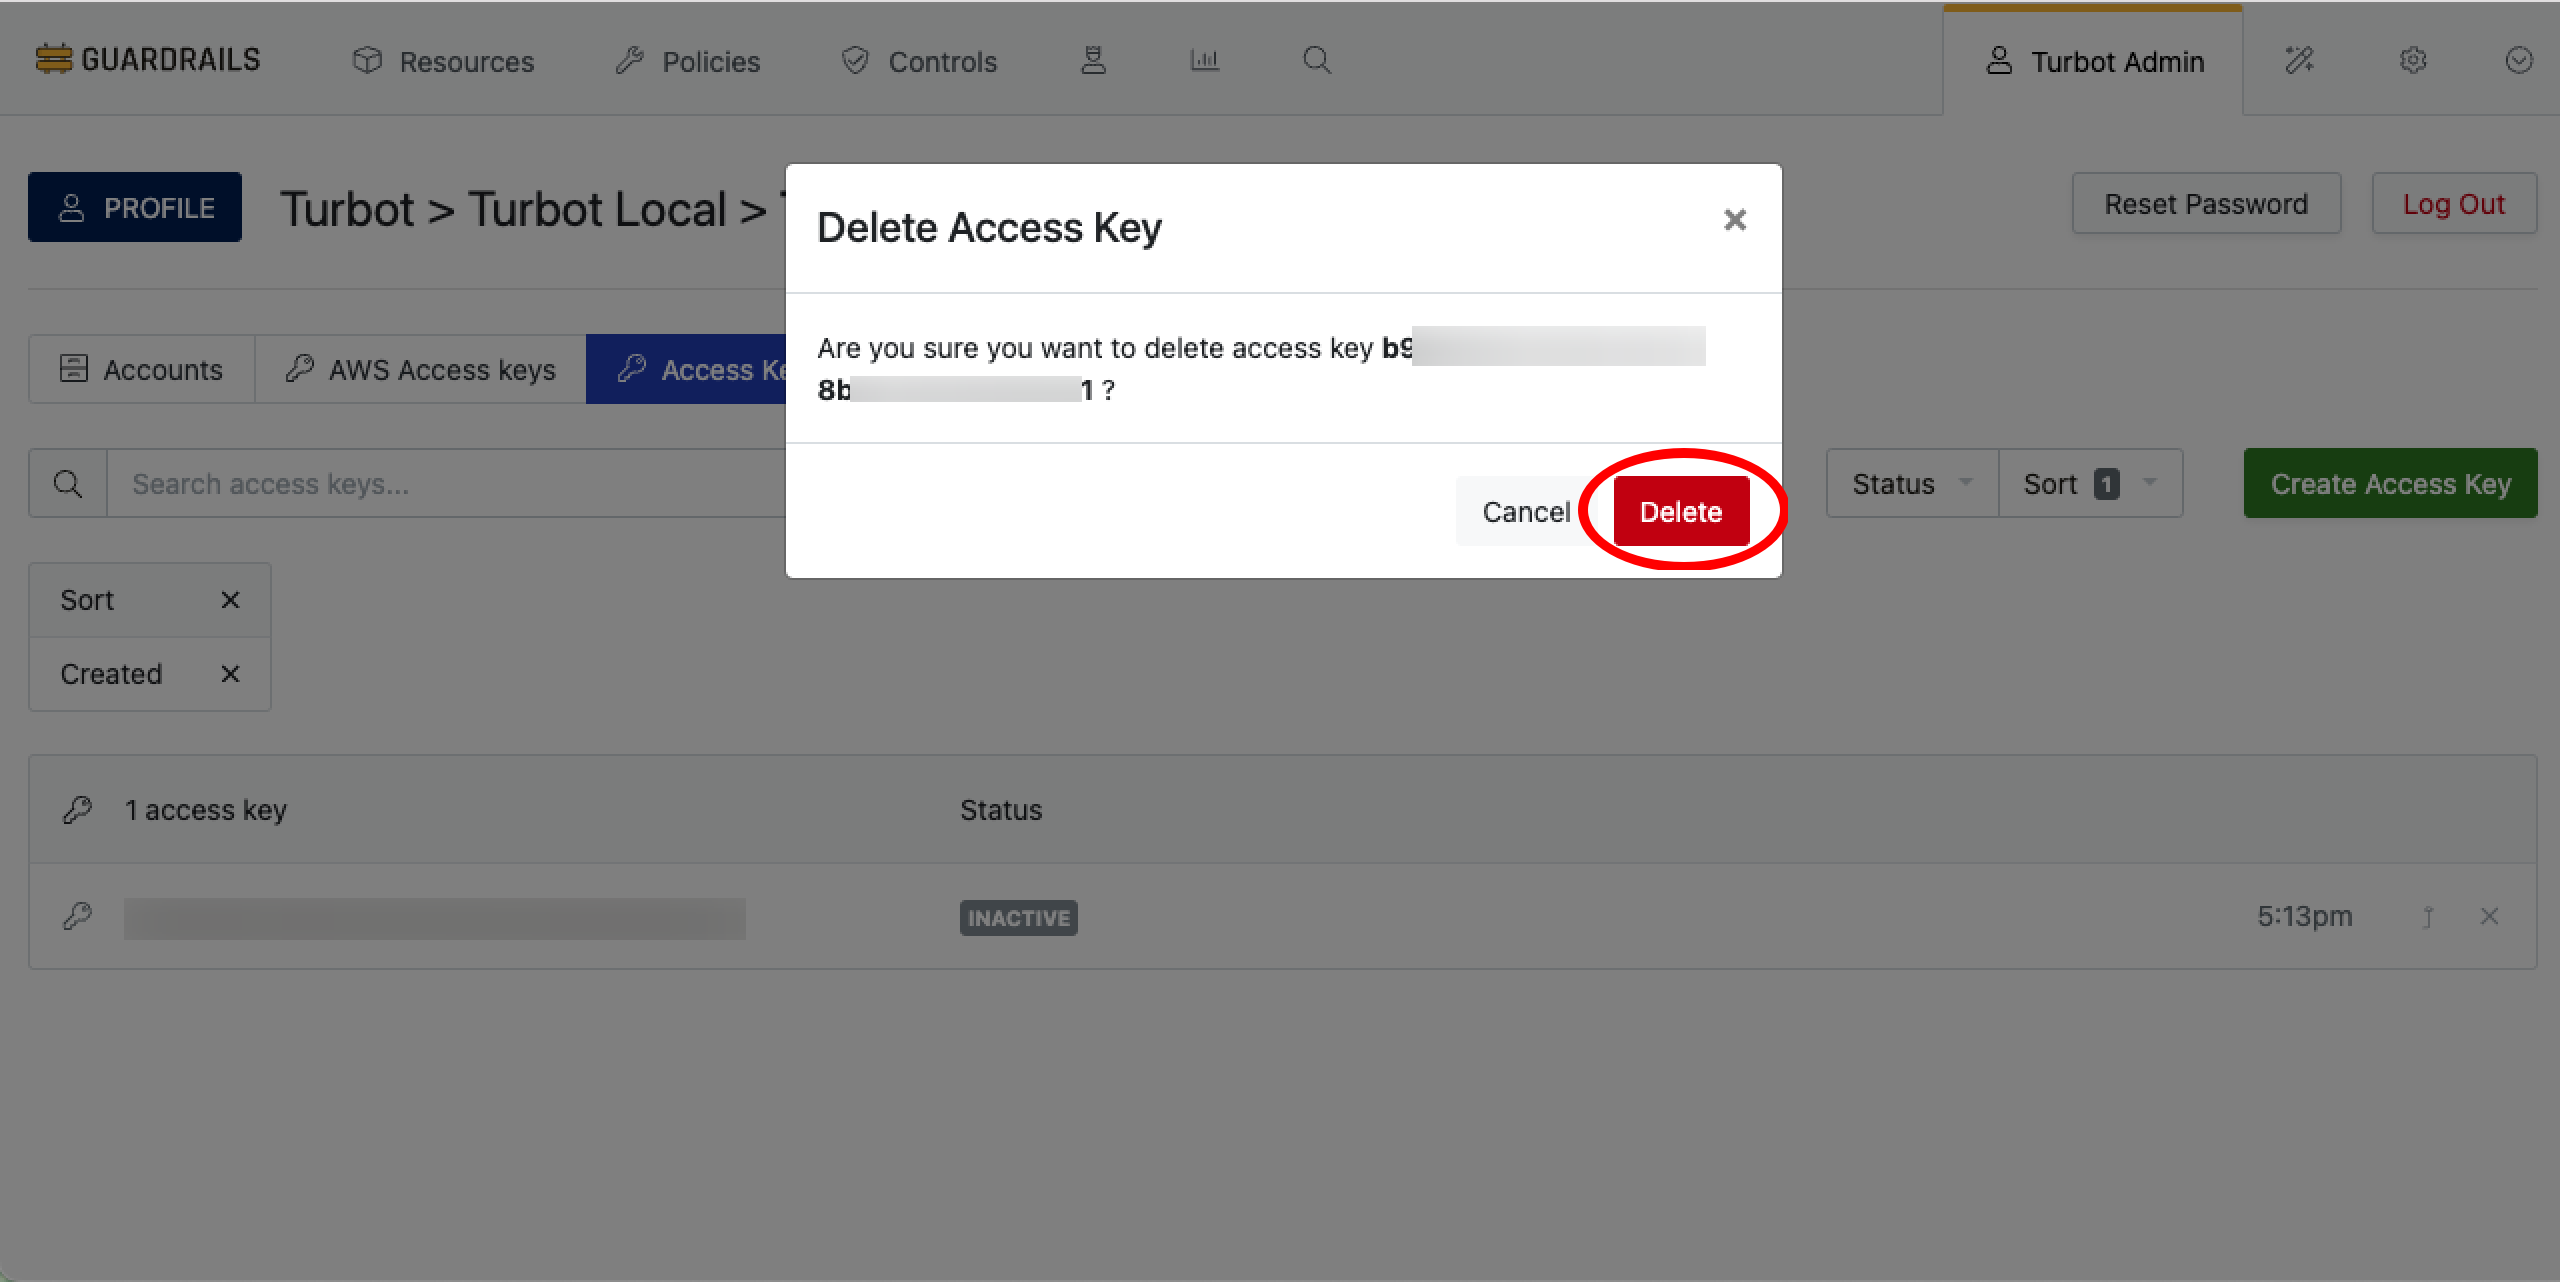
[!NOTE] New access keys can be created if necessary.
Next Steps
- Head over to the Post Installation document for further instructions after setting up the workspace.
- Learn more about managing versions and updating workspaces from Turbot Guardrails Enterprise Documentation.
Troubleshooting
| Issue | Description | Guide |
|---|---|---|
| Permission Issues | If the current logged-in user lacks permission to modify, update, or create resources in the stack, or if IAM roles or SCPs have changed, preventing built-in roles from accessing needed configuration settings. | Troubleshoot Permission Issues |
| Further Assistance | If you continue to encounter issues, please open a ticket with us and attach the relevant information to assist you more efficiently. | Open Support Ticket |