Prepare a GCP Project for Import to Guardrails
Prepare a GCP project for import to Guardrails
In this guide you will prepare a GCP project for import into Guardrails using the least-privileged roles — and minimal set of enabled APIs — necessary for the task.
This is the first guide in the Getting started with GCP series.
Prerequisites
-
Access to the Turbot Guardrails console with admin privilege.
-
A GCP project to import into Guardrails, with GCP admin privileges.
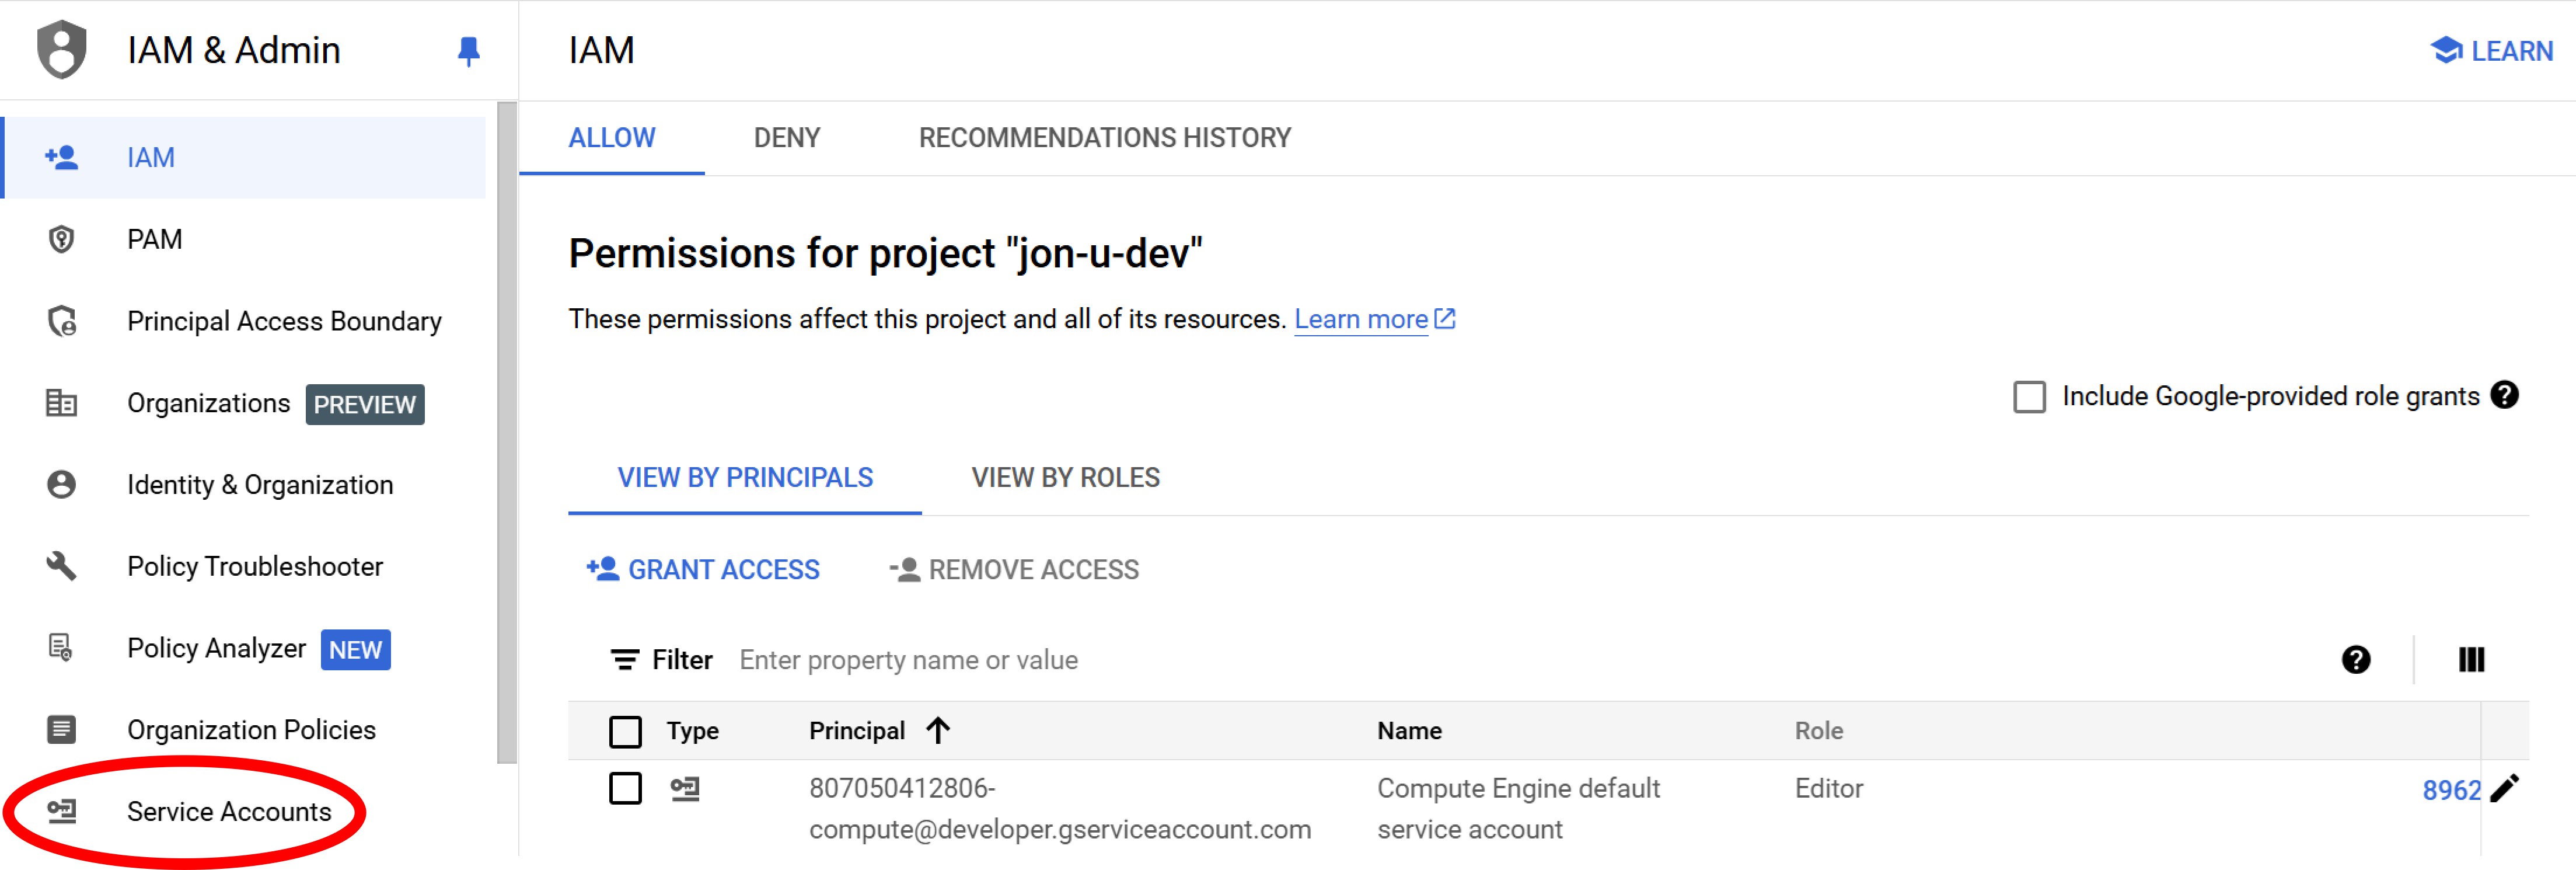
Step 1: Locate IAM & Admin > Service Accounts
Log in to the Google Cloud console, select the project Guardrails will connect to, navigate to IAM & Admin and select Service Accounts.
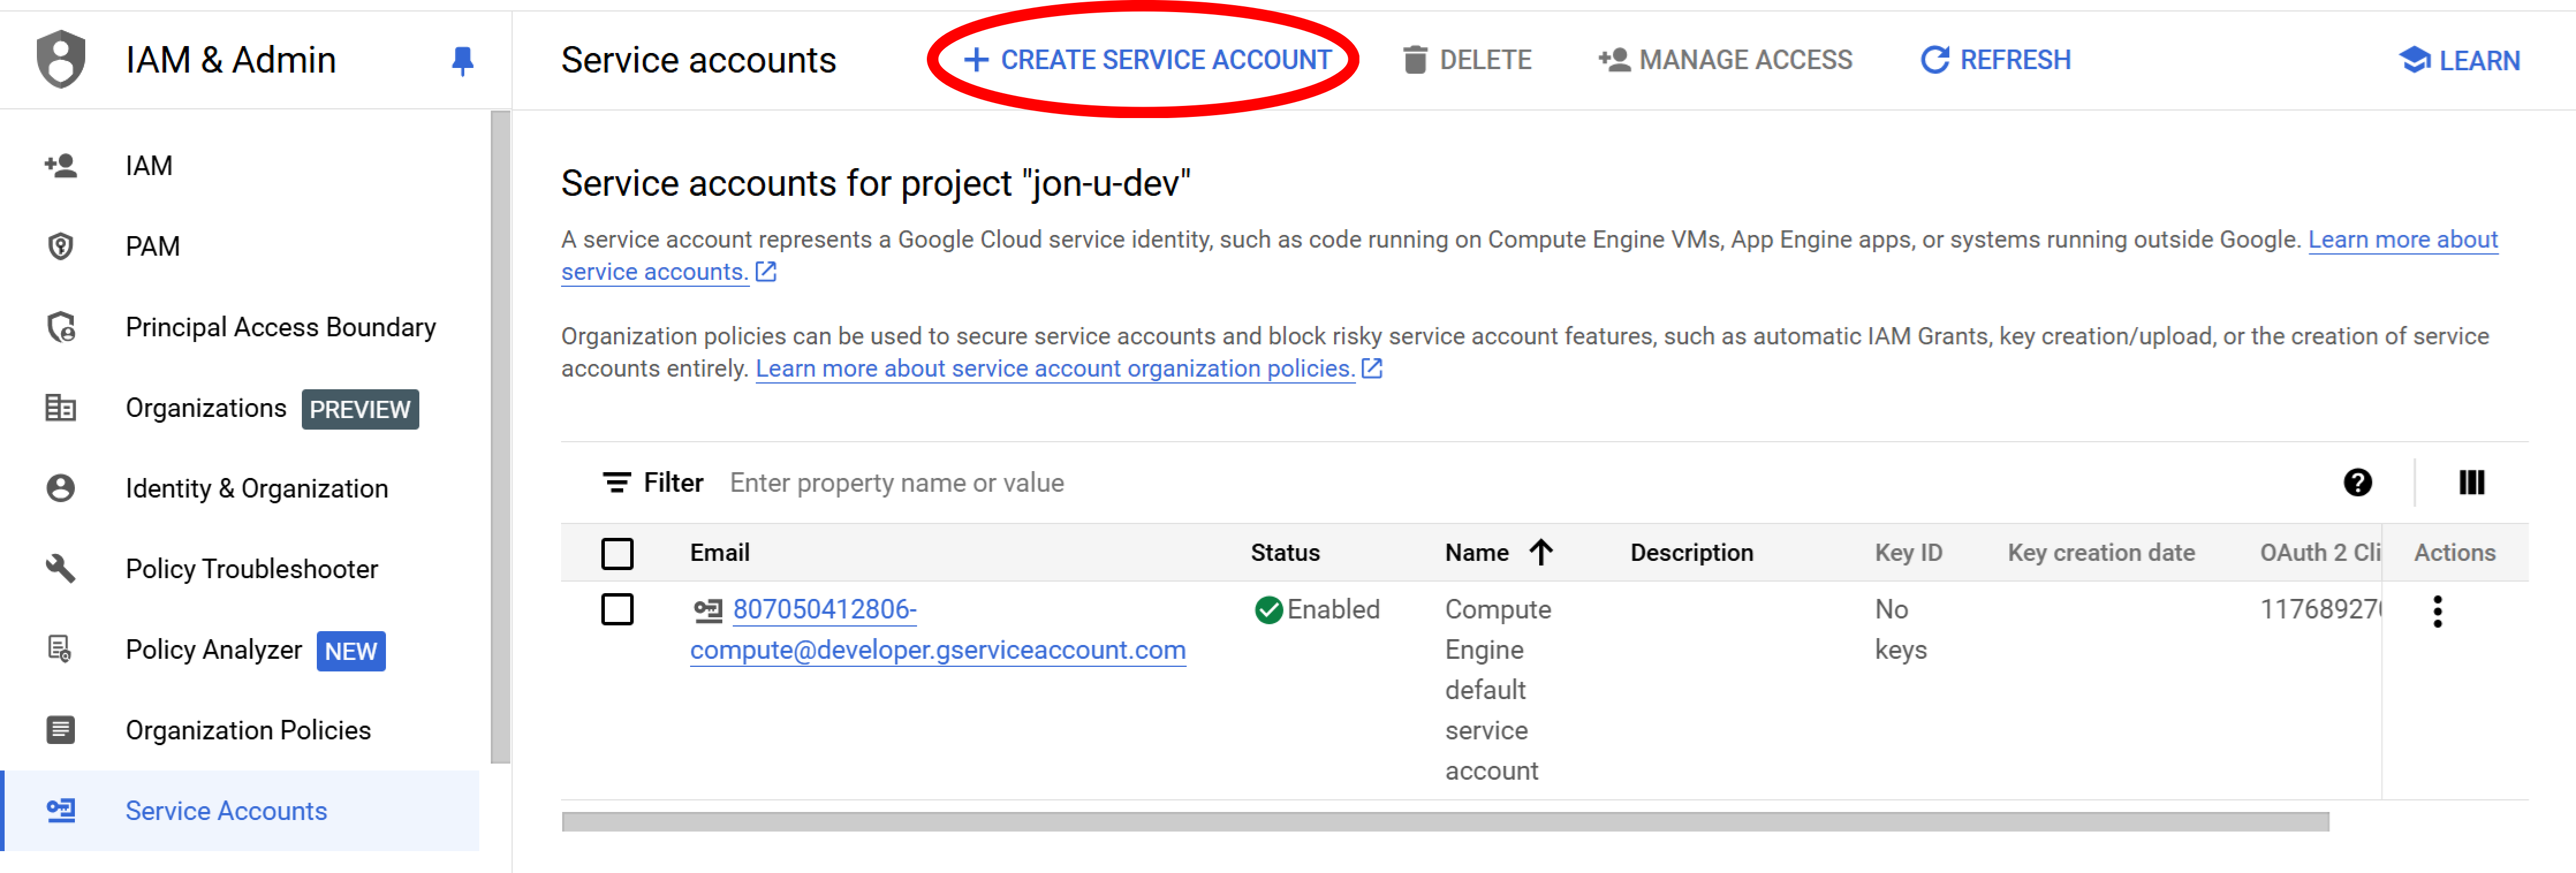
Step 2: Begin creating a service account
Select Create Service Account
Step 3: Name the account
Name the account according to the pattern {service-account-name}@{project_id}.iam.gserviceaccount.com, add a description, and select Create and Continue.

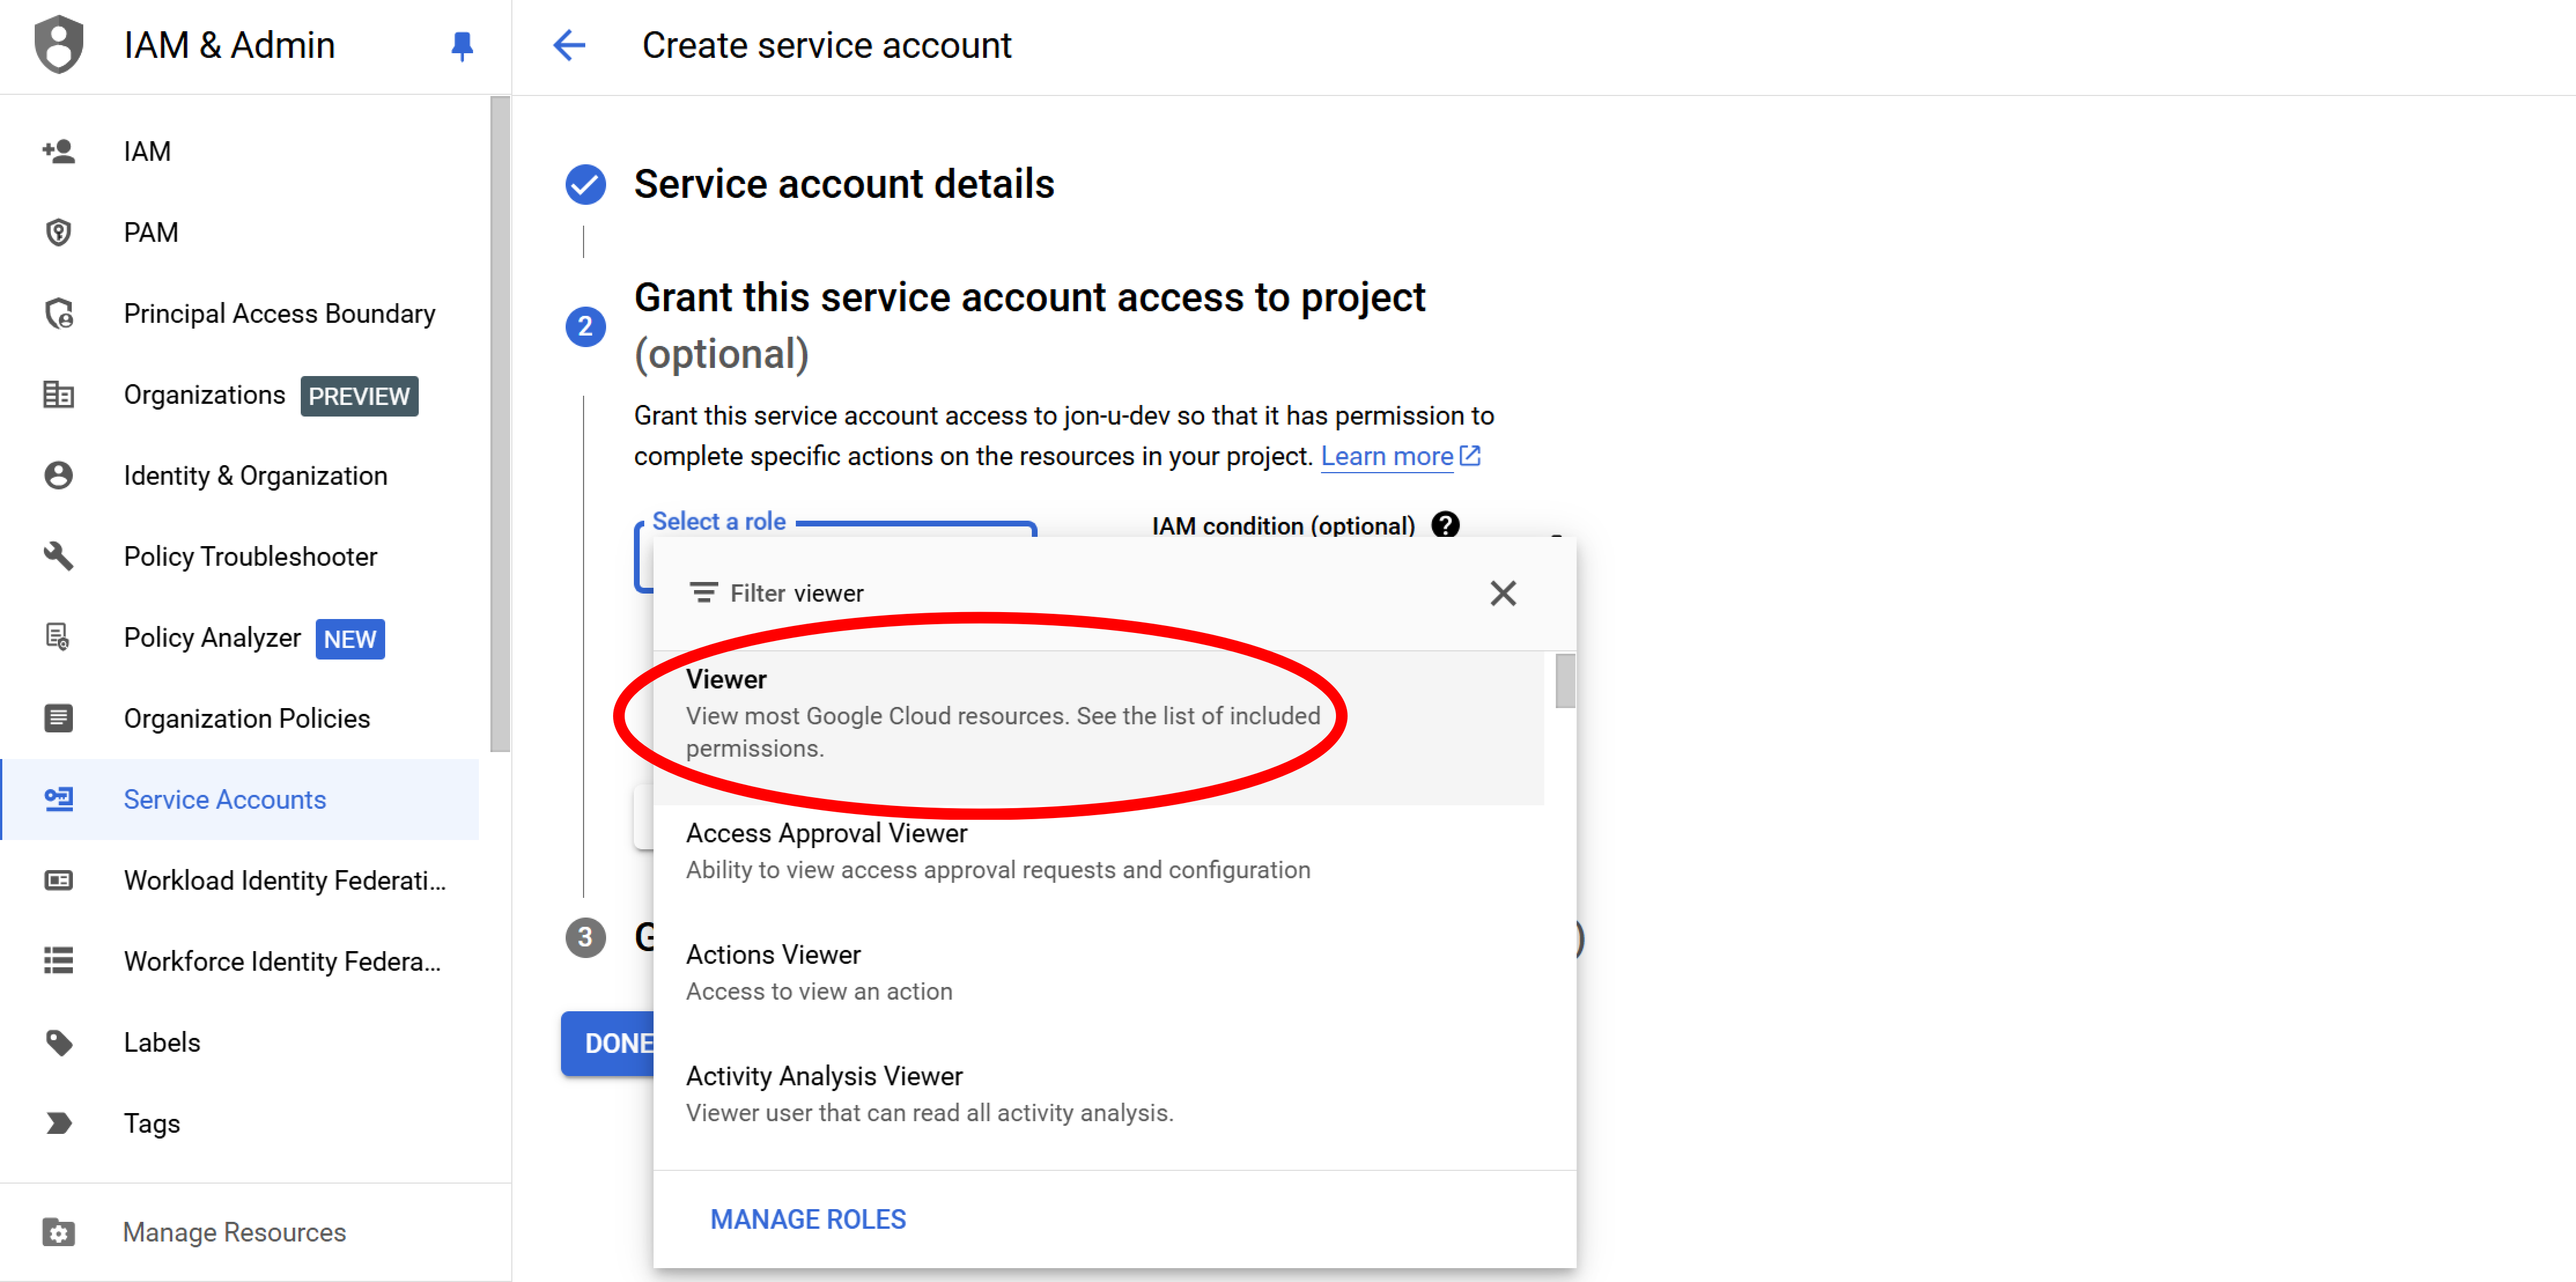
Step 4: Grant Viewer role
Click in Select a role to activate the filter, enter the search term viewer, and select Viewer.
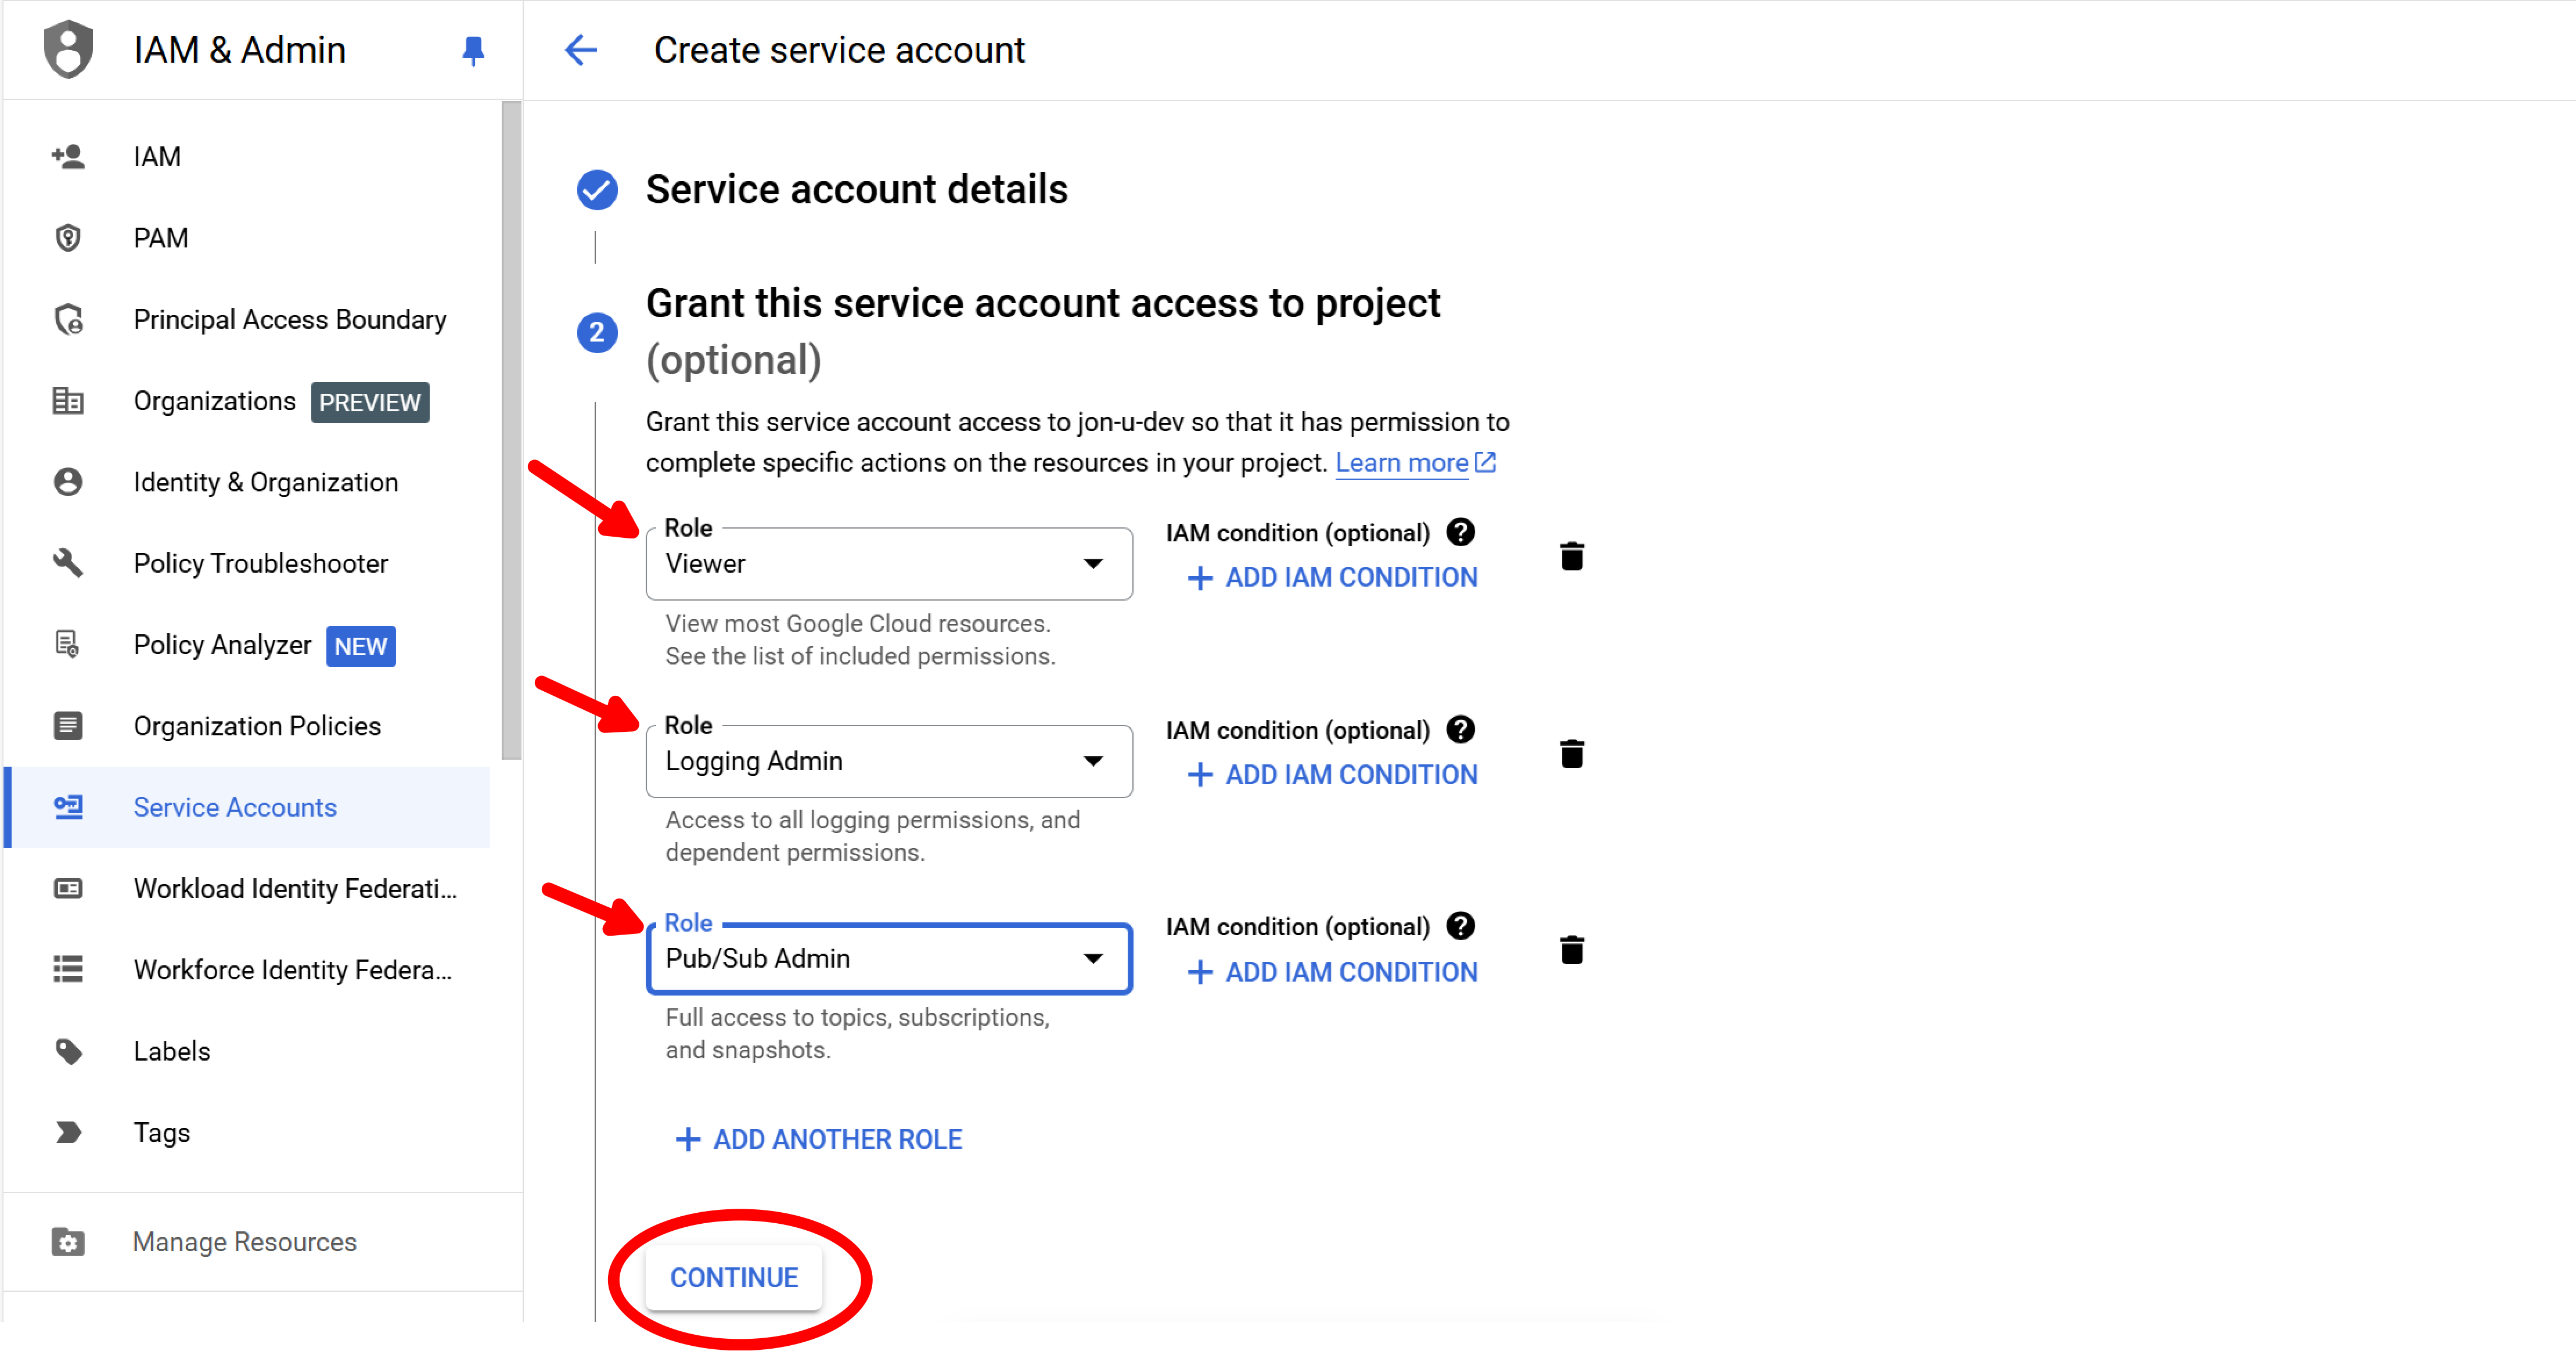
Step 5: Also grant Logging Admin and Pub/Sub Admin
Use Add Another Role to do the same for Logging Admin and Pub/Sub Admin. Then select Continue.
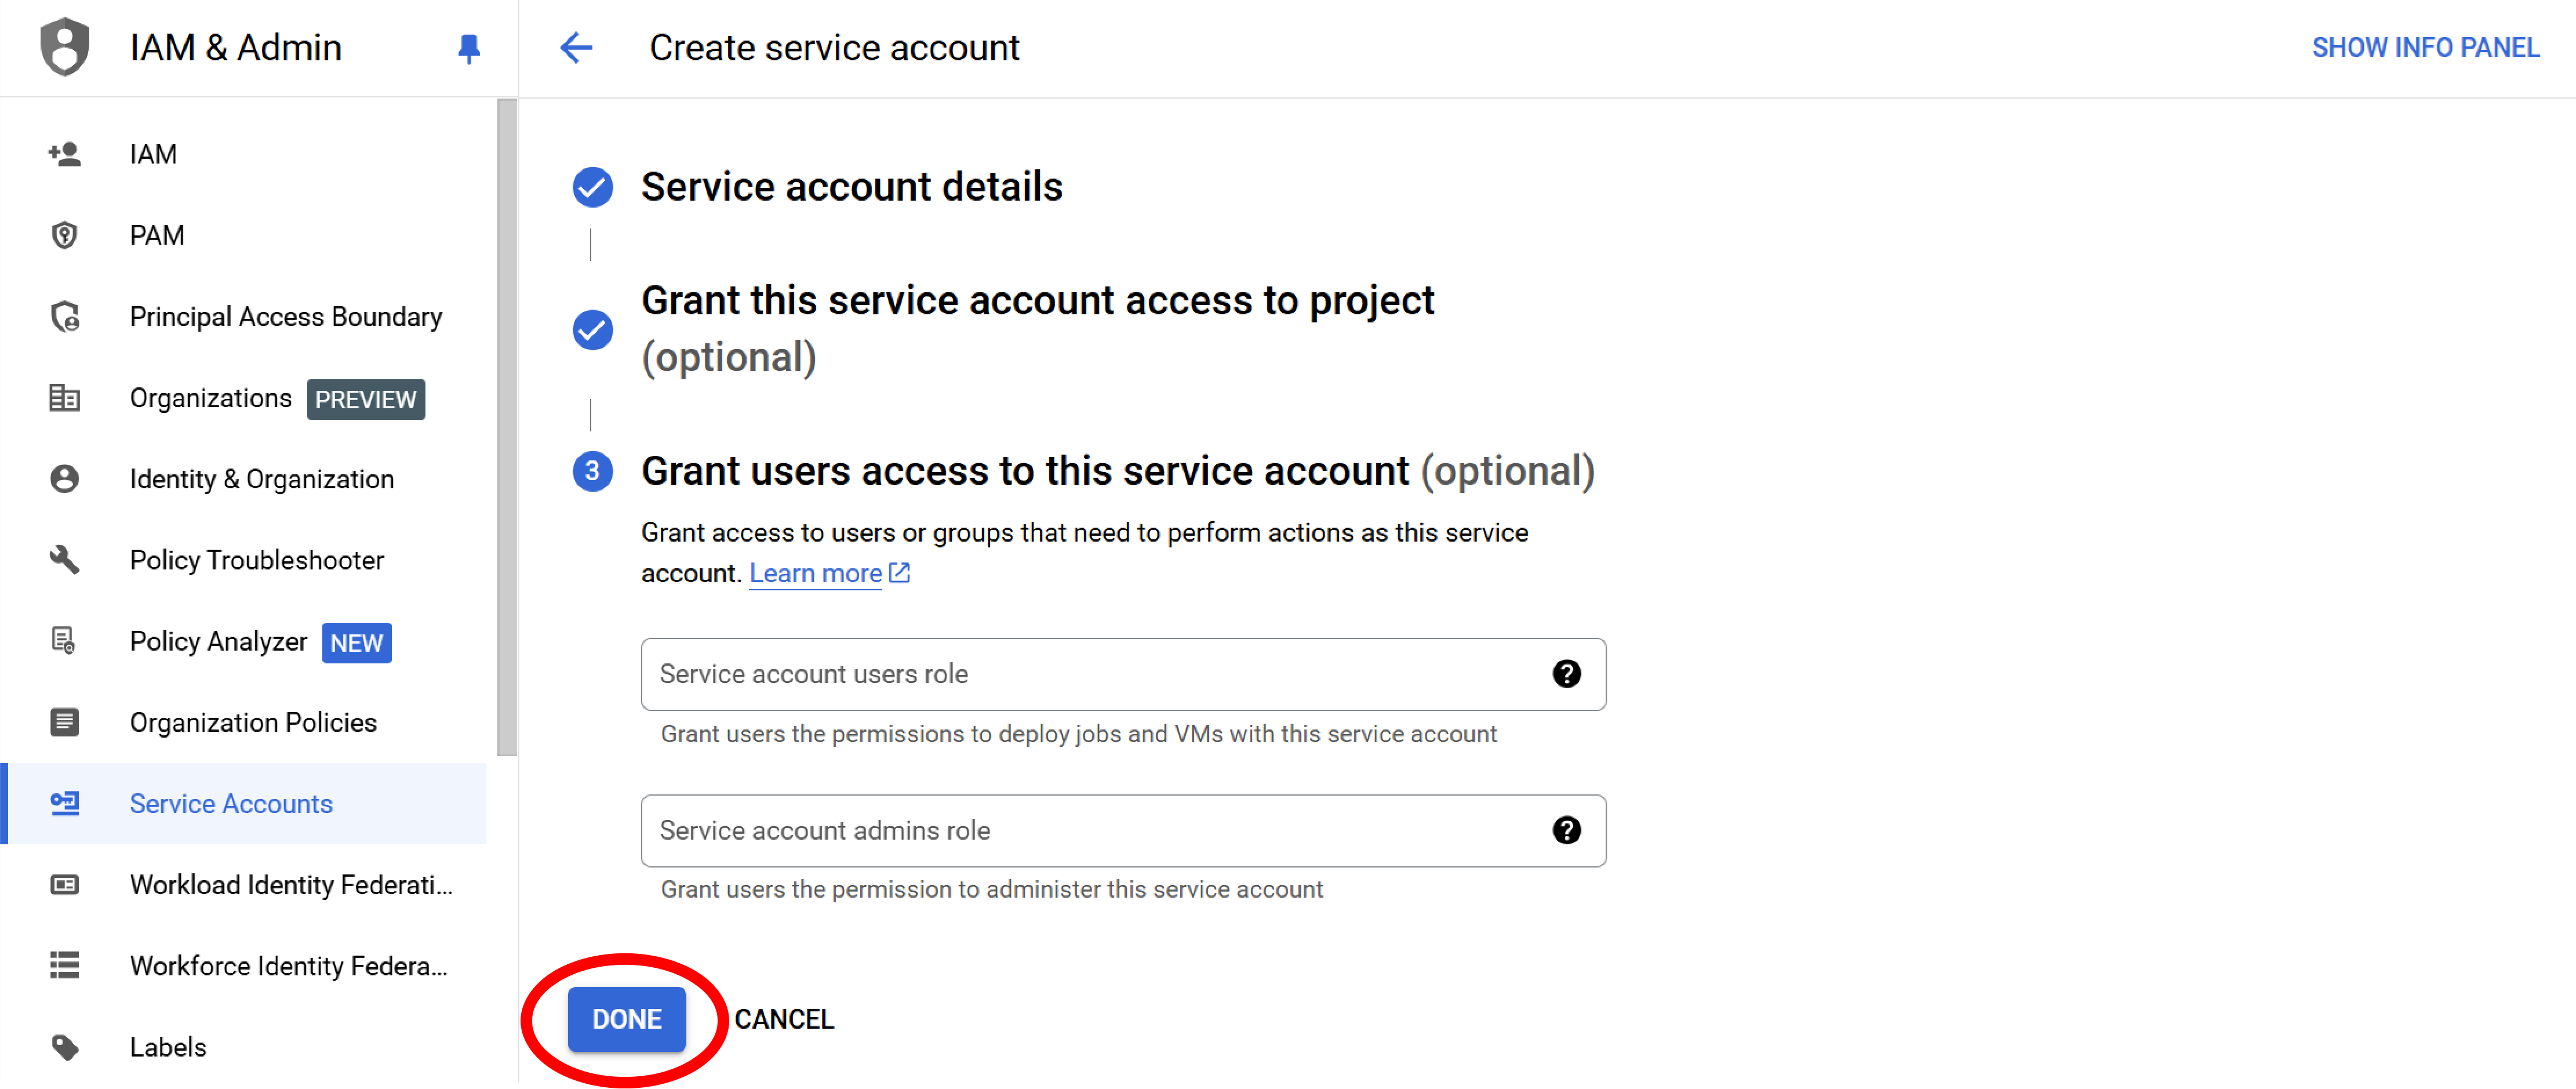
Step 6: Finish creating the service account
Select Done.
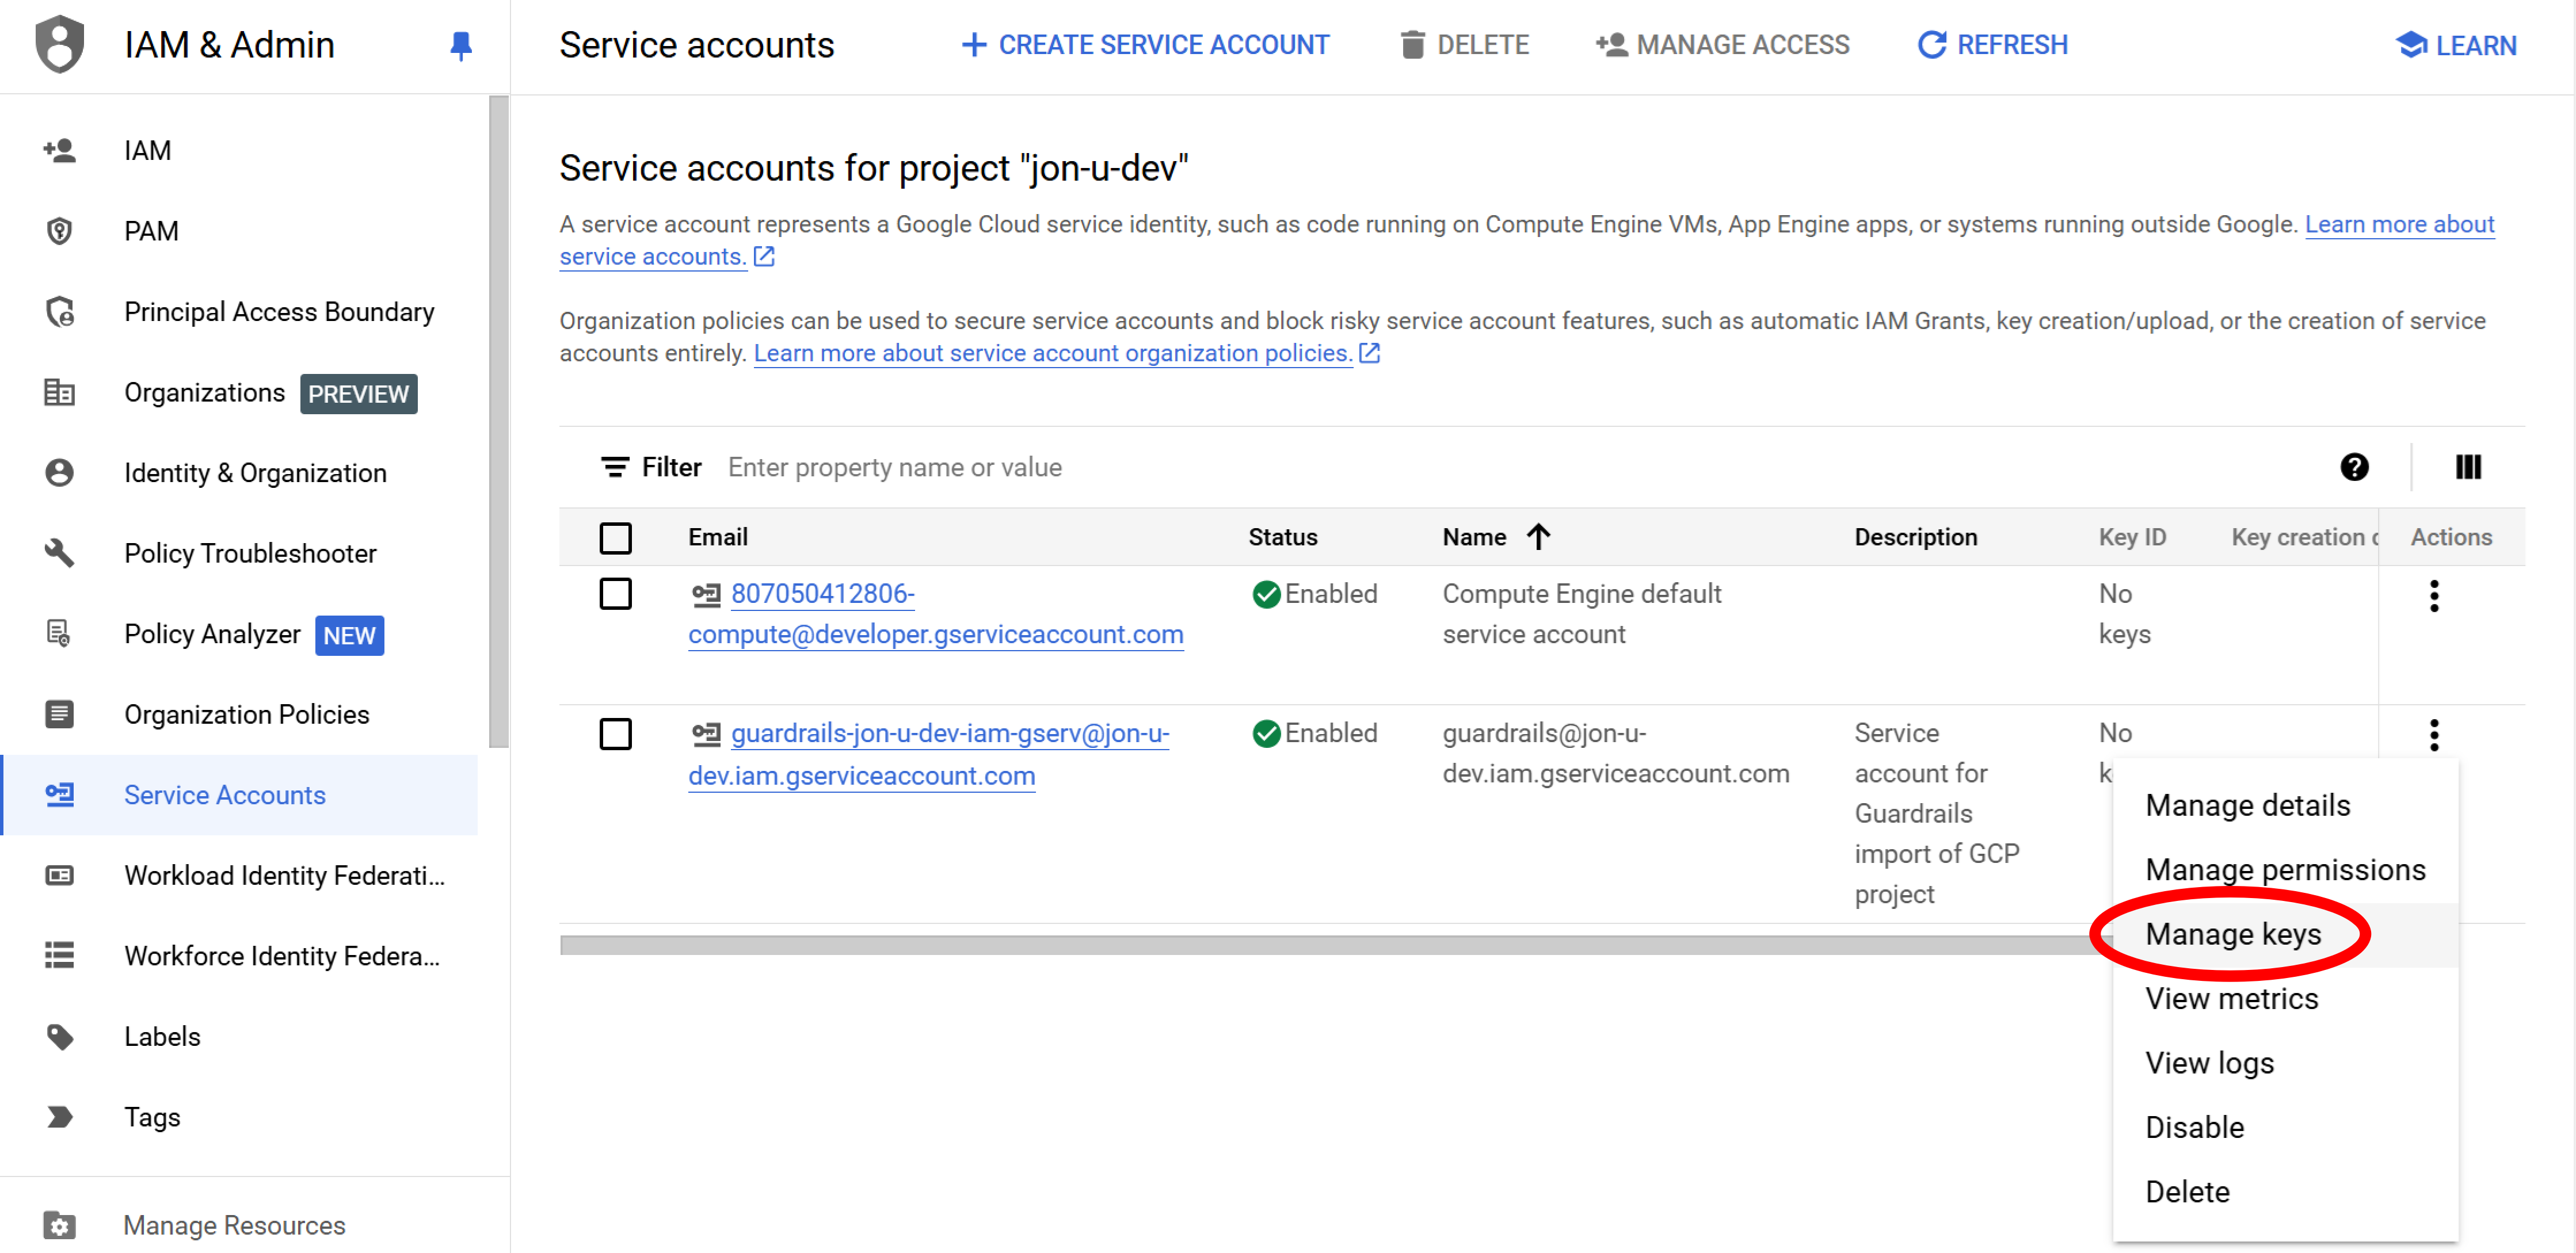
Step 7: Locate key manager
Select the vertical ellipsis (⋮) next to your new service account and choose Manage keys.
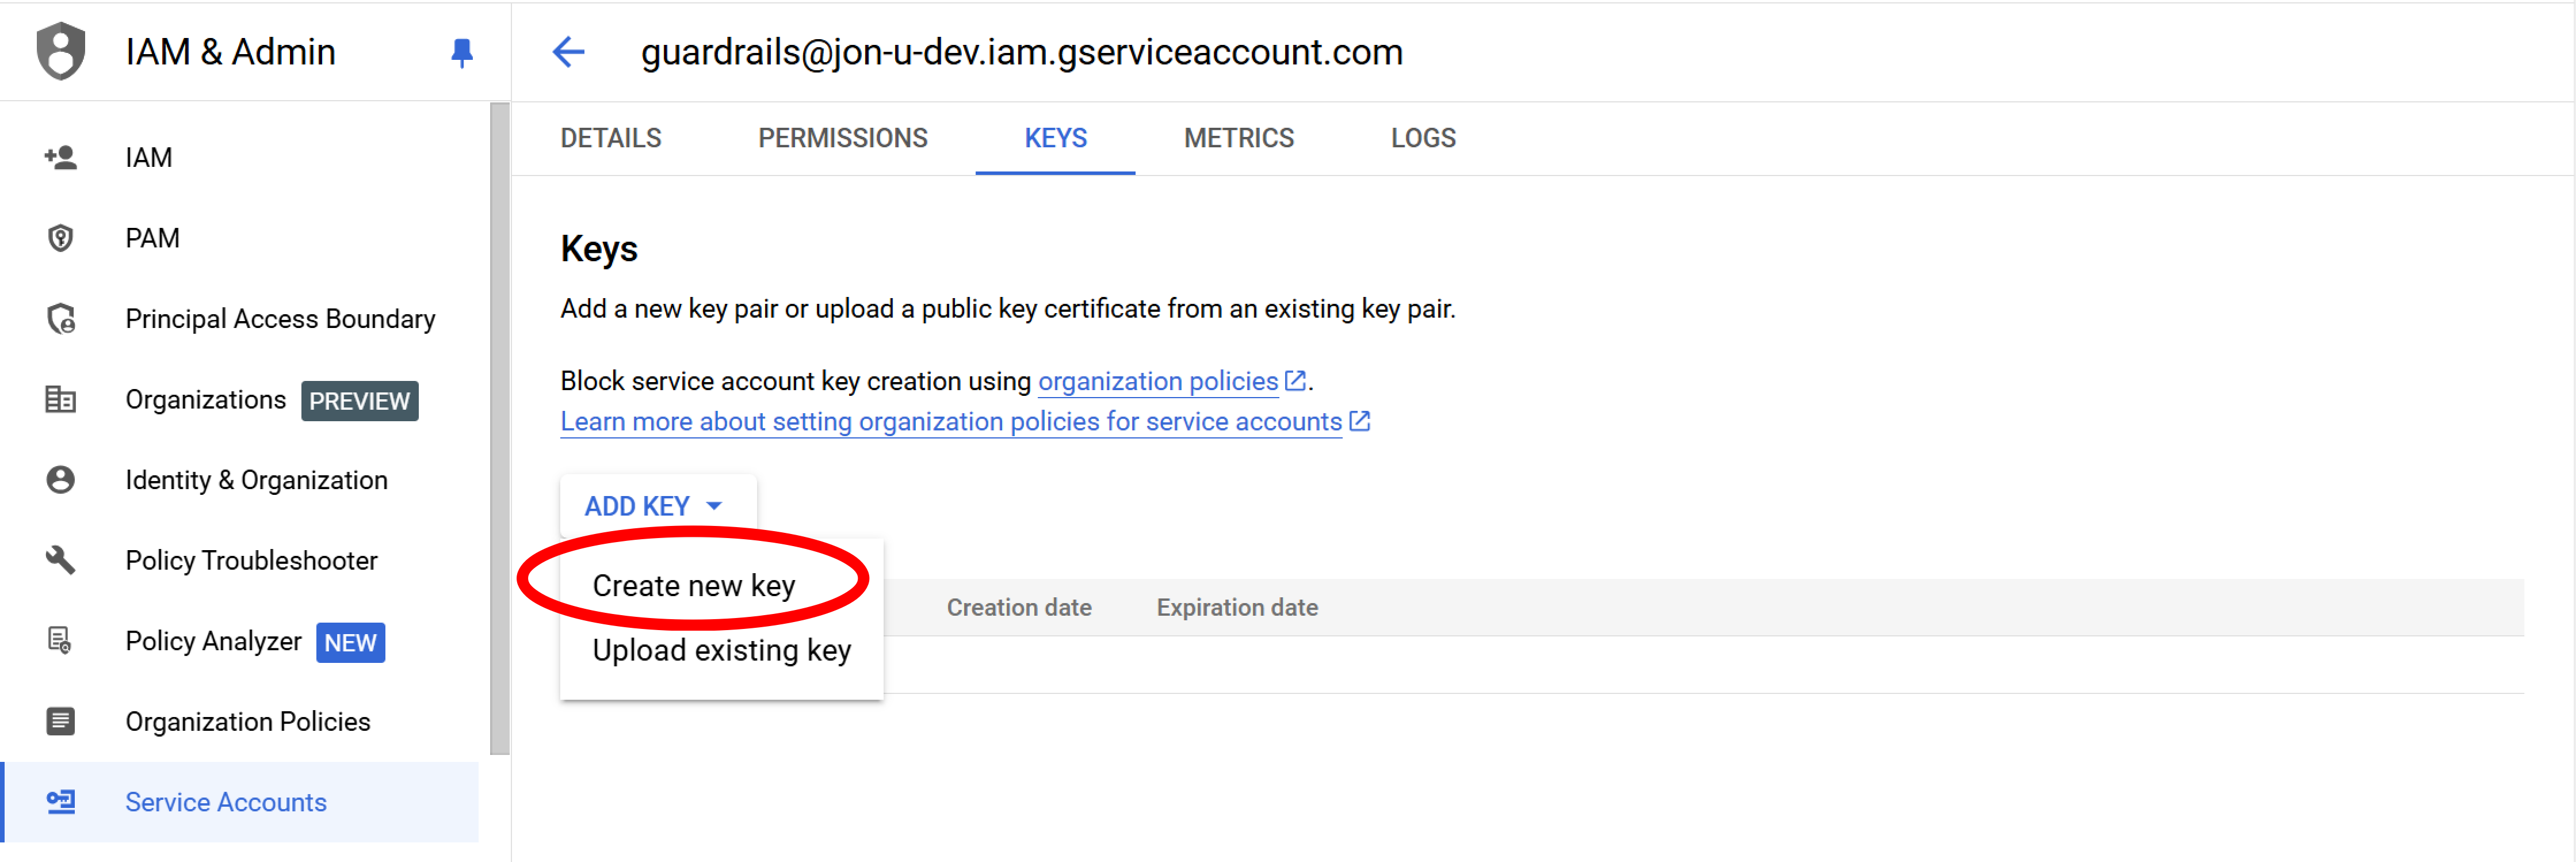
Step 8: Add key
Select Add Key, and choose Create new key.
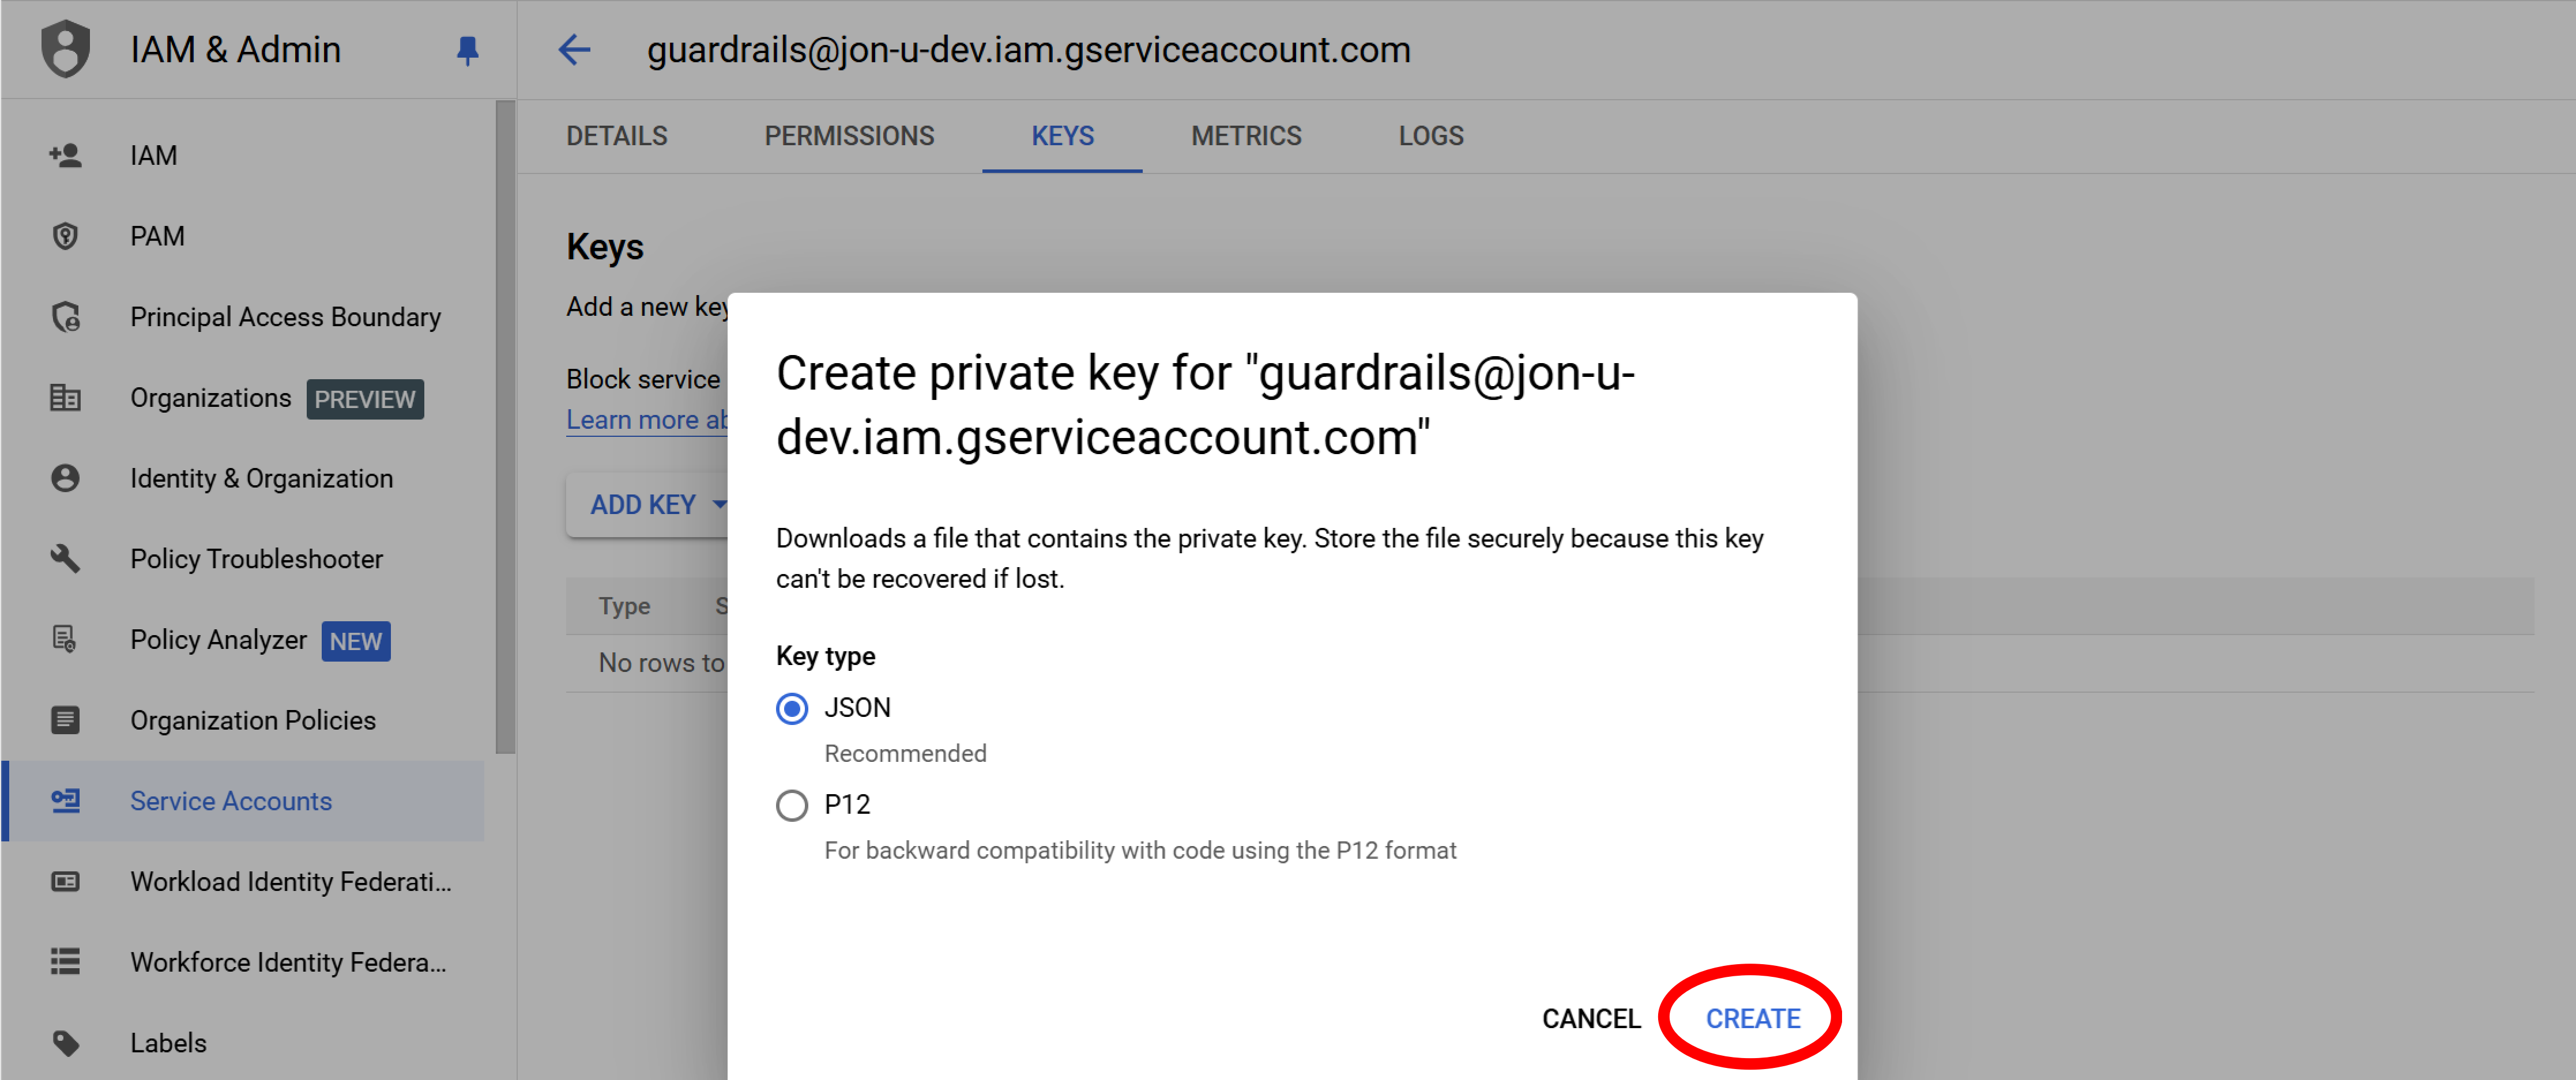
Step 9: Create key
Keep the JSON default, and select Create. The key file will be saved to your downloads folder with a name like YOUR_PROJECT-fd9ce4f0e38b.
Step 10: Enable APIs
You will to enable these APIs:
- Cloud Resource Manager
- Cloud Pub/Sub
- Cloud Logging
Navigate to APIS & services and review the list of enabled APIs. If any of the above are not include, then:
- Choose Enable APIs and Services
- Search for the API by name
- Choose Enable

Step 11: Review
In this guide you've learned how to prepare the least-privileged credentials — and enable the minimal set of APIs — needed to import your project into Guardrails.
Next Steps
In the next guide you will use those credentials to import a GCP project into Guardrails.
Progress tracker
- Prepare a GCP Project for Import to Guardrails
- Connect a GCP Project to Guardrails
- Observe GCP Activity
- Enable Your First Guardrails Policy Pack
- Review Project-Wide Governance
- Create a Static Exception to a Guardrails Policy
- Create a Calculated Exception to a Guardrails GCP Policy
- Send an Alert to Email
- Apply a Quick Action
- Enable Automatic Enforcement