Prepare an AWS Account for Import to Guardrails
Prepare an AWS Account for Import to Guardrails
In this guide, you will prepare an AWS account to be imported into Guardrails by deploying an IAM access role using a CloudFormation template.
This is the first guide in the Getting started with AWS series.
Prerequisites
-
Access to the Turbot Guardrails console with admin privilege.
-
An AWS Account to import into Guardrails.
[!NOTE] While Guardrails does not need admin access to your AWS account, you will need elevated access to create the cross account roles necessary to import the account in readonly mode.
Step 1: Login to Guardrails
Login to your Guardrails console and select the CONNECT option from the home page.
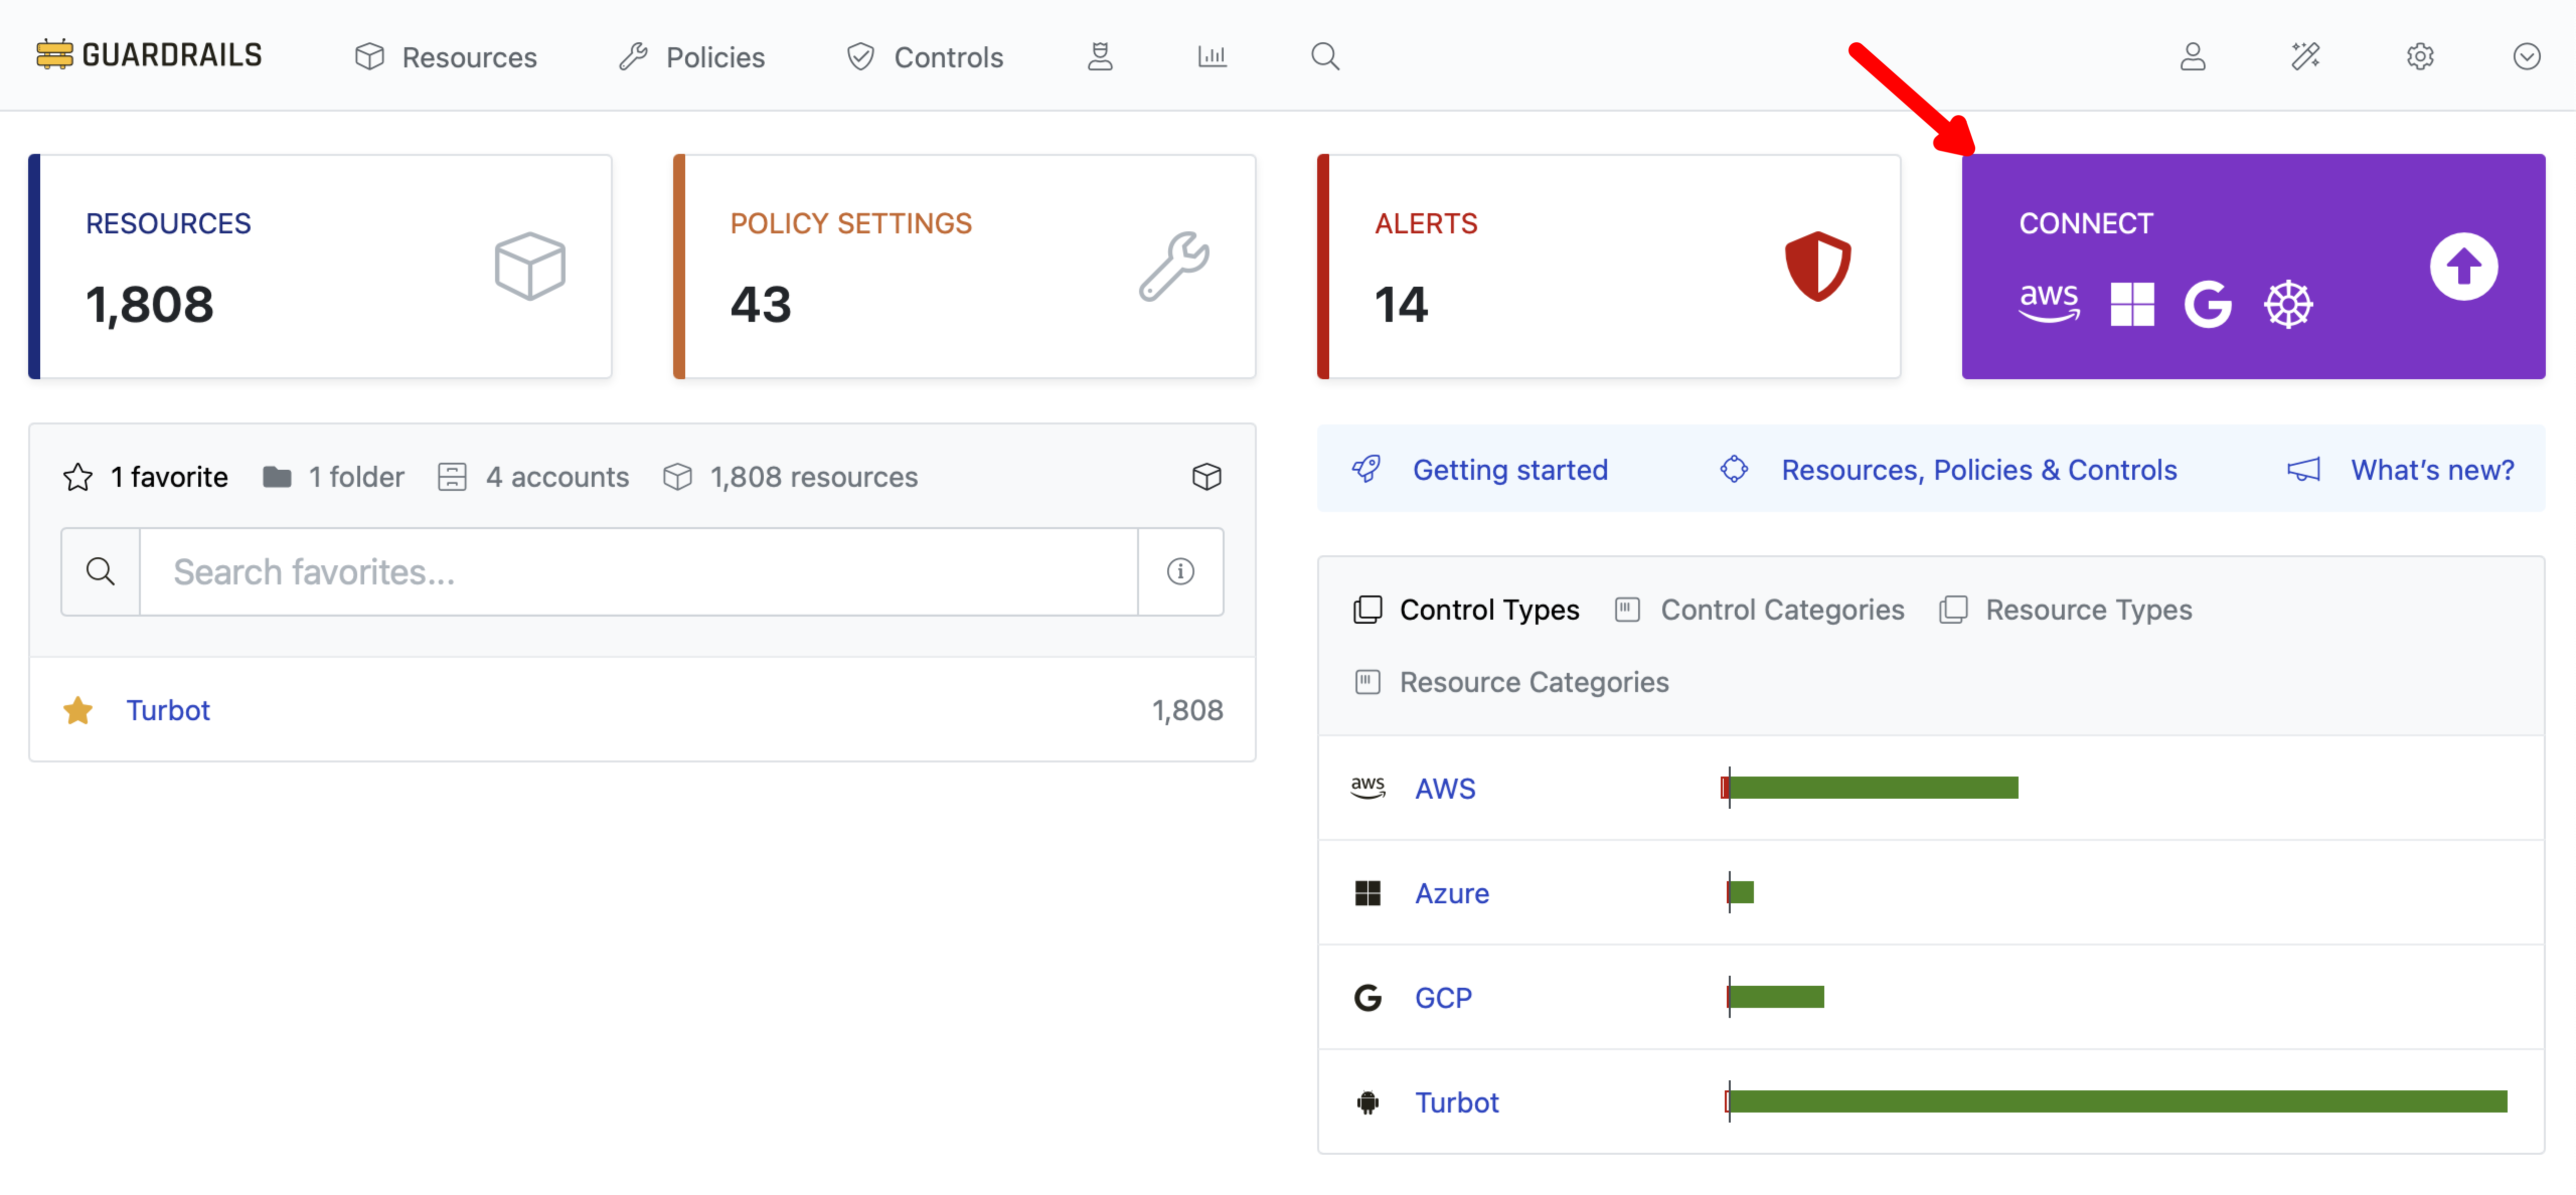
Select AWS.
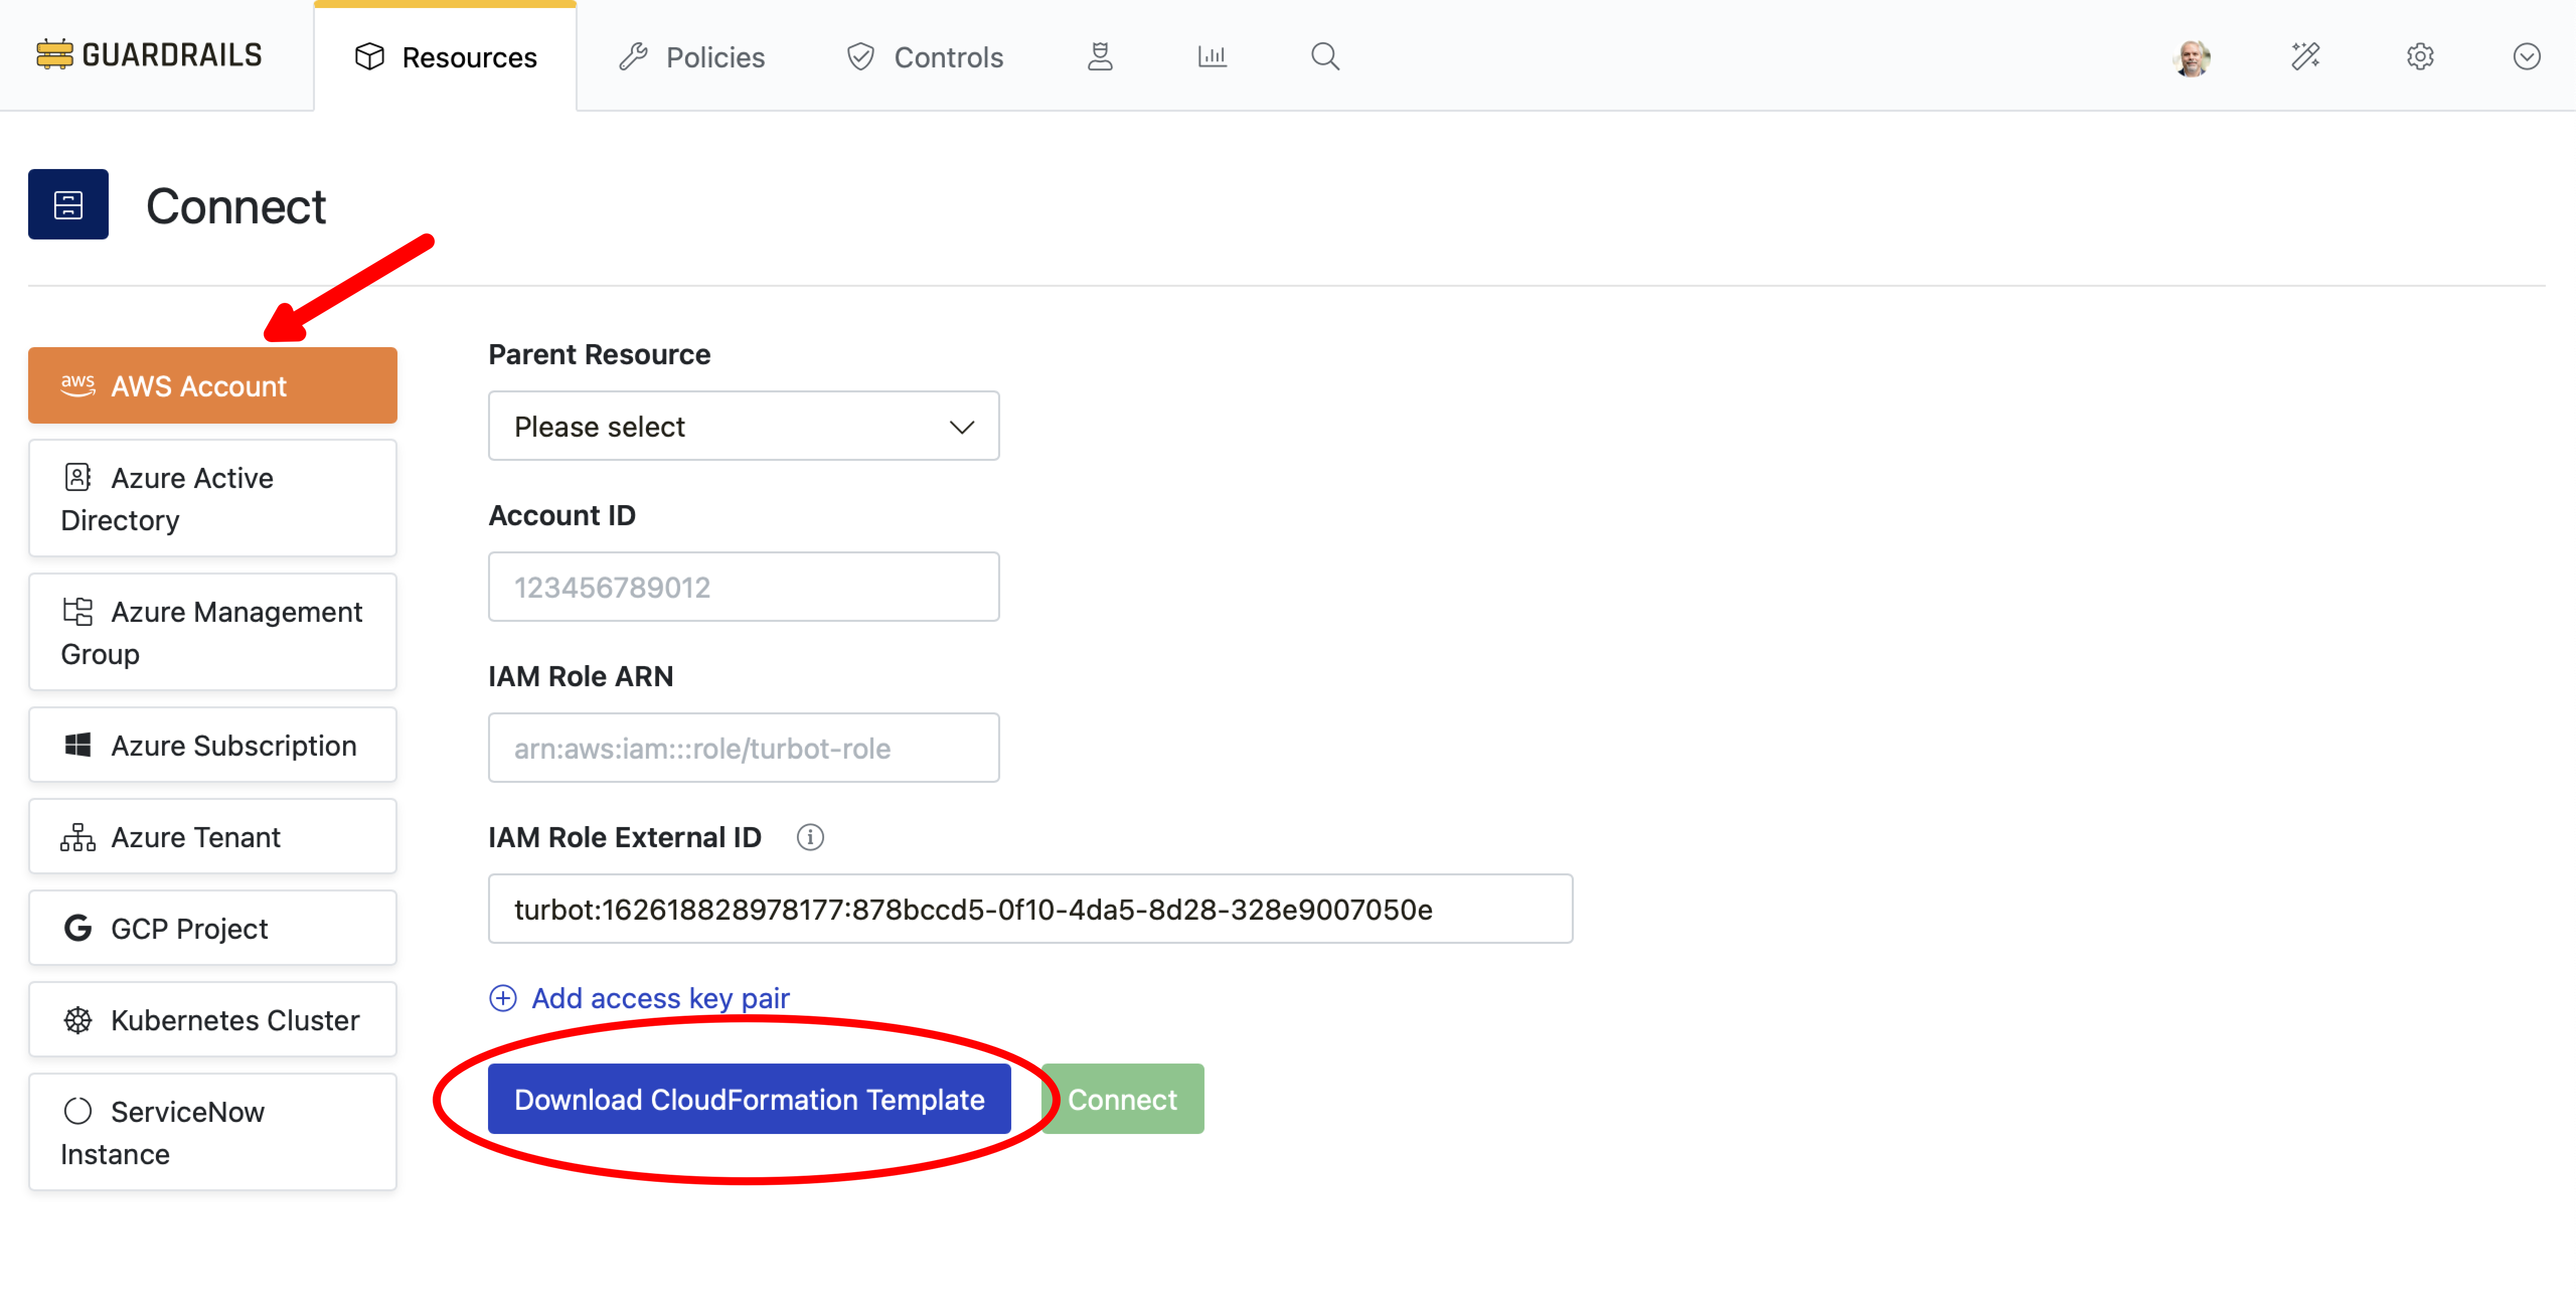
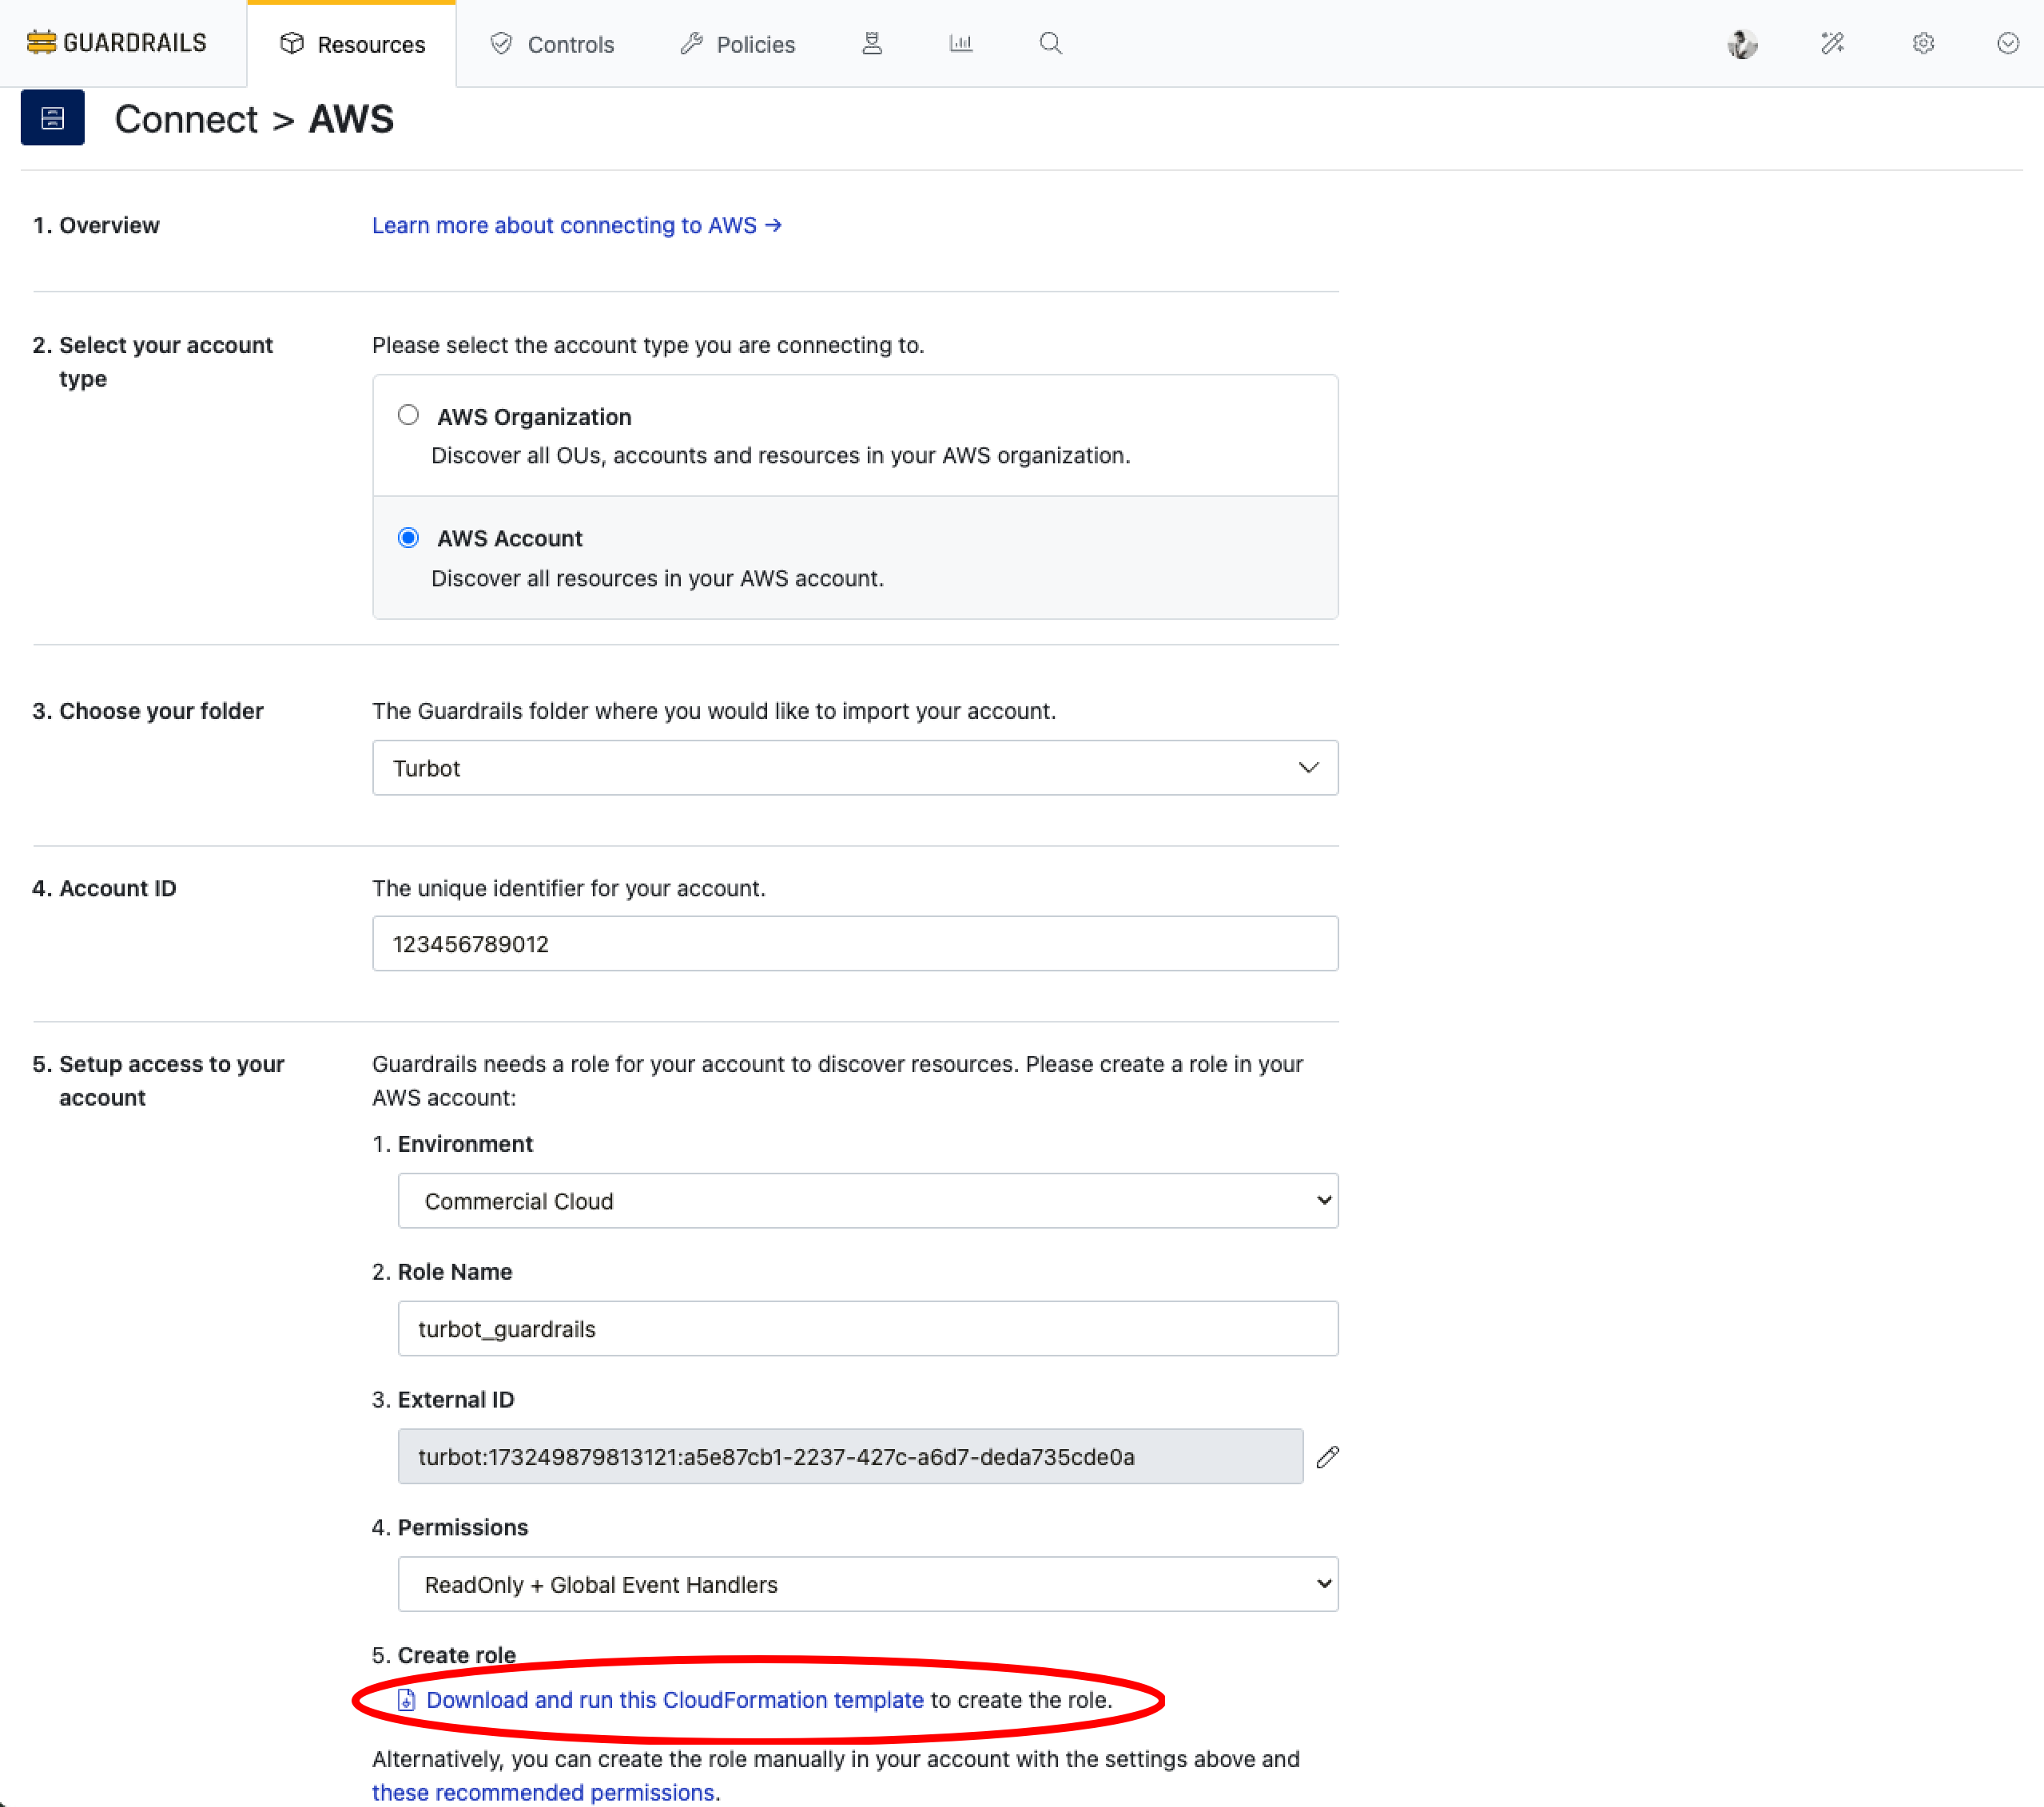
Step 2: Download the CloudFormation template
Guardrails needs an IAM role that grants permission to discover resources in your account and to monitor changes via event handlers. The CloudFormation template downloaded in this step has the minimum permissions necessary to create that role.
Select AWS Account from the left navigation and then click the blue Download CloudFormation Template button to download the CloudFormation template you will use to create the required IAM role in your AWS account.
[!IMPORTANT] Leave this browser tab open while we do the next steps in a different tab. Closing and reopening this page will cause a new random ExternalID to be generated.
Step 3: Create the stack
Open a new tab and login to your AWS account. Navigate to the CloudFormation service and create a stack with new resources.
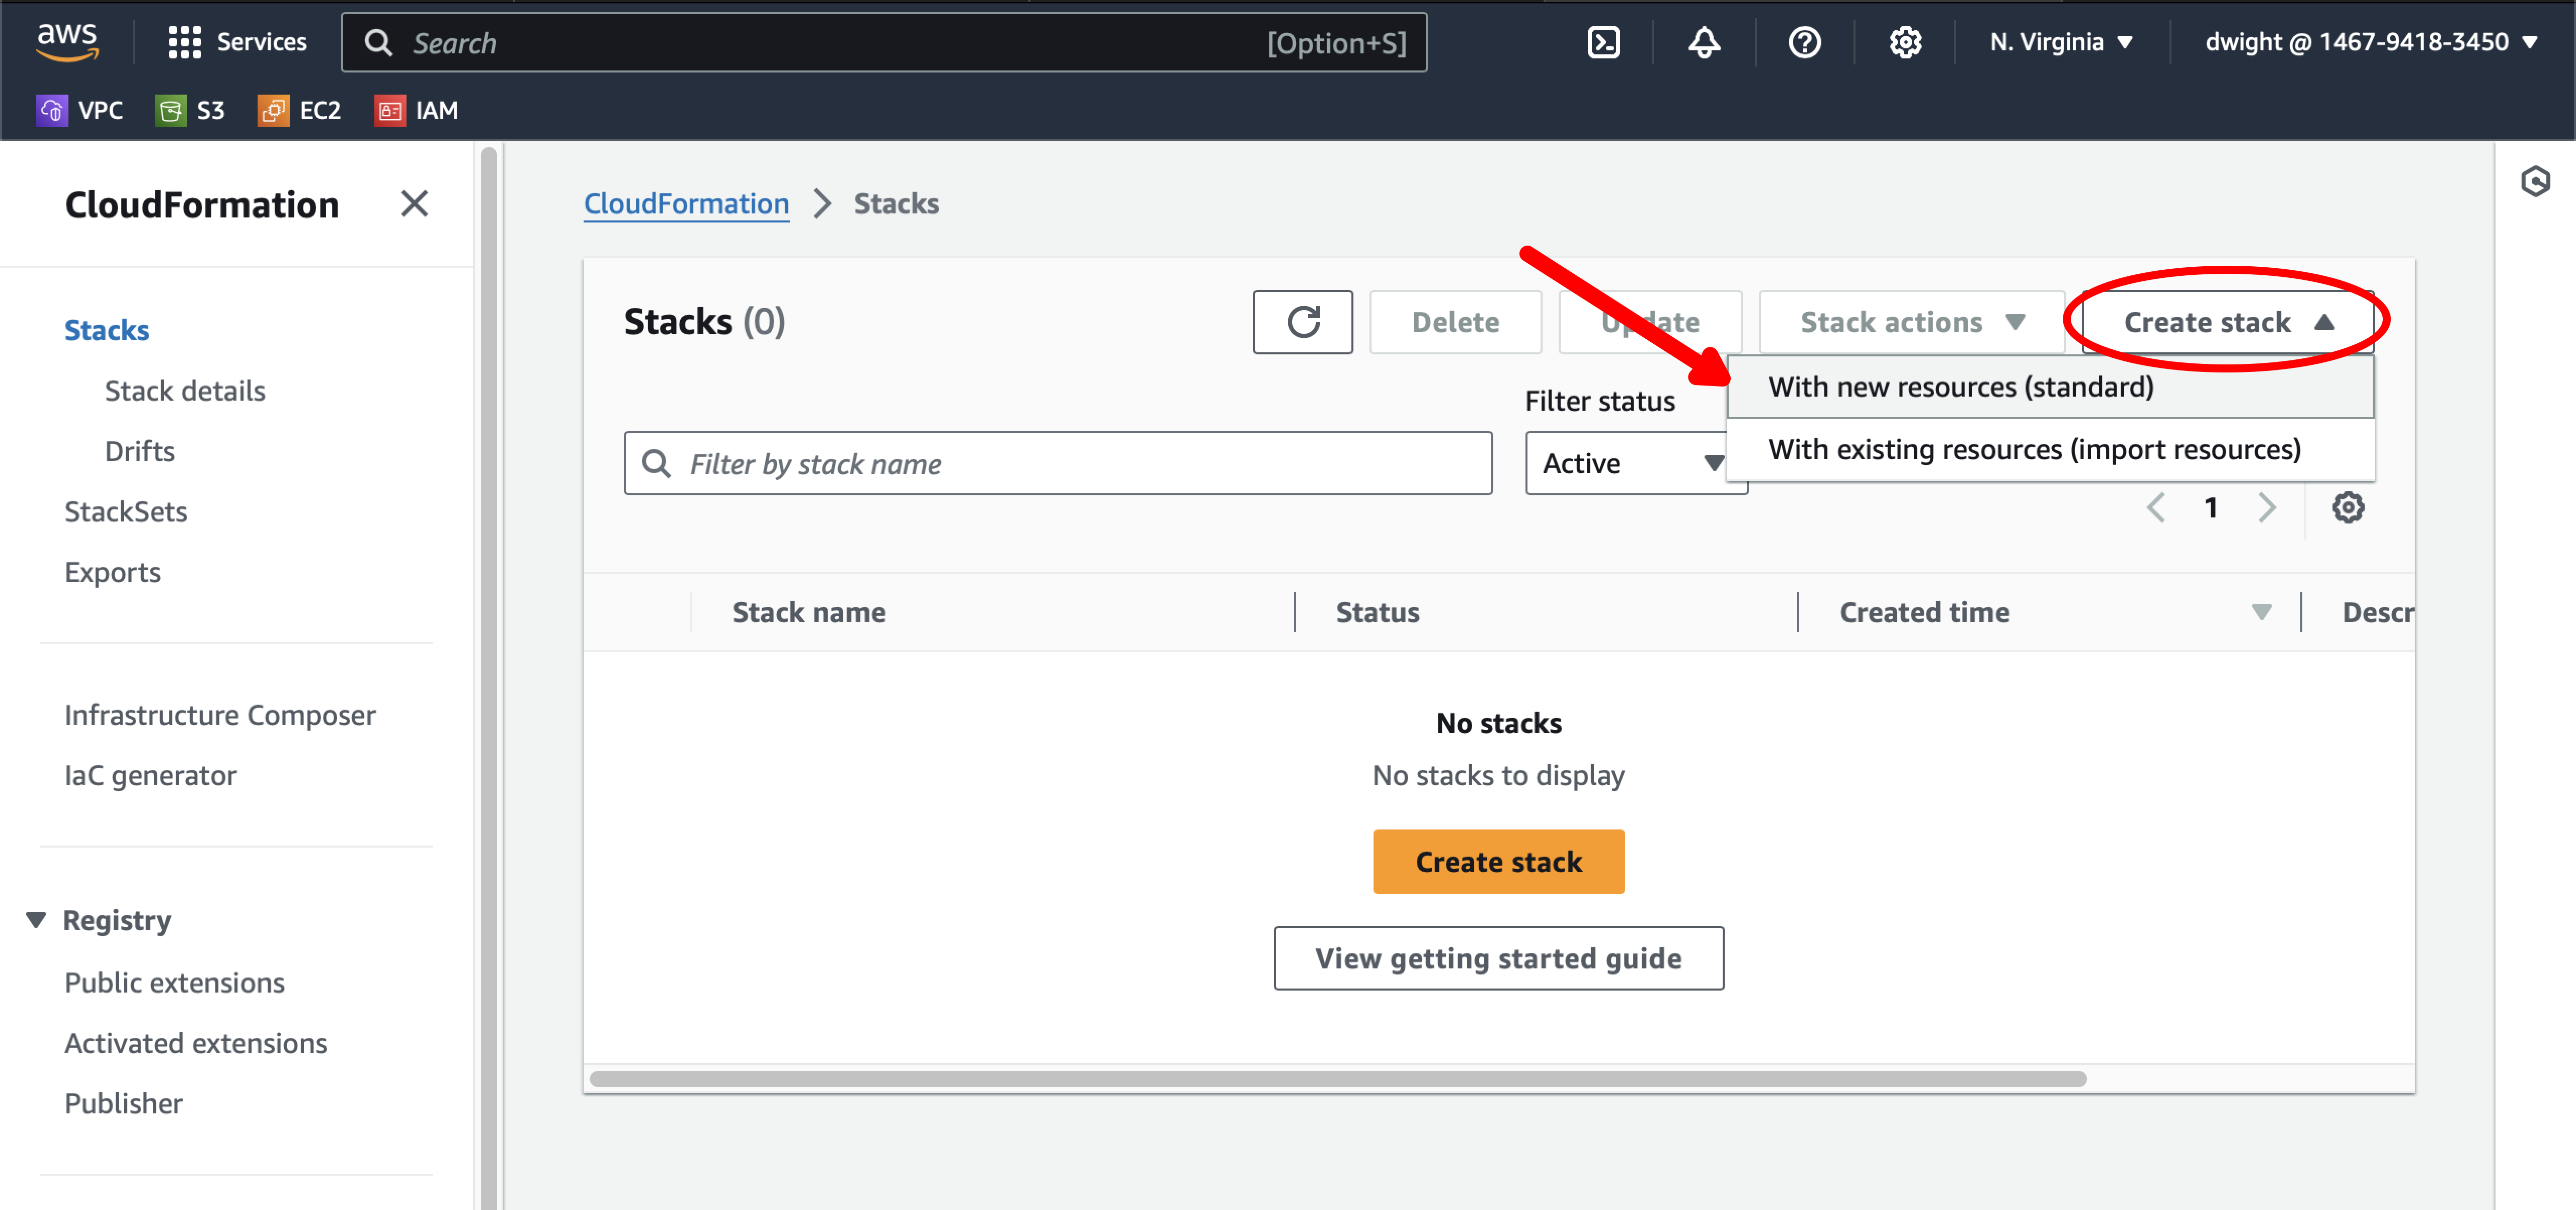
Step 4: Upload the template
On the Create Stack page, select Upload a template file and then click the Choose file button.
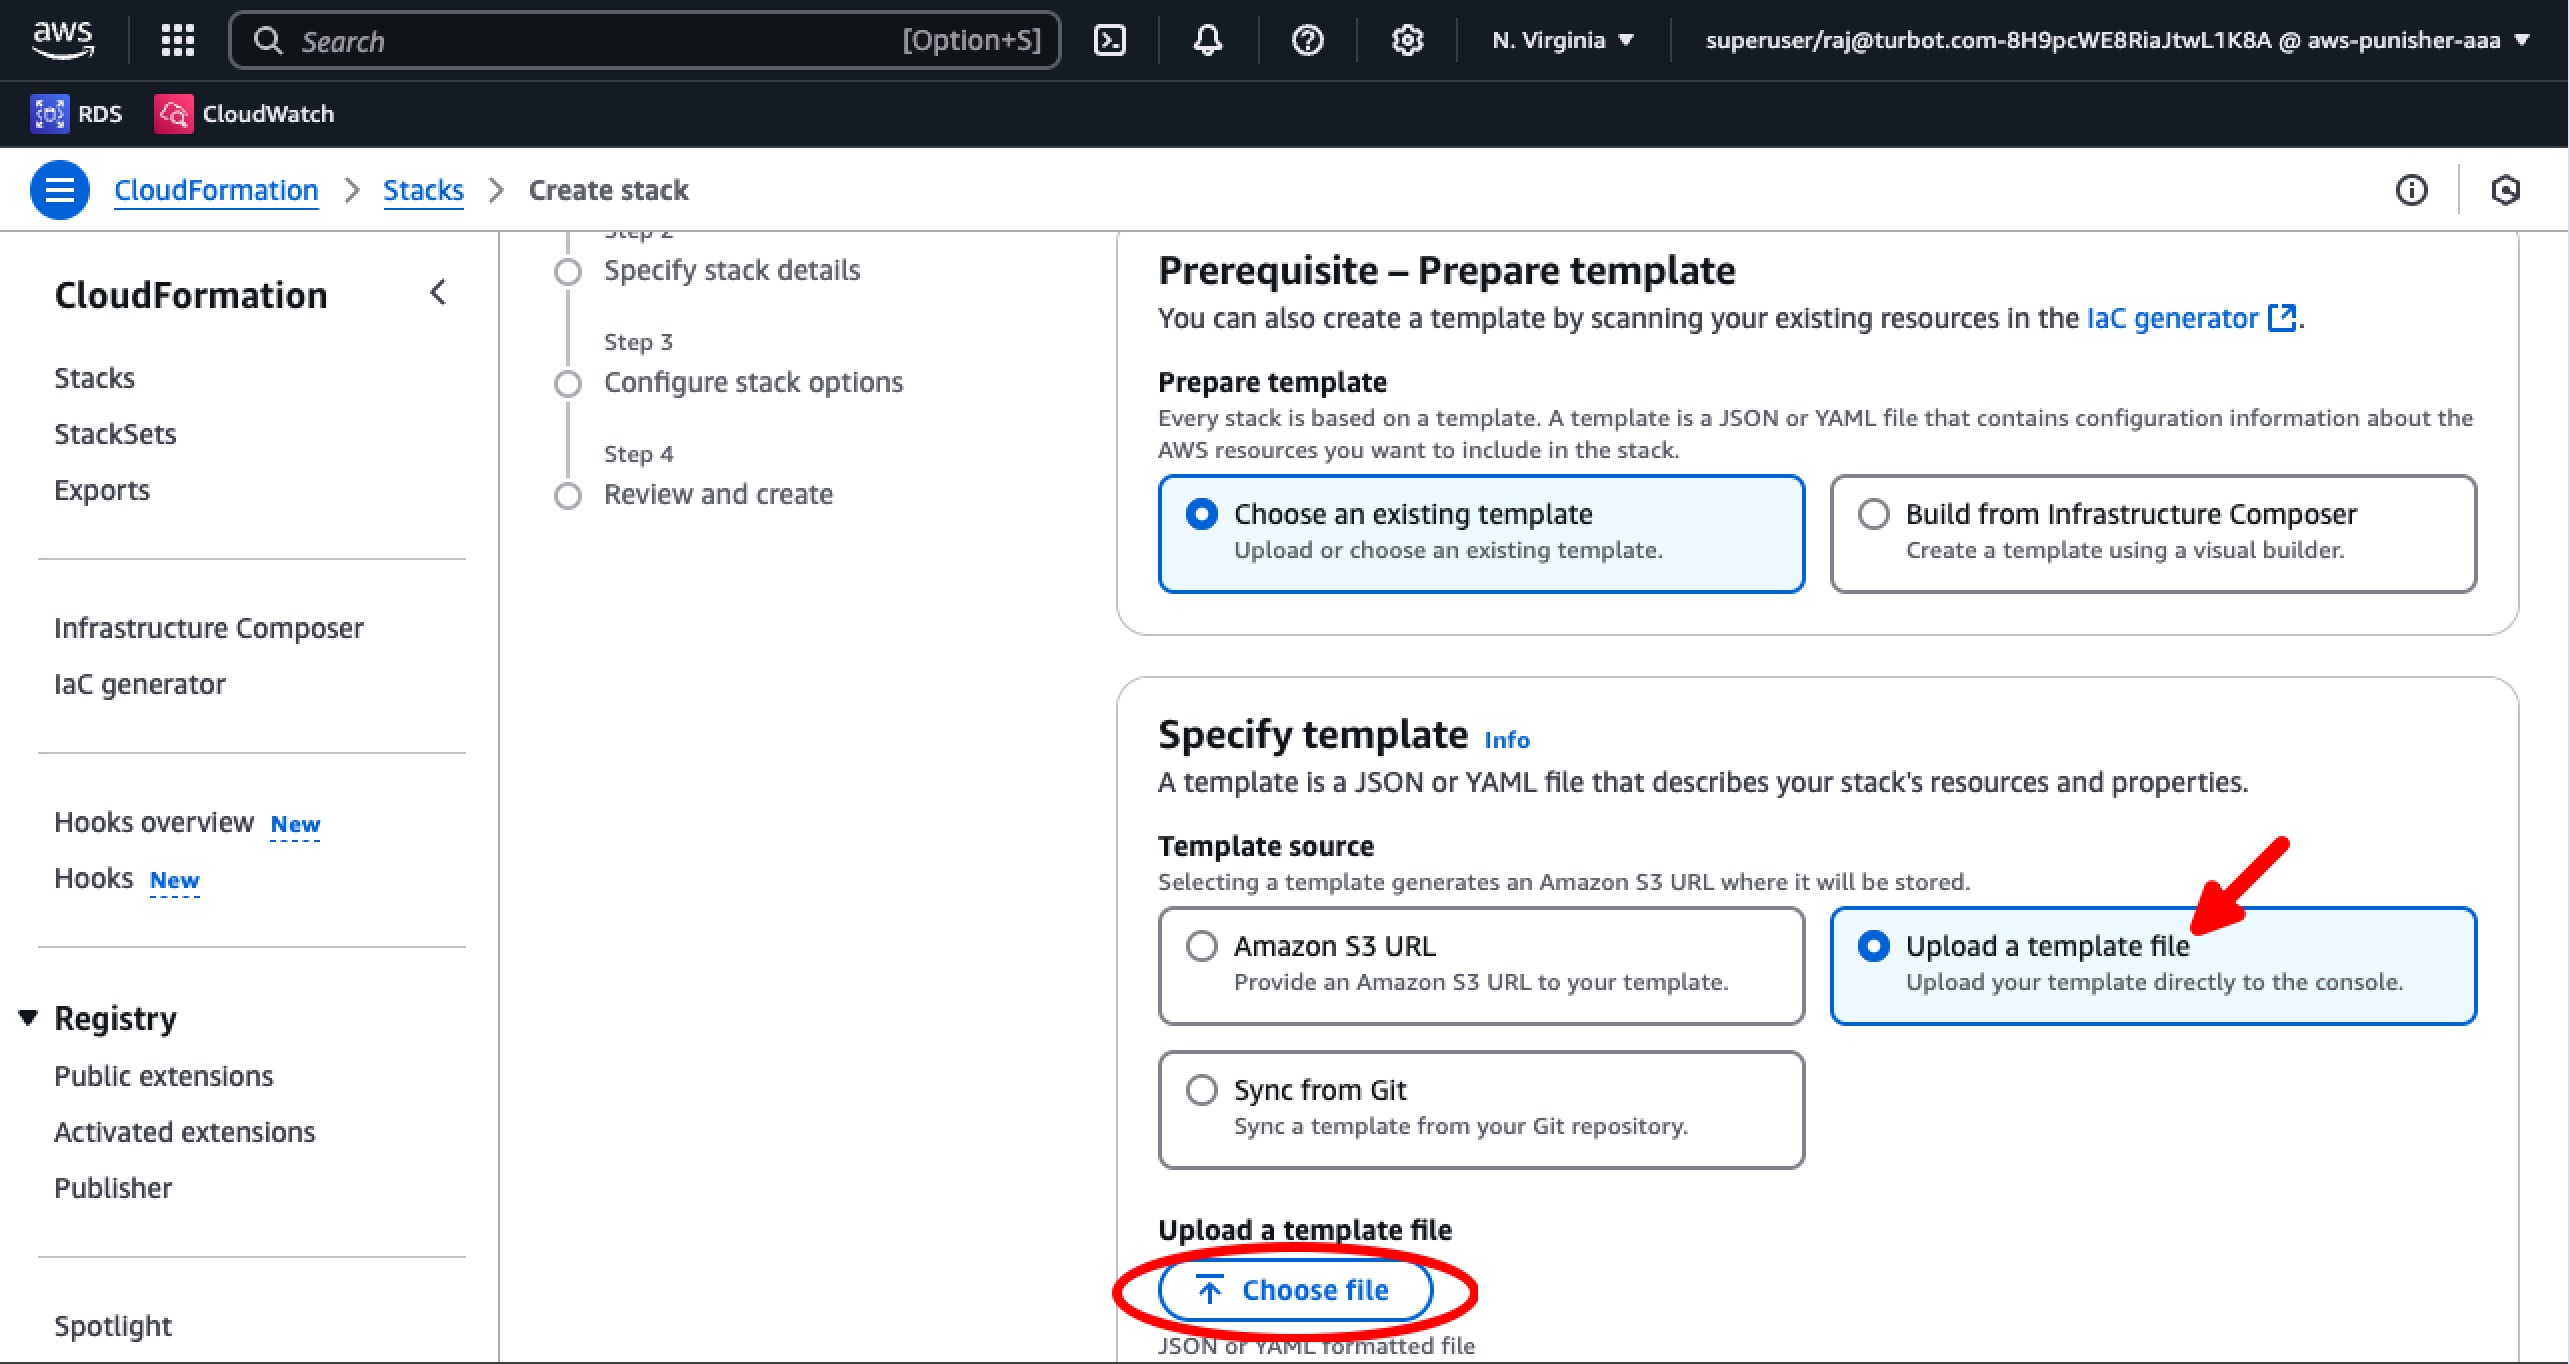
Use the file dialog to find and upload the file you downloaded in step 2, then select the Next button.
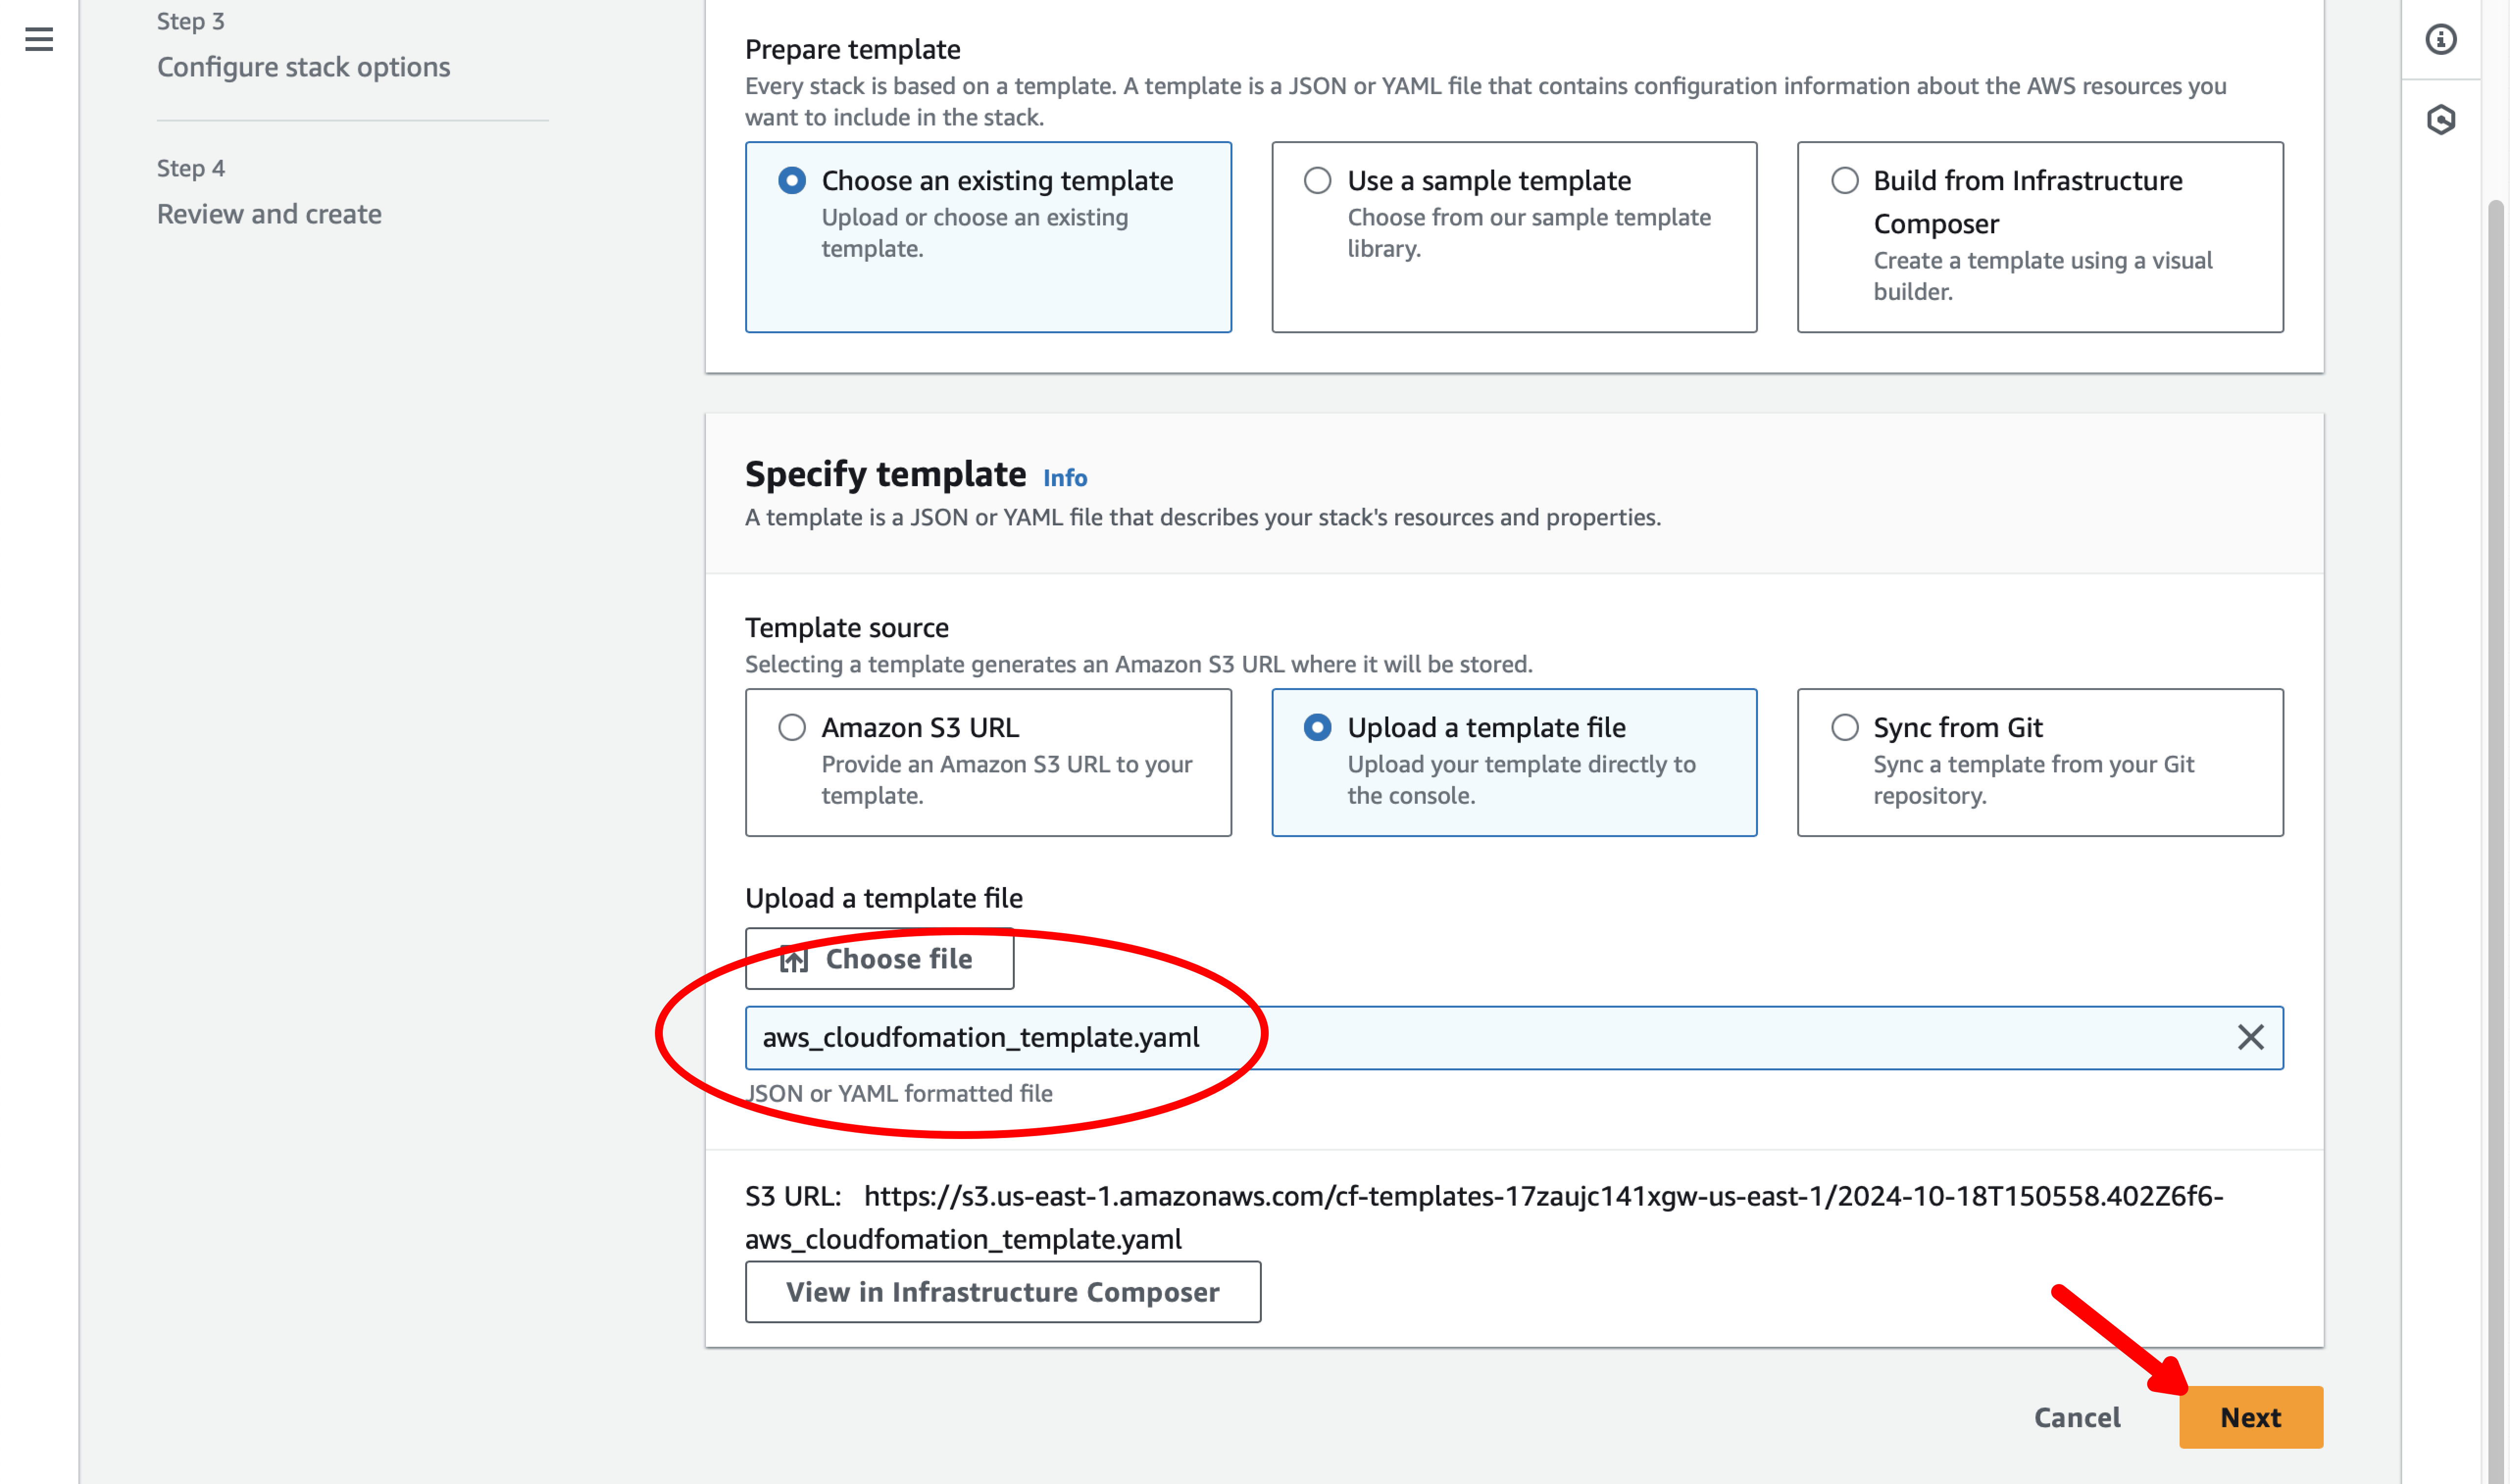
Step 5: Launch the stack
In the Stack Name field, enter guardrails-import and then scroll down the page.

Review the rest of the default values (no changes should be needed), and then select the Next button at the bottom of the page:

On the next page of the stack wizard, scroll to the bottom, enable the acknowlegement checkbox and then the Next button.
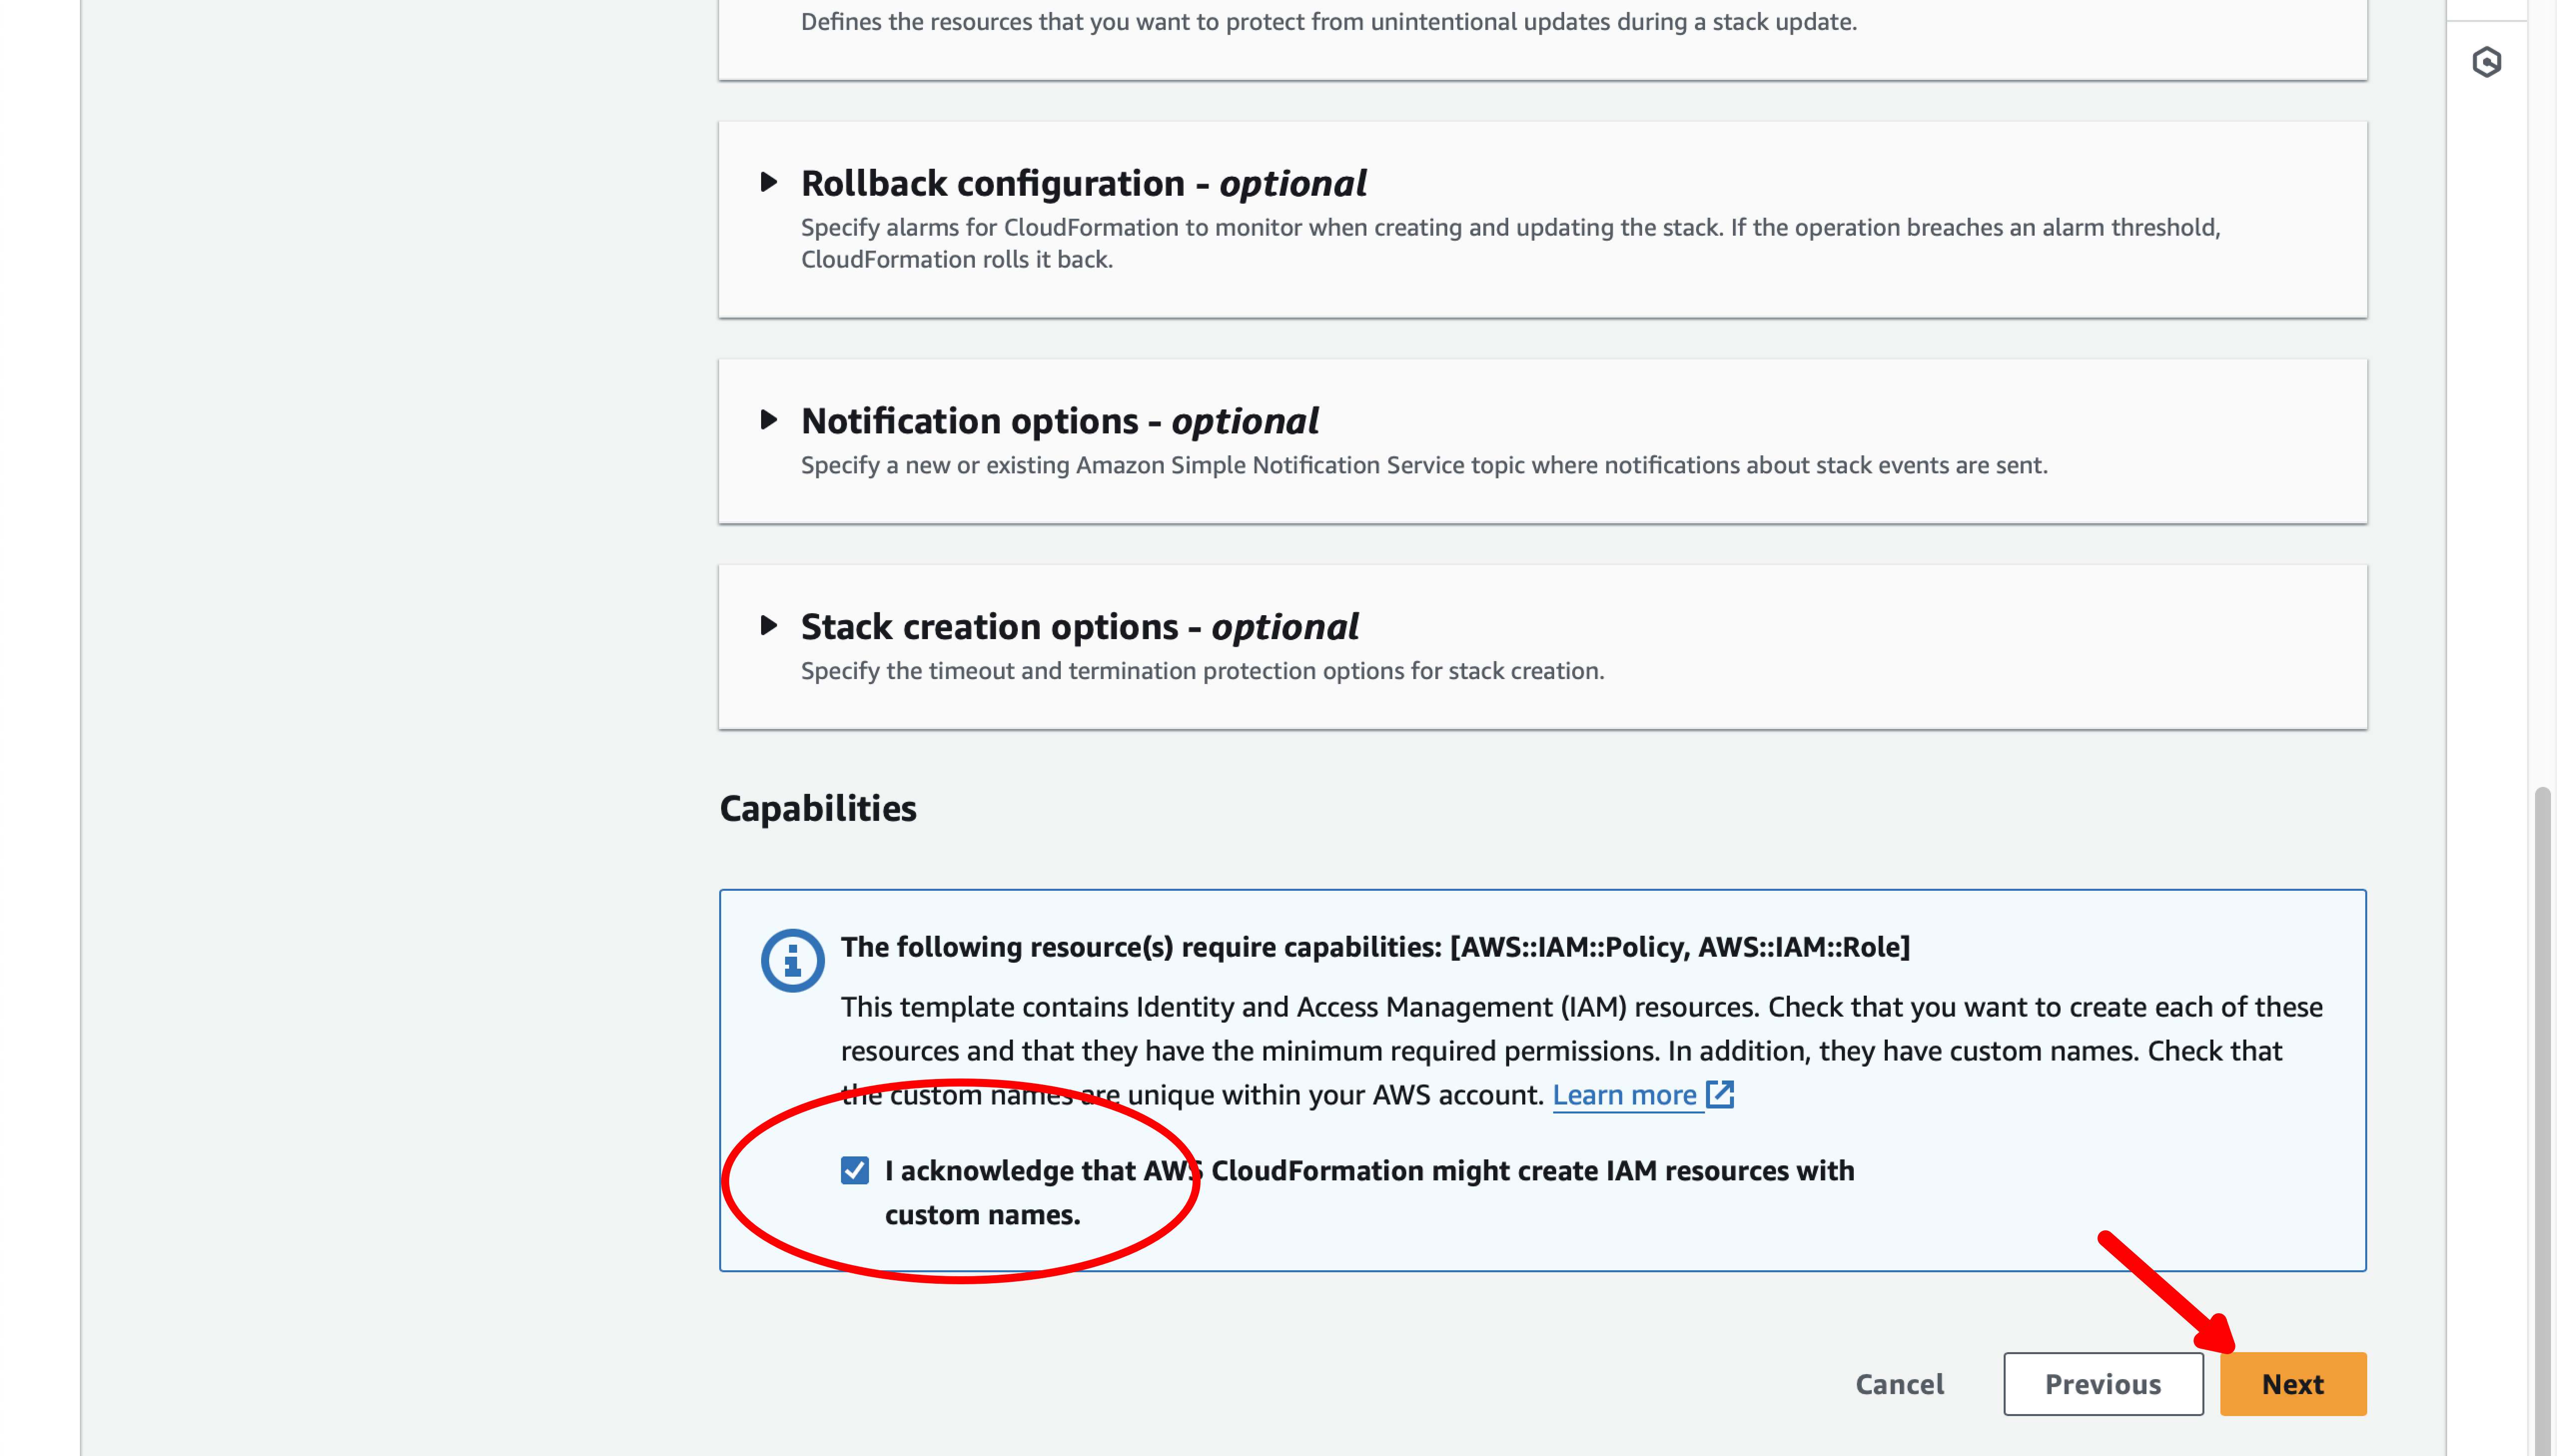
On the final page of the wizard, scroll to the bottom of the page and select the Submit button.
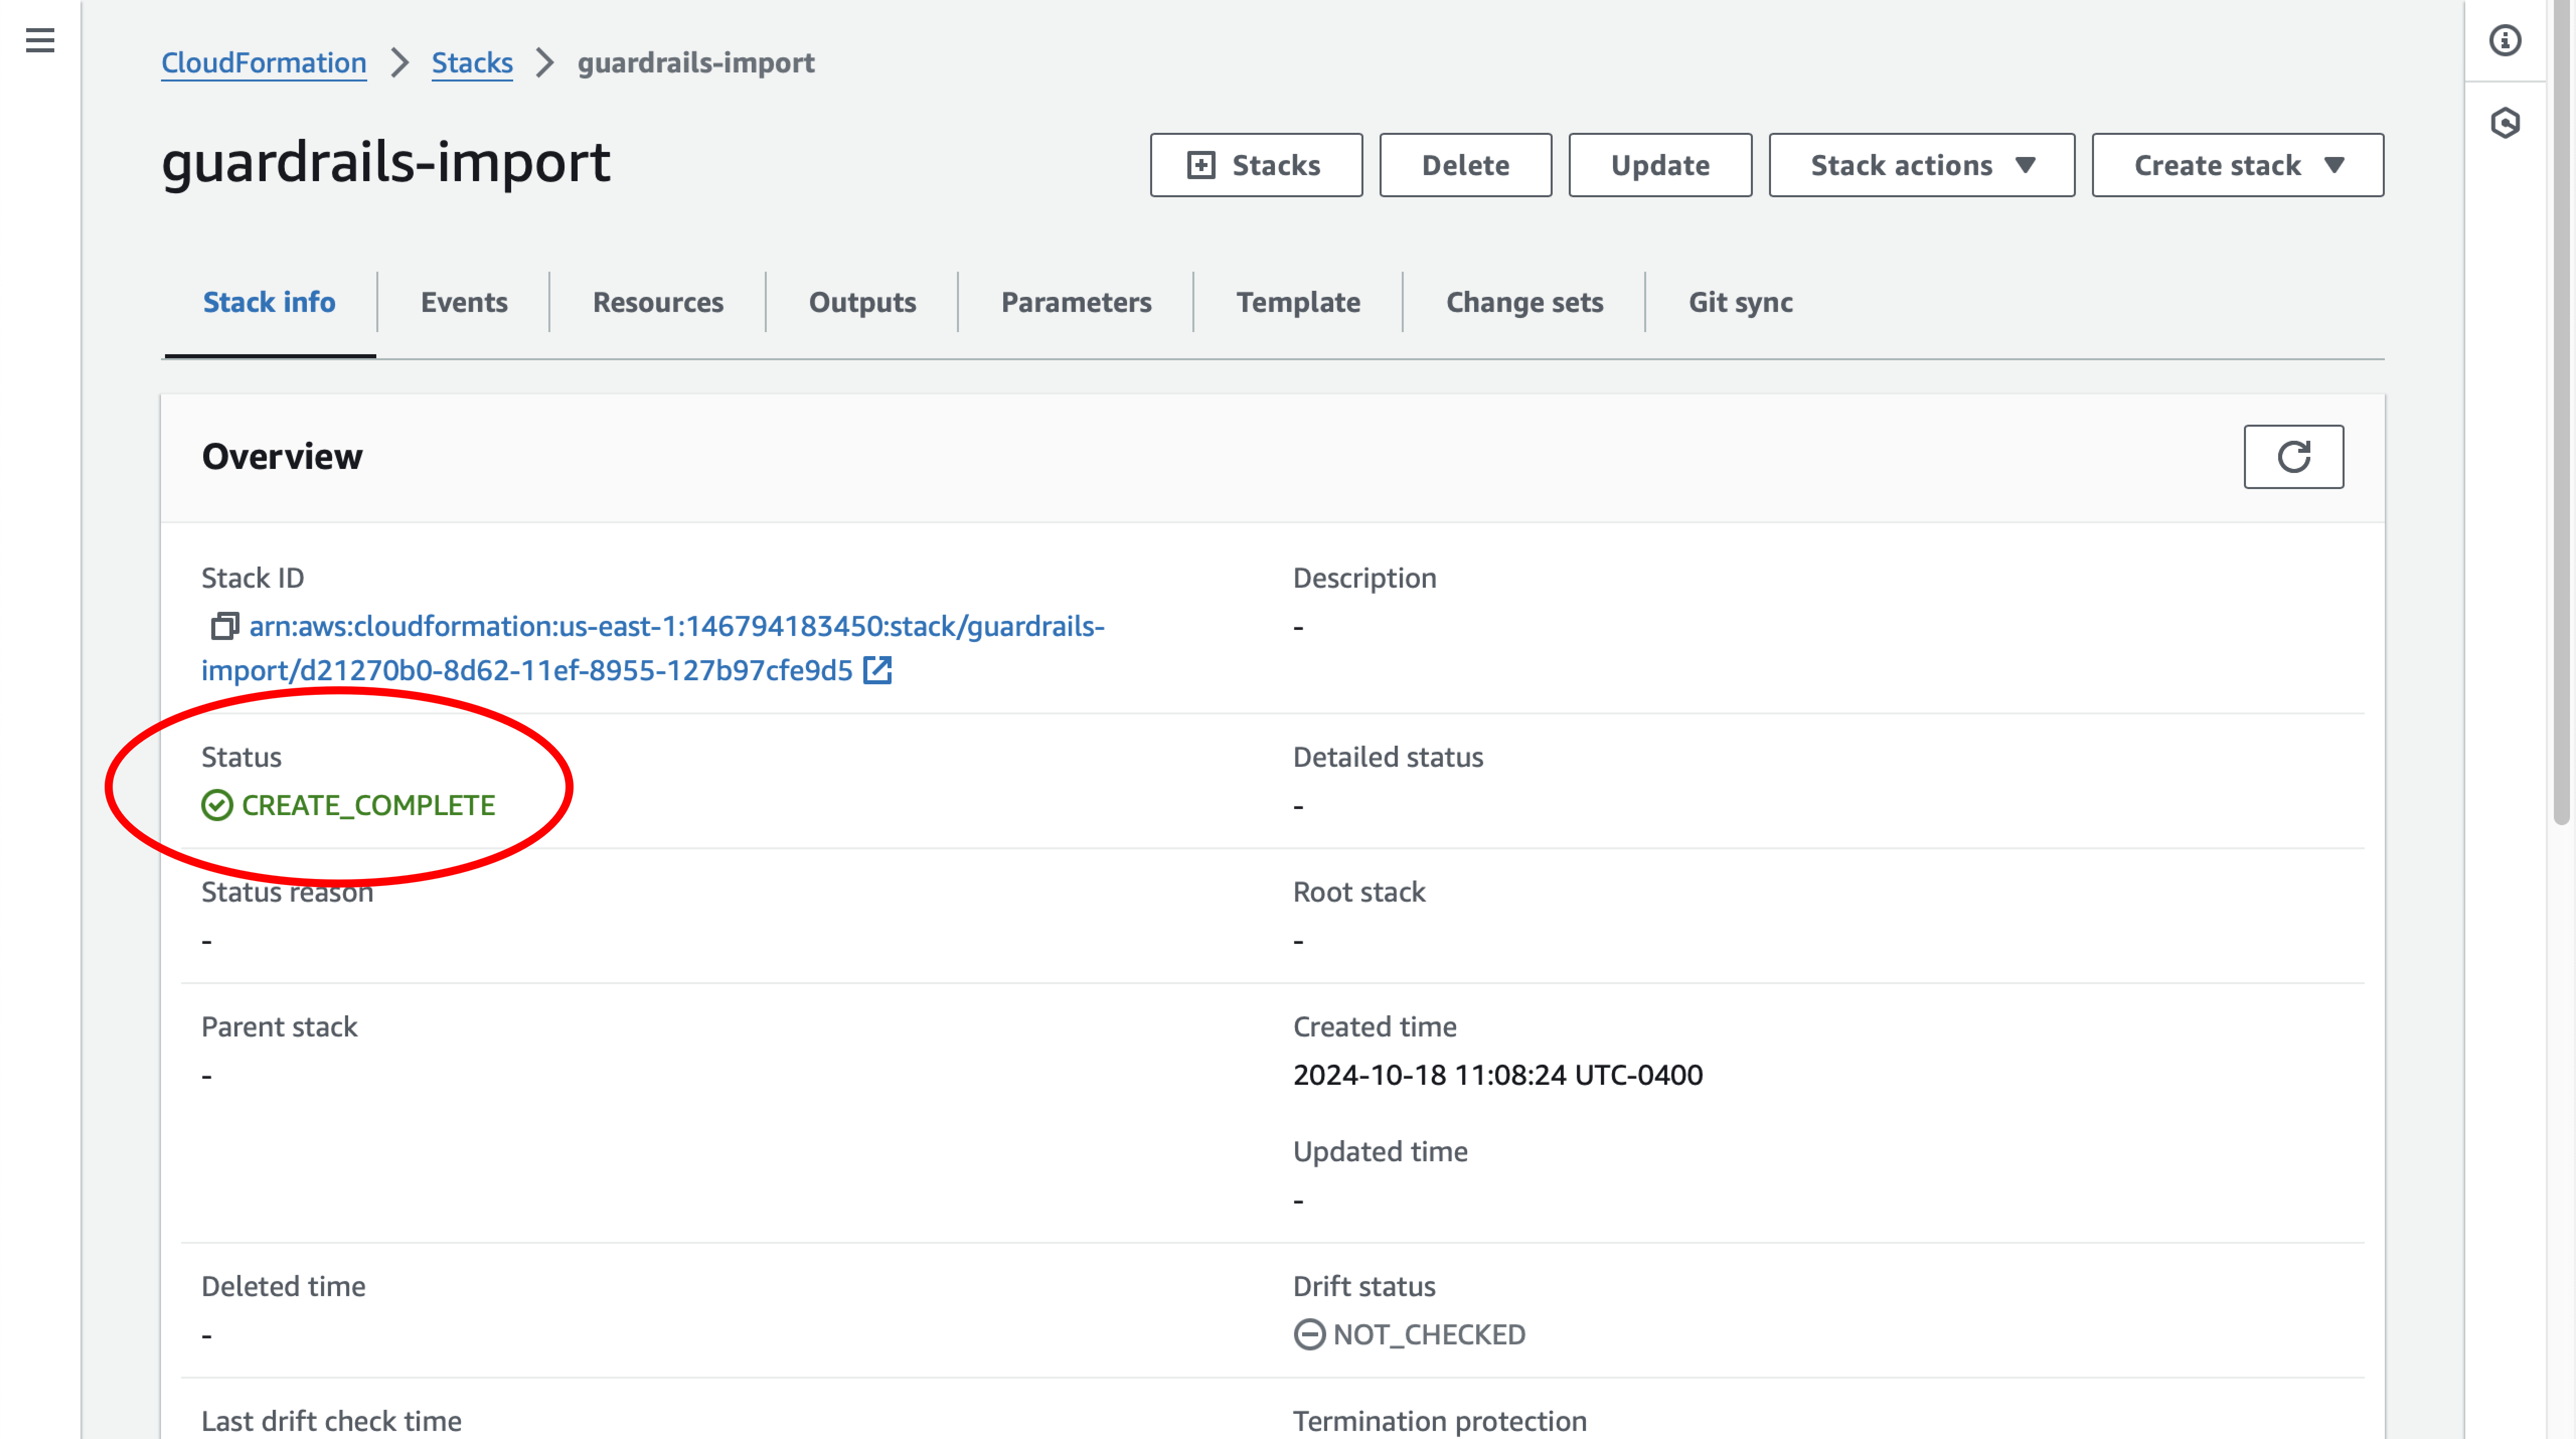
Step 6: Verify the stack
Wait for the stack to complete and for the status of the stack to change to CREATE_COMPLETE.
Step 7: Review stack outputs
Select the Outputs tab and copy the ARN of the Guardrails IAM role.
Step 8: Review
In this guide you've learned how to deploy an AWS role that grants minimal permissions to Guardrails using the AWS CloudFormation service.
Next Steps
In the next guide you will use the IAM role you just created to import an AWS account into Guardrails.
Troubleshooting
If you run into issues following this guide, jump in the #guardrails channel in the Turbot Community Slack, or open a support ticket.
Progress tracker
- Prepare an AWS Account for Import to Guardrails
- Connect an AWS Account to Guardrails
- Observe AWS Resource Activity
- Enable Your First Policy Pack
- Review Account-Wide Governance
- Create a Static Exception to a Guardrails Policy
- Create a Calculated Exception to a Guardrails Policy
- Send an Alert to Email
- Apply a Quick Action
- Enable Automatic Enforcement