Policy Packs
Policy Packs
Policy packs (previously named Smart Folders) enable administrators to apply one or more policies across multiple accounts and/or resources, thus automating what would otherwise be a time-consuming manual process. You create, delete, and rename a Policy Pack just like a regular Guardrails folder, then attach it to the Guardrails hierarchy. The policies it defines govern all resources below that point in the hierarchy.
Create a Policy Pack
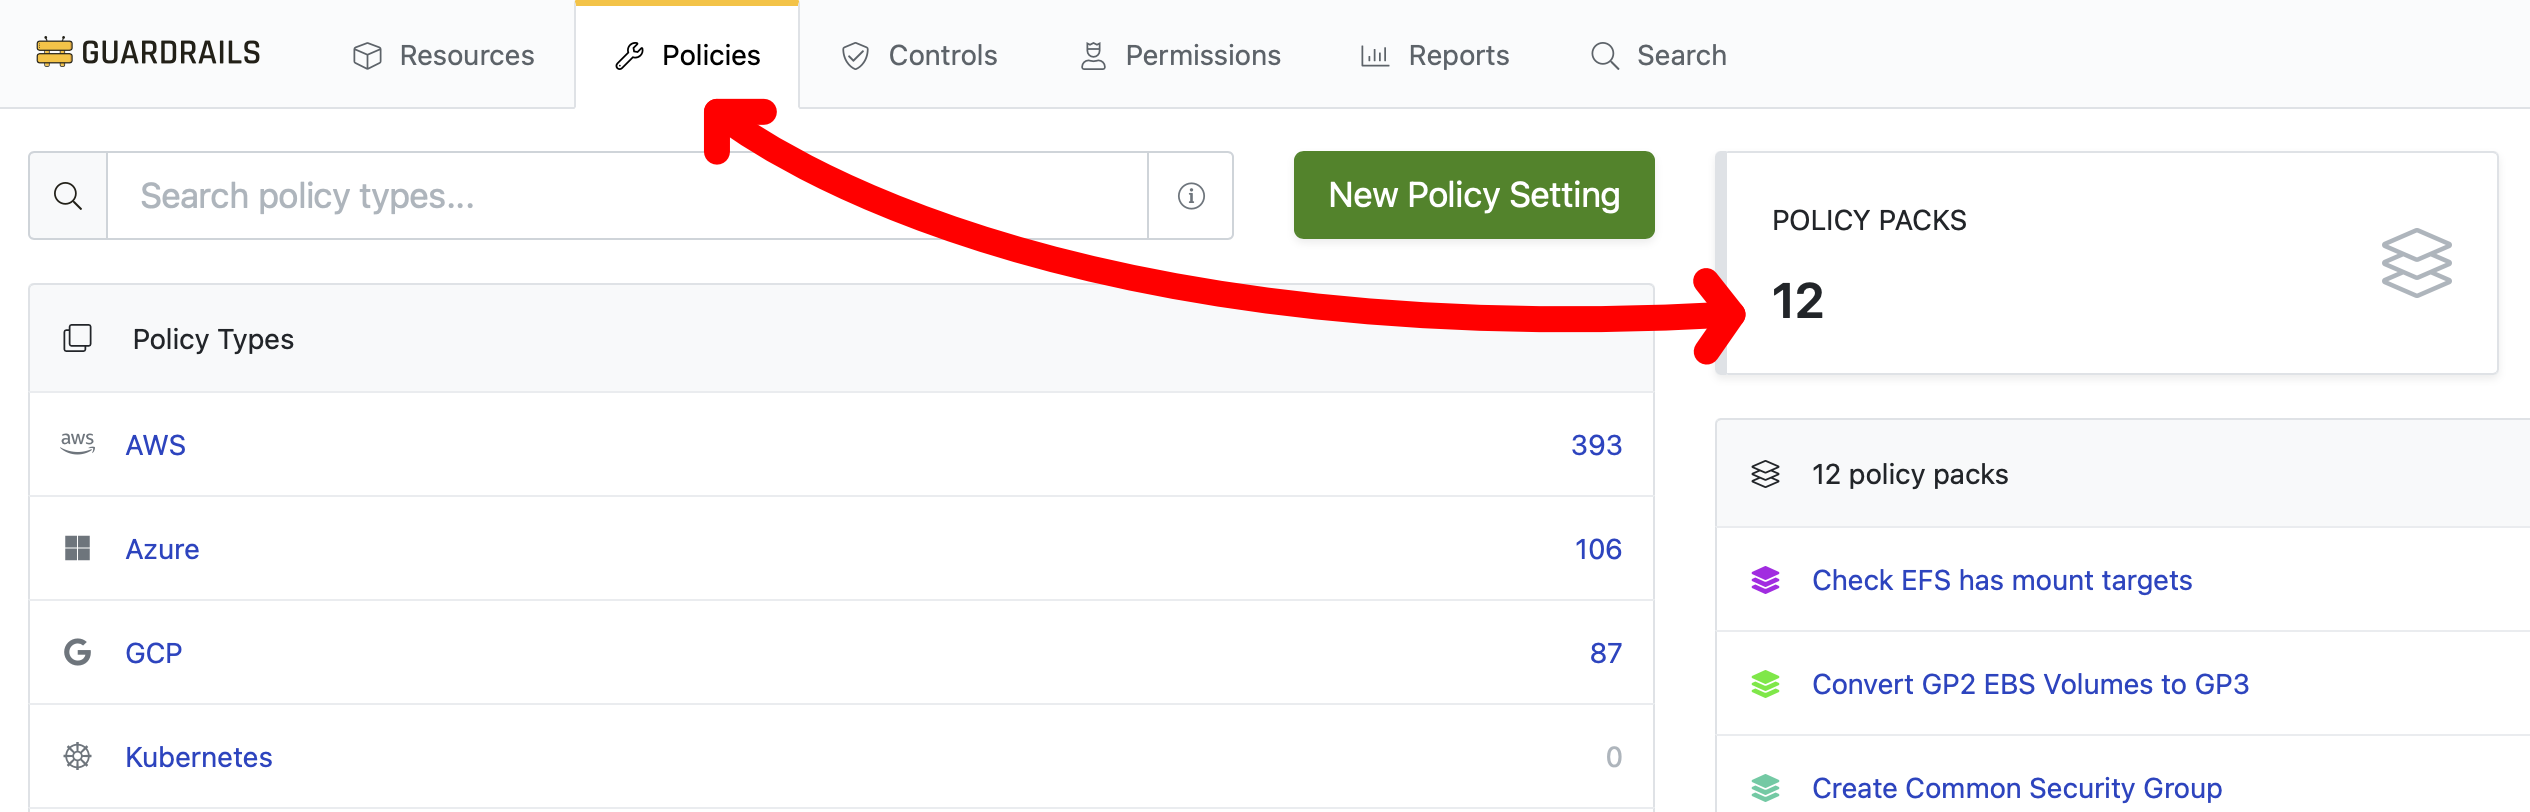
- Click on the "Policies" link in the top menu bar.
- Select the large grey "Policy Packs" button.
- Click on the green "New Policy Pack" button on the right side of the page
- Give the pack a name, description and a unique aka (if desired).
- Finish by clicking the green "Create" button
Tip: It is most useful to create Policy Packs (and other Guardrails configuration) as code. See below for details.
Attach a Policy Pack to a Resource
- Navigate to the target folder or resource in the Resource tab.
- When you get there, click on the Detail tab.
- In the Policy Pack module on the right, click Manage.
- Click "Add" then select your policy pack.
[!NOTE] See detailed guide here.
Detach a Policy Pack from a Resource
-
Similar to attaching a Policy Pack, navigate to the resource that the Policy Pack is attached to.
-
Click the Details tab.
-
Click Manage towards the bottom right of the page.
-
The Edit policy pack attachments pop up overlay will appear and show the policy packs that are currently attached to the resource. To the right of the policy pack name that is being detached, click the X icon.
-
Click Save to confirm.
Tip: The order of Policy Pack attachments matters. Guardrails resolves policies by starting at the resource and ascending the resource hierarchy towards the root. The closest policy setting to the resource wins. If the same policy is set several times in Policy Packs attached to a given resource, then the policy set in the lowest attached Policy Pack will be the effective policy value.
If no policies are set, Guardrails uses the default policy value. The "Enterprise Enforcements" and "Enterprise Checks" policy packs are intentionally indented to indicate their presence in the folder hierarchy. The check-mod policies in "Enterprise Checks" are set lower because we are not yet ready for enforcements.
Note: Policy Pack attachments and detachments are heavy database operations if the Policy Pack is attached to many resources or if it contains many policies (or both!). It is important to be mindful when doing large policy or attachment changes.
Create a Policy Setting on an Existing Policy Pack
- Navigate to the Policies tab and click the relevant Policy pack on the right side.
- Click the green New Policy Setting button
- Create a policy setting.
For example, type in
aws s3 enabledin the Policy Type field and select the policyAWS > S3 > Enabledin the dropdown menu. - The resource is already defined - it is the selected Policy pack.
- Select a setting then click Create.
- Congrats! You now how a policy that is contained within a Policy pack. This can be subsequently attached to a resource.
Create a Policy Pack as Code
You can find a growing collection of Terraform-defined Policy Packs in the Guardrails Hub. The code for these lives in the turbot/guardrails-samples repo in the policy_packs folder.
Suppose you want to create a Policy Pack to check or enforce the minimum TLS version on an Azure storage account. First clone the repo, and navigate to the policy_packs/azure/storage folder. It contains folders for Azure-storage-related policy packs like enforce_containers_block_public_access. Create a new folder with an appropriate name, like enforce_secure_tls_version_for_storage_accounts, and copy main.tf, policies.tf, and providers.tf from a sibling folder into your new folder.
Navigate to Azure > Storage > Storage Account > Minimum TLS Version in the Policies hierarchy, and switch to the Developers tab.

Adjust main.tf for your policy, using the resource label as your AKA.
resource "turbot_policy_pack" "main" {
  title       = "Enforce Secure TLS Version for Azure Storage Accounts"
  description = "Ensure data is protected by using strong encryption protocols, reducing the risk of vulnerabilities ass
ociated with older TLS versions"
  akas        = ["azure_storage_enforce_secure_tls_version_for_storage_accounts"]
}
Adjust policies.tf for your new policy, using the Terraform code shown in the console. Ideally, include the full hierarchy path as a comment.
# Azure > Storage > Storage Account > Minimum TLS Version
resource "turbot_policy_setting" "azure_storage_account_minimum_tls_version" {
  resource = turbot_policy_pack.main.id
  type     = "tmod:@turbot/azure-storage#/policy/types/storageAccountMinimumTlsVersion"
  value    = "Check: TLS 1.2"
  # Uncomment the following line to enforce the policy
  # value    = "Enforce: TLS 1.2"
}
Adjust the README.md for your new policy.
If you haven't done so already, set up your Turbot Guardrails credentials. Then use the Turbot Guardrails Terraform Provider to install the Policy Pack.
terraform init
terraform plan
terraform apply
Contribute your Policy Pack to the Hub
To make your new Policy Pack available in the Hub, raise a pull request to turbot/guardrails-samples.