Install Mods
Install a Mod
In this guide, you will:
- Install a mod in the Guardrails workspace using the Guardrails UI.
- Monitor and troubleshoot the mod install process.
Guardrails is designed to enable organizations to selectively install policies, controls, and guardrails tailored to specific services. This collection of Guardrails resources is known as a Mod. Guardrails published Mods are typically focused on a particular service within a specific cloud provider.
Prerequisites
- Turbot/Owner permissions at the Turbot resource level.
- Familiarity with Guardrails console.
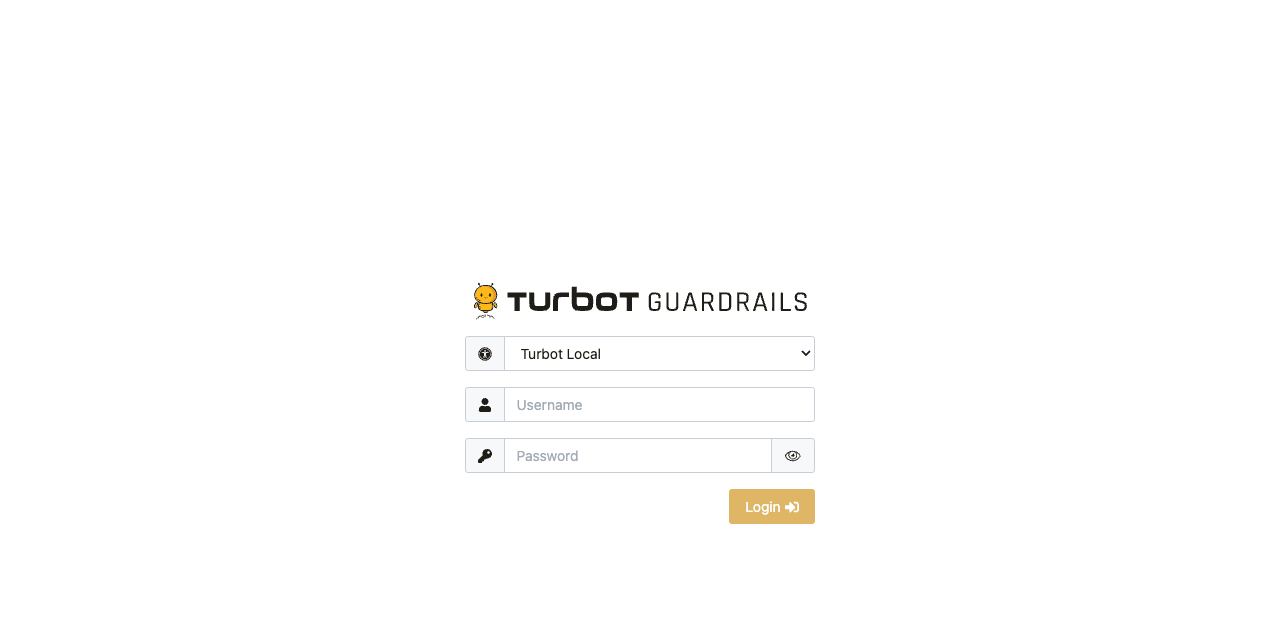
Step 1: Login to Guardrails Console
Log into the Guardrails console with provided local credentials or by using any SAML based login.
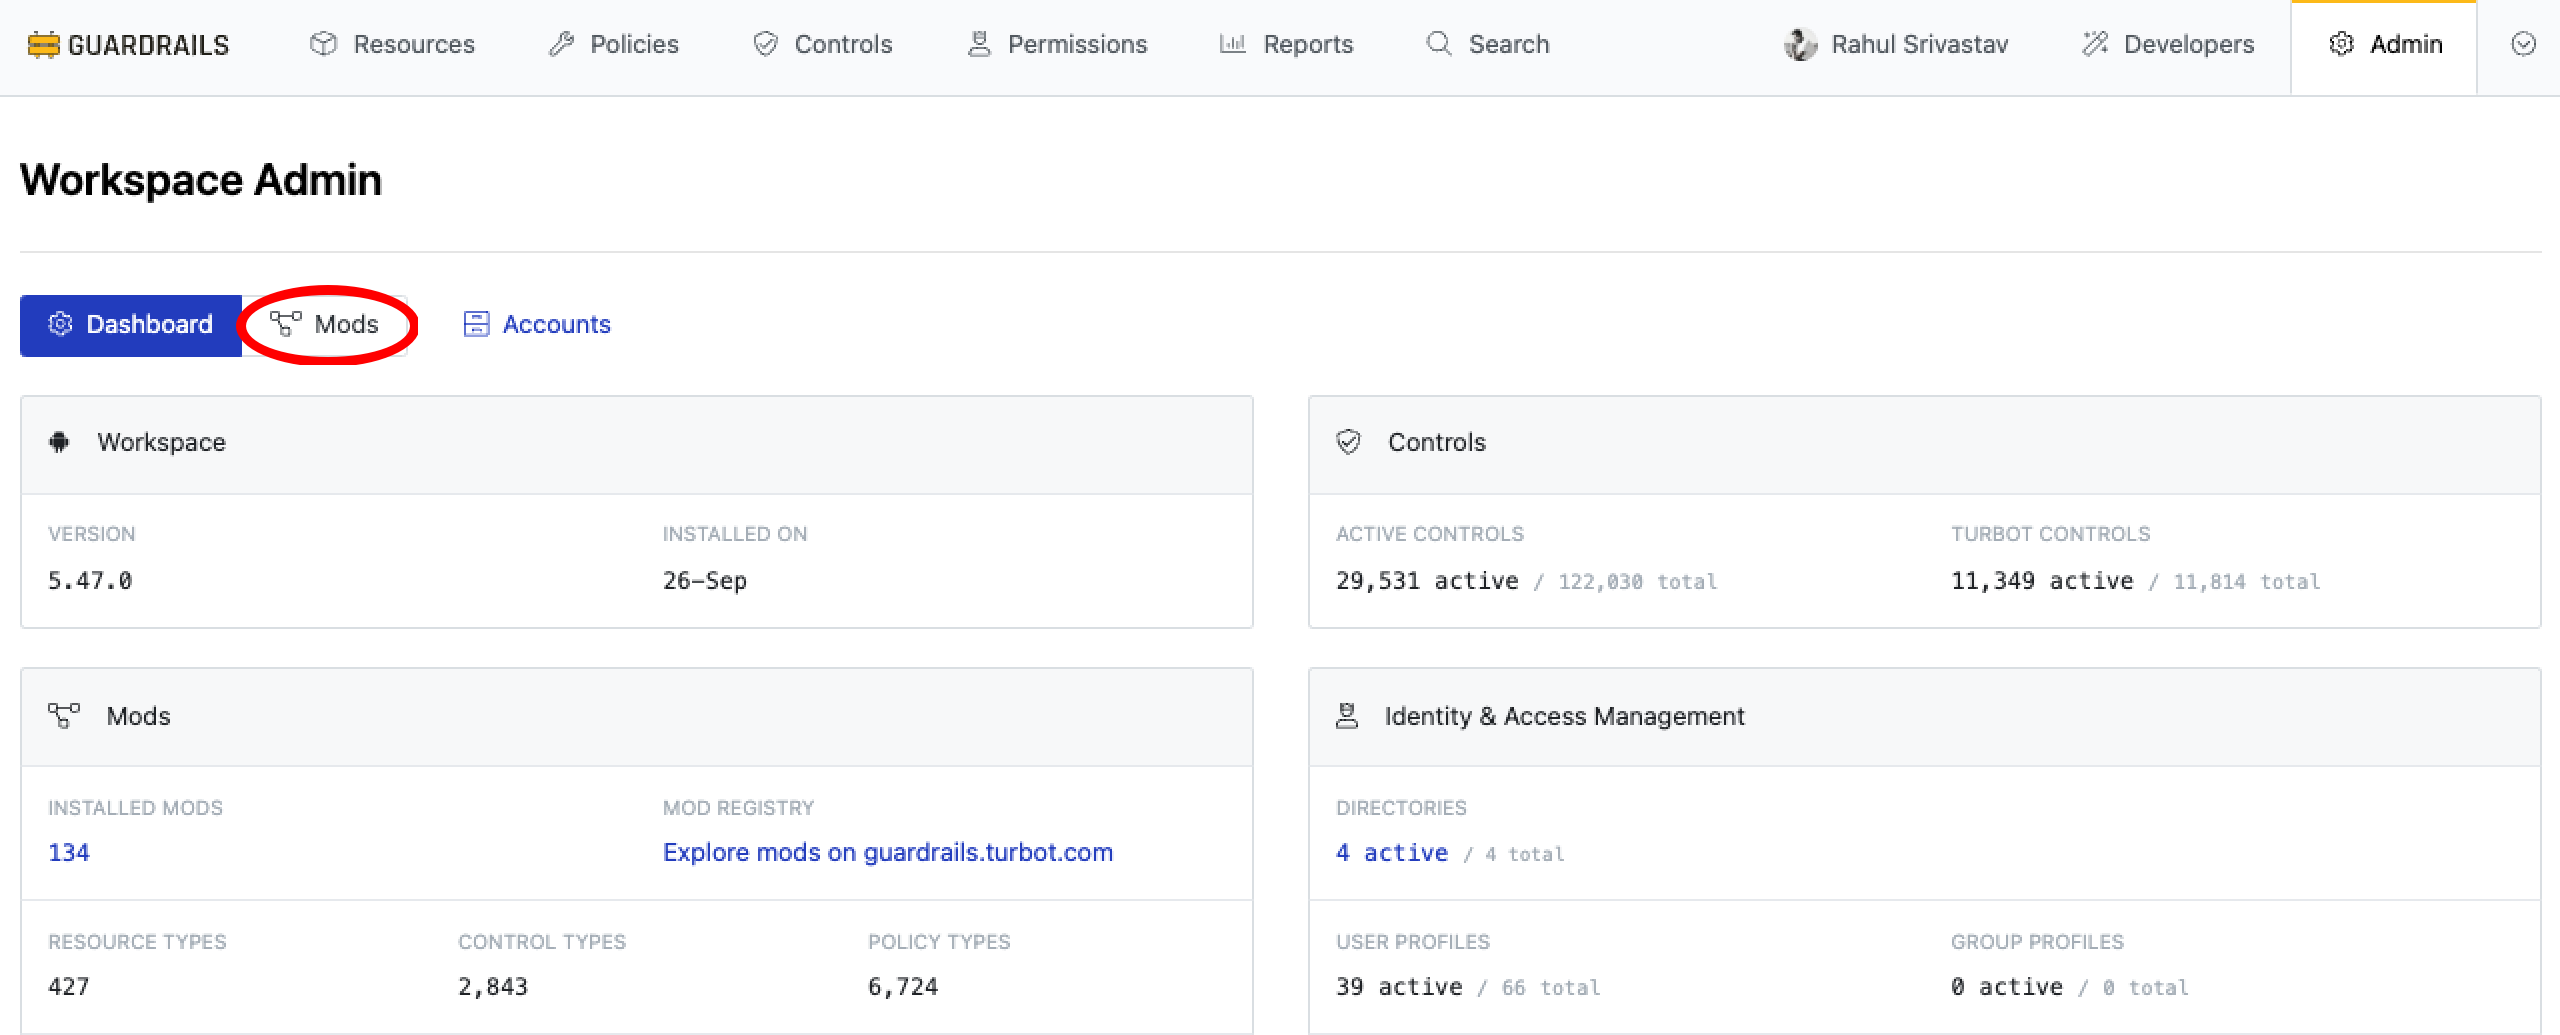
Step 2: Navigate to Mods
Choose Admin from the top right corner.

Select Mods.
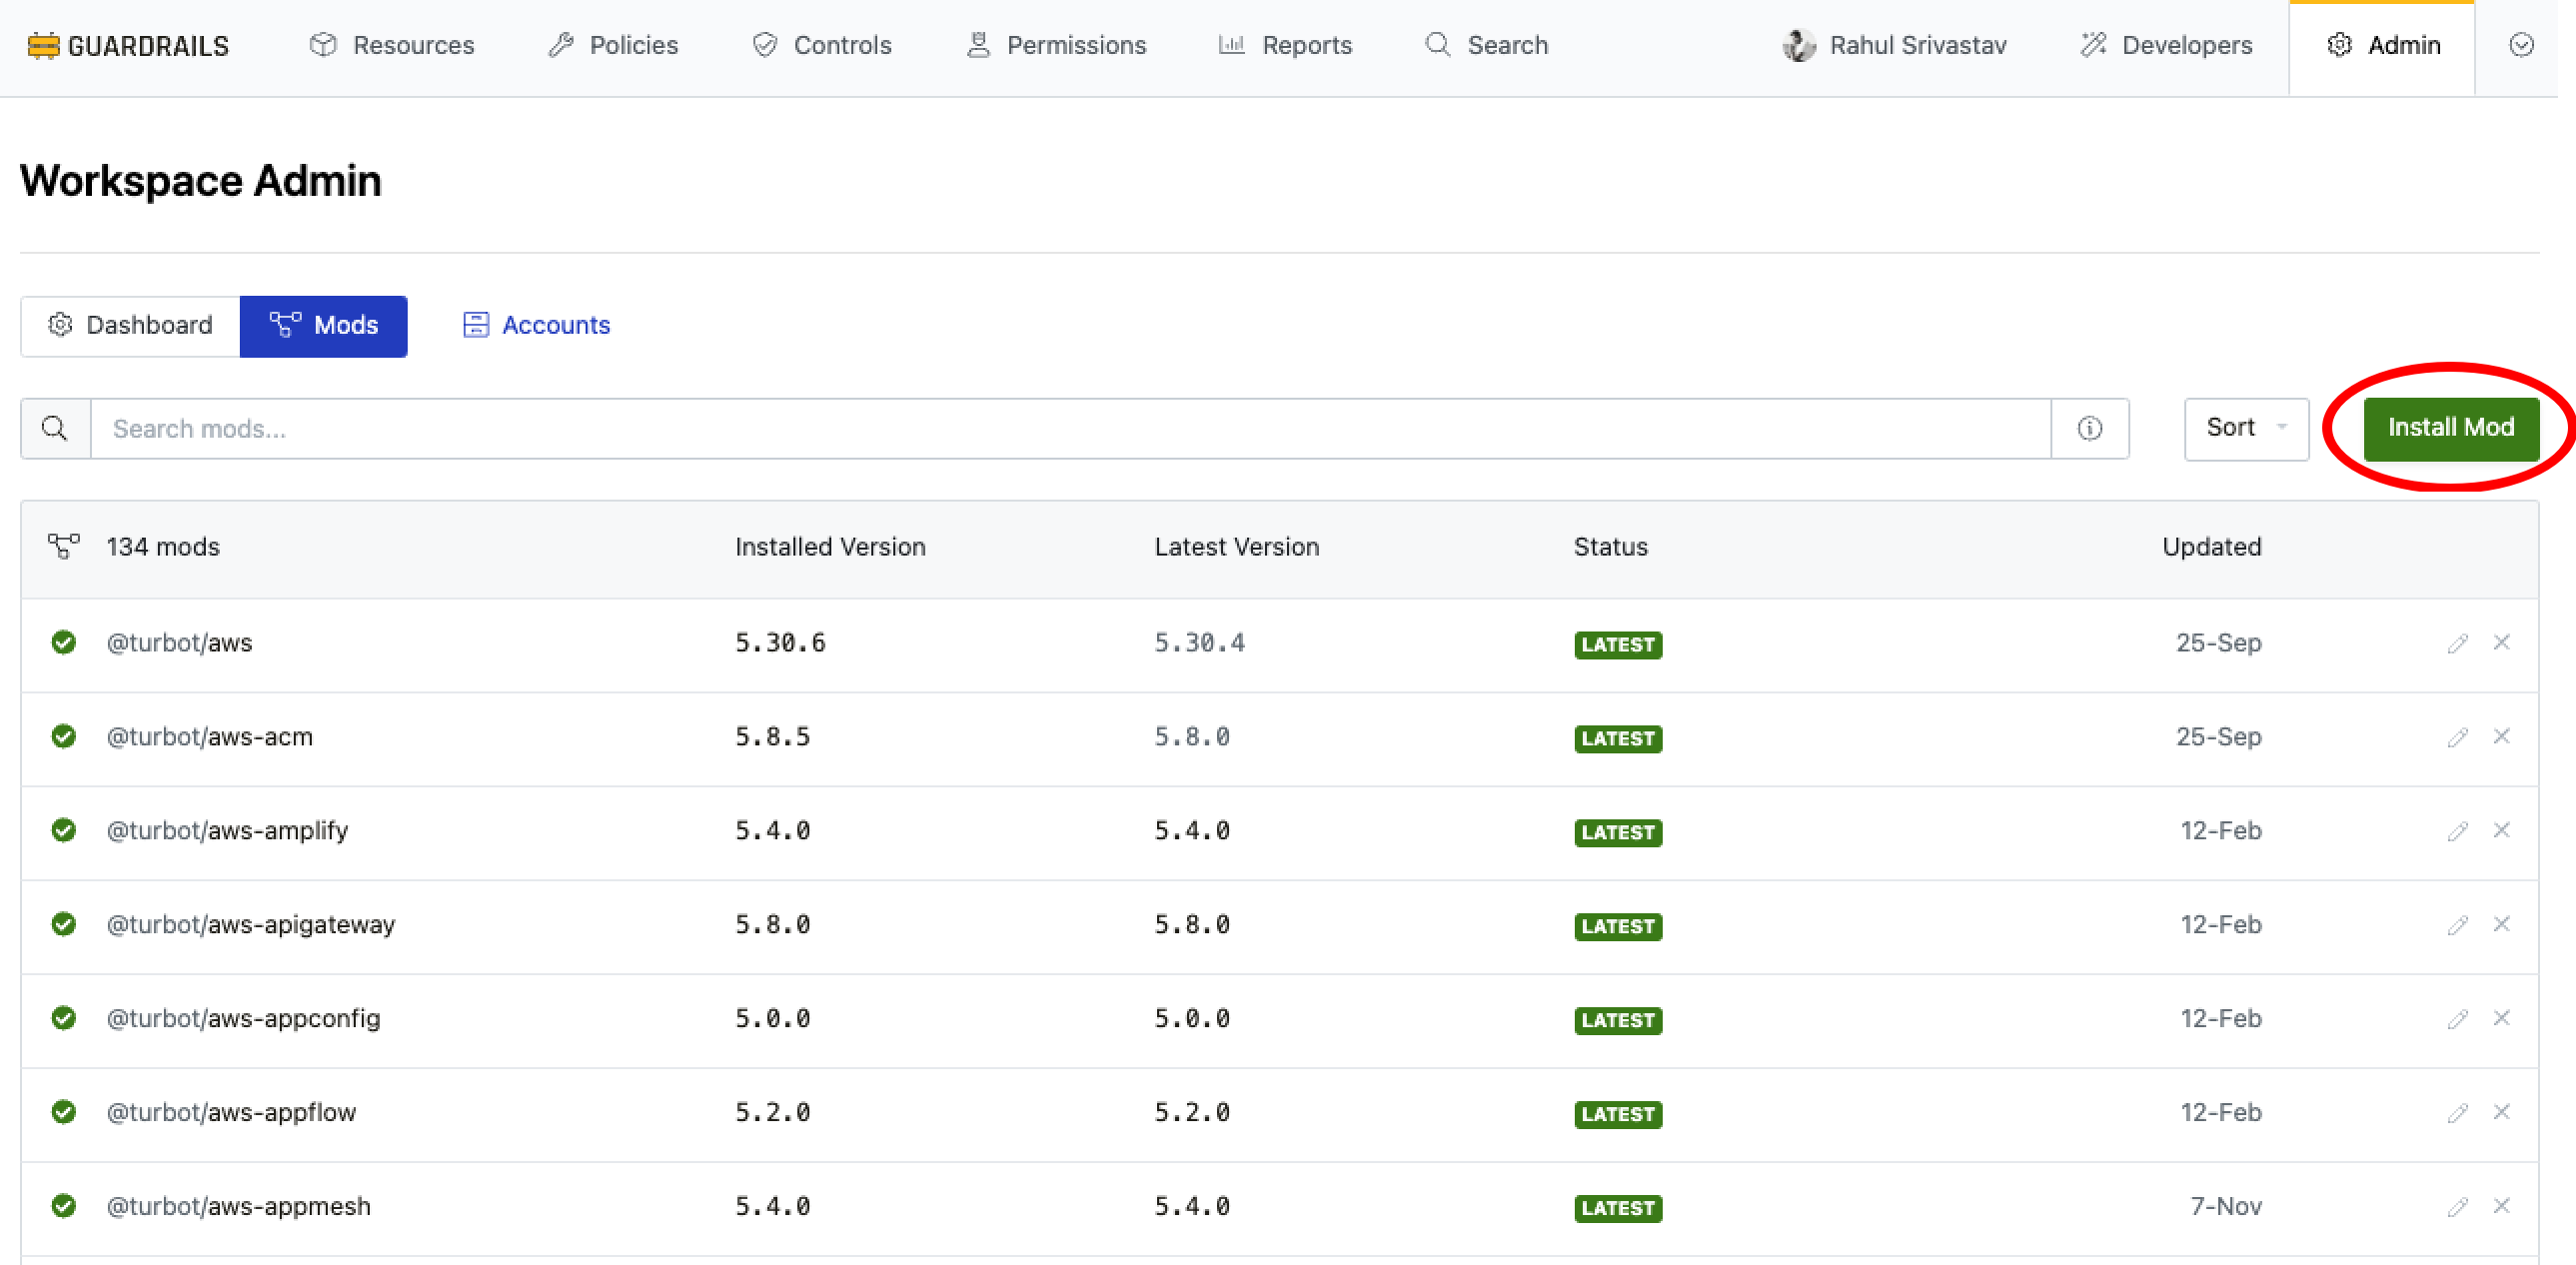
Step 3: Install Mod
The Mods page displays the list of mods that are installed in your workspace. Select Install Mod to install a mod.
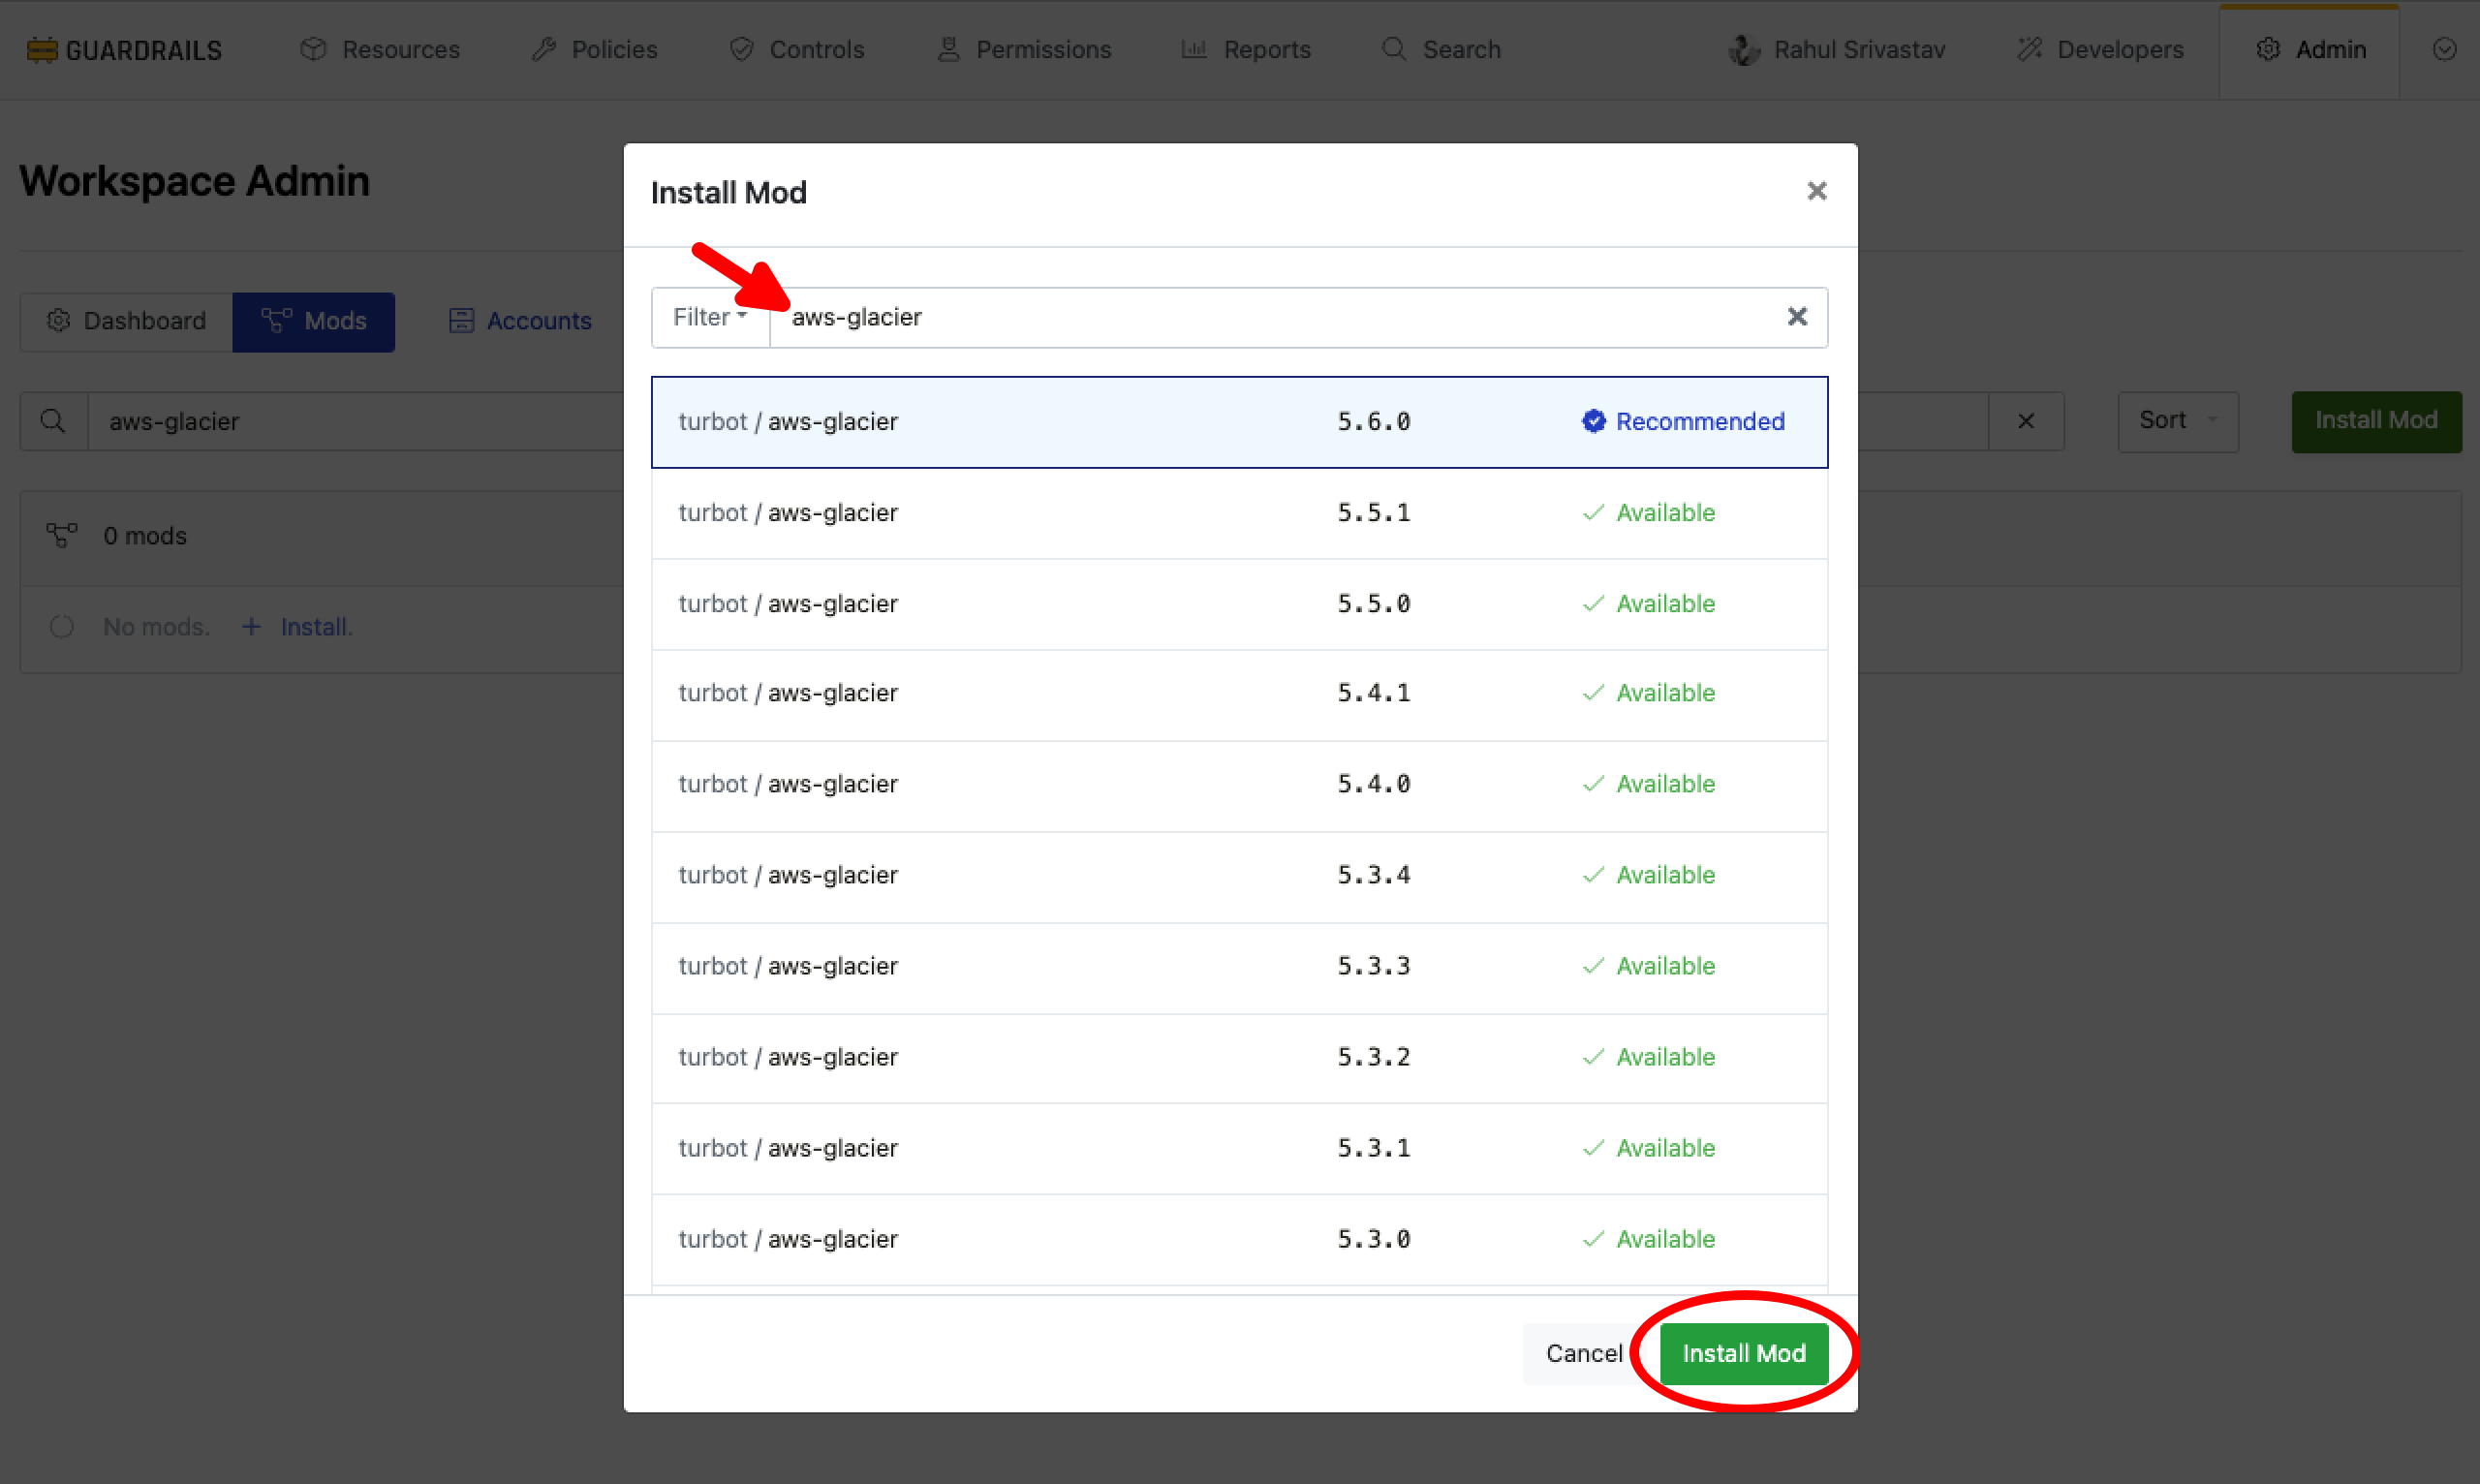
Search for the desired mod to install. Usually you would want to select the latest recommended version. Select Install Mod.
Step 4: Monitor Installation
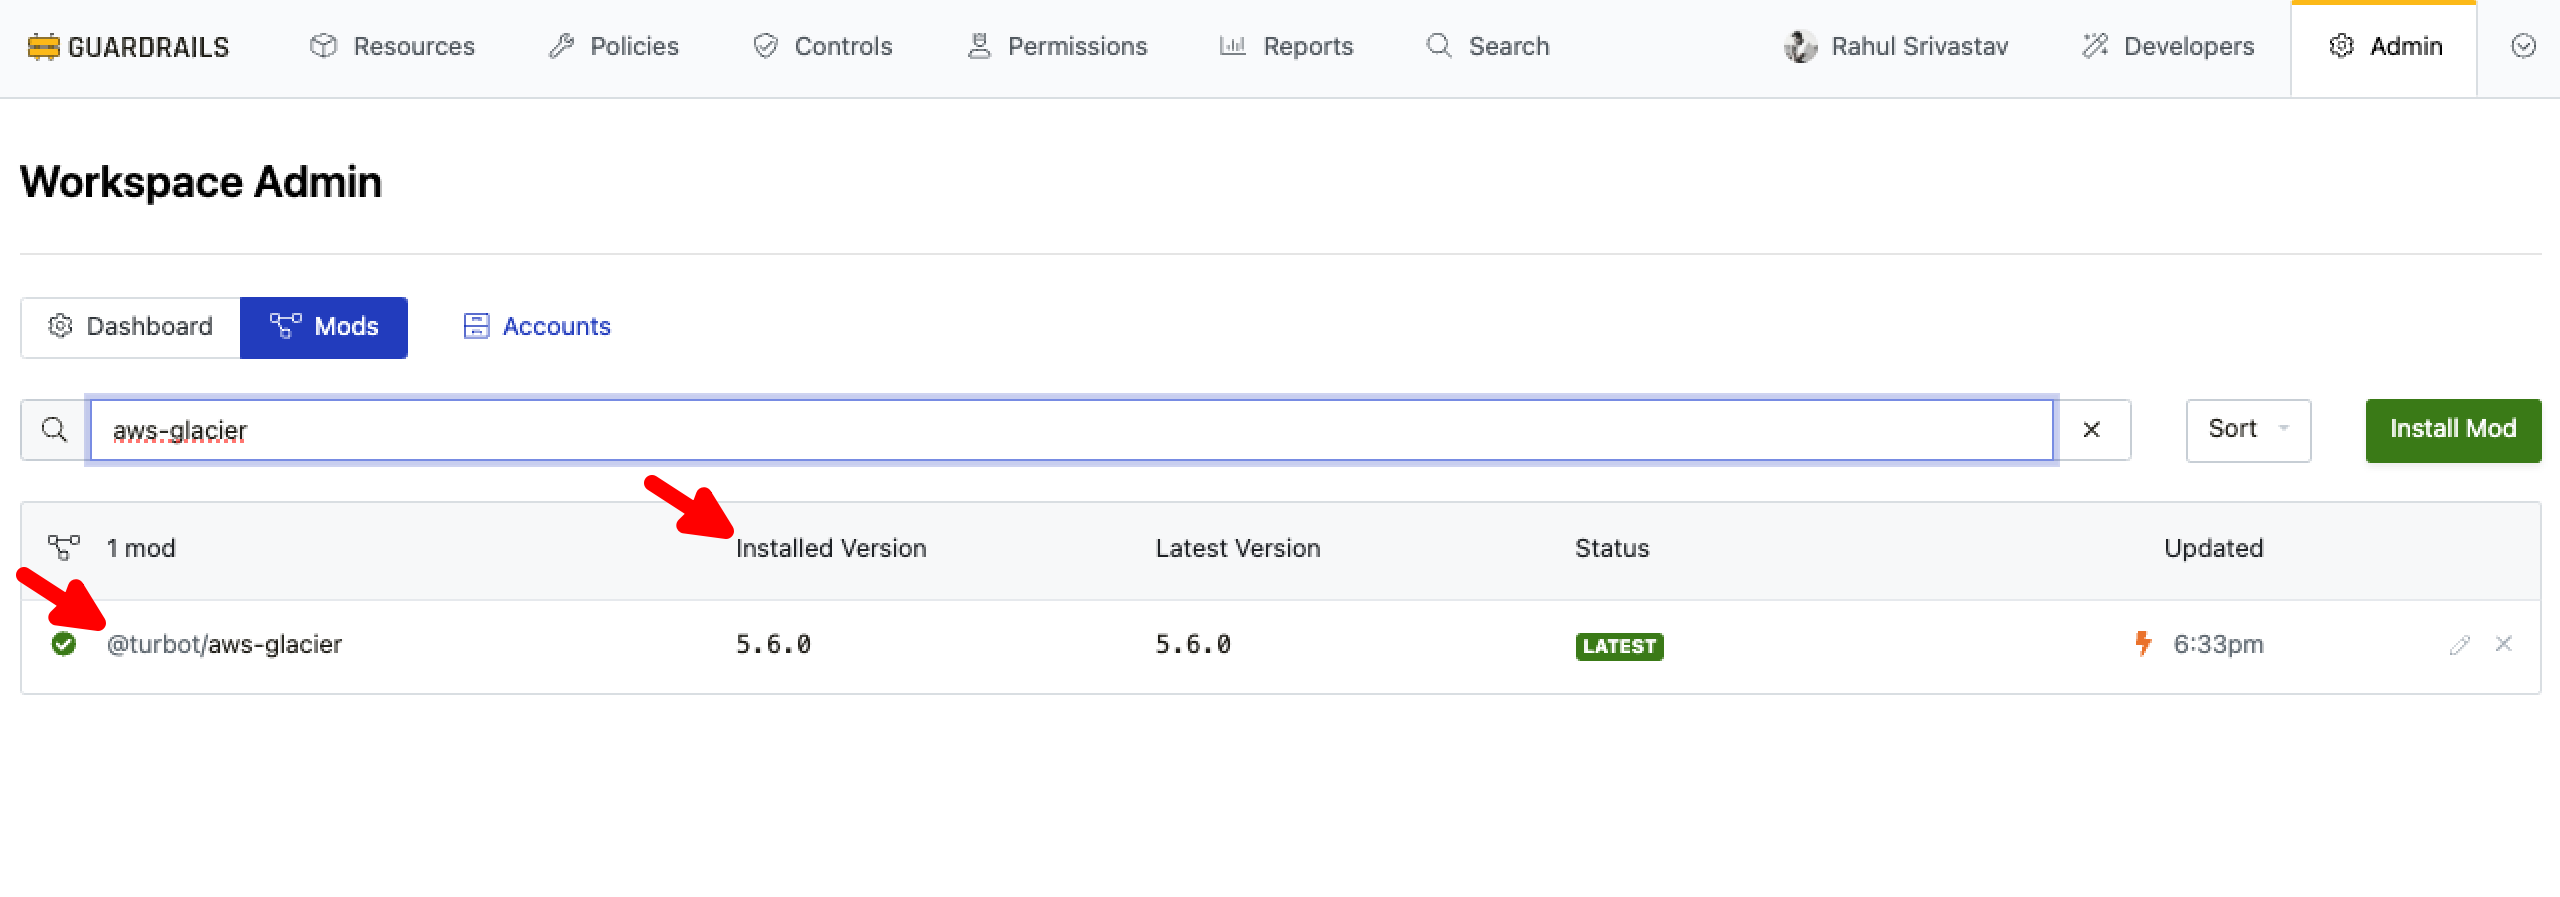
You have initiated the installation of the new Guardrails mod.
- Verify the mod name and version that appears in the list.
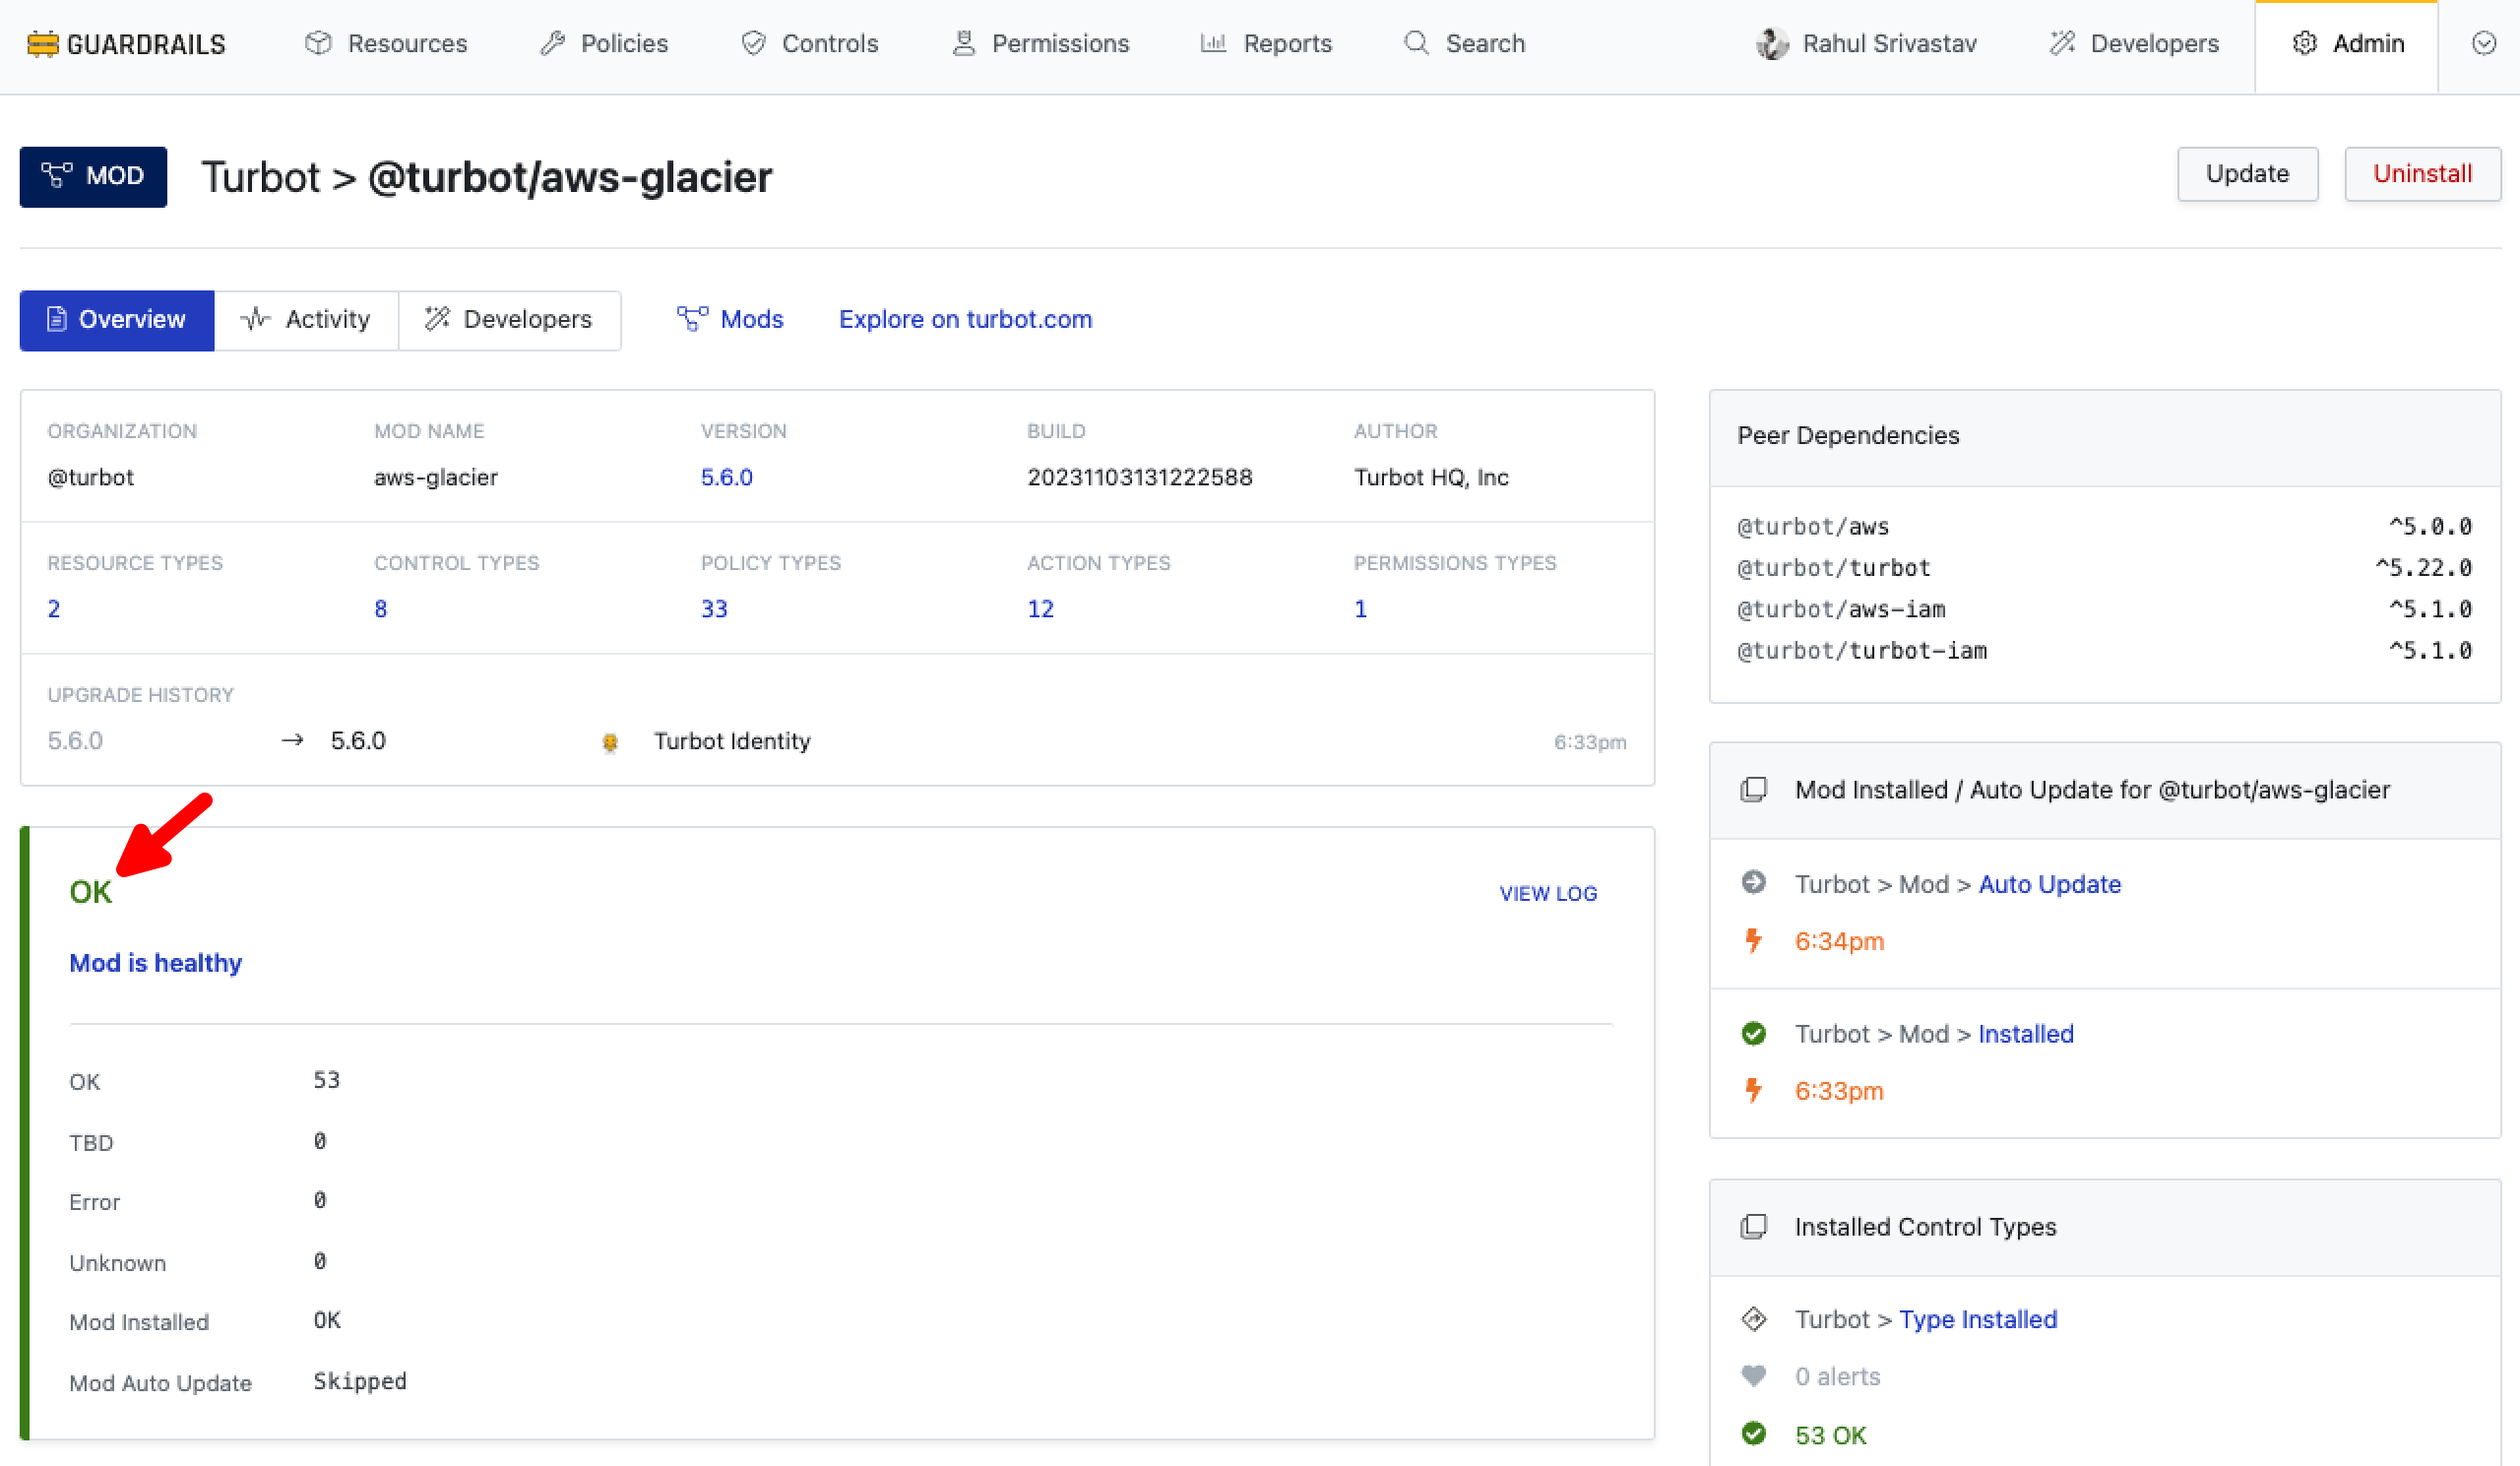
Step 5: Review
- The Mod Health is in an OK state, indicating successful installation.
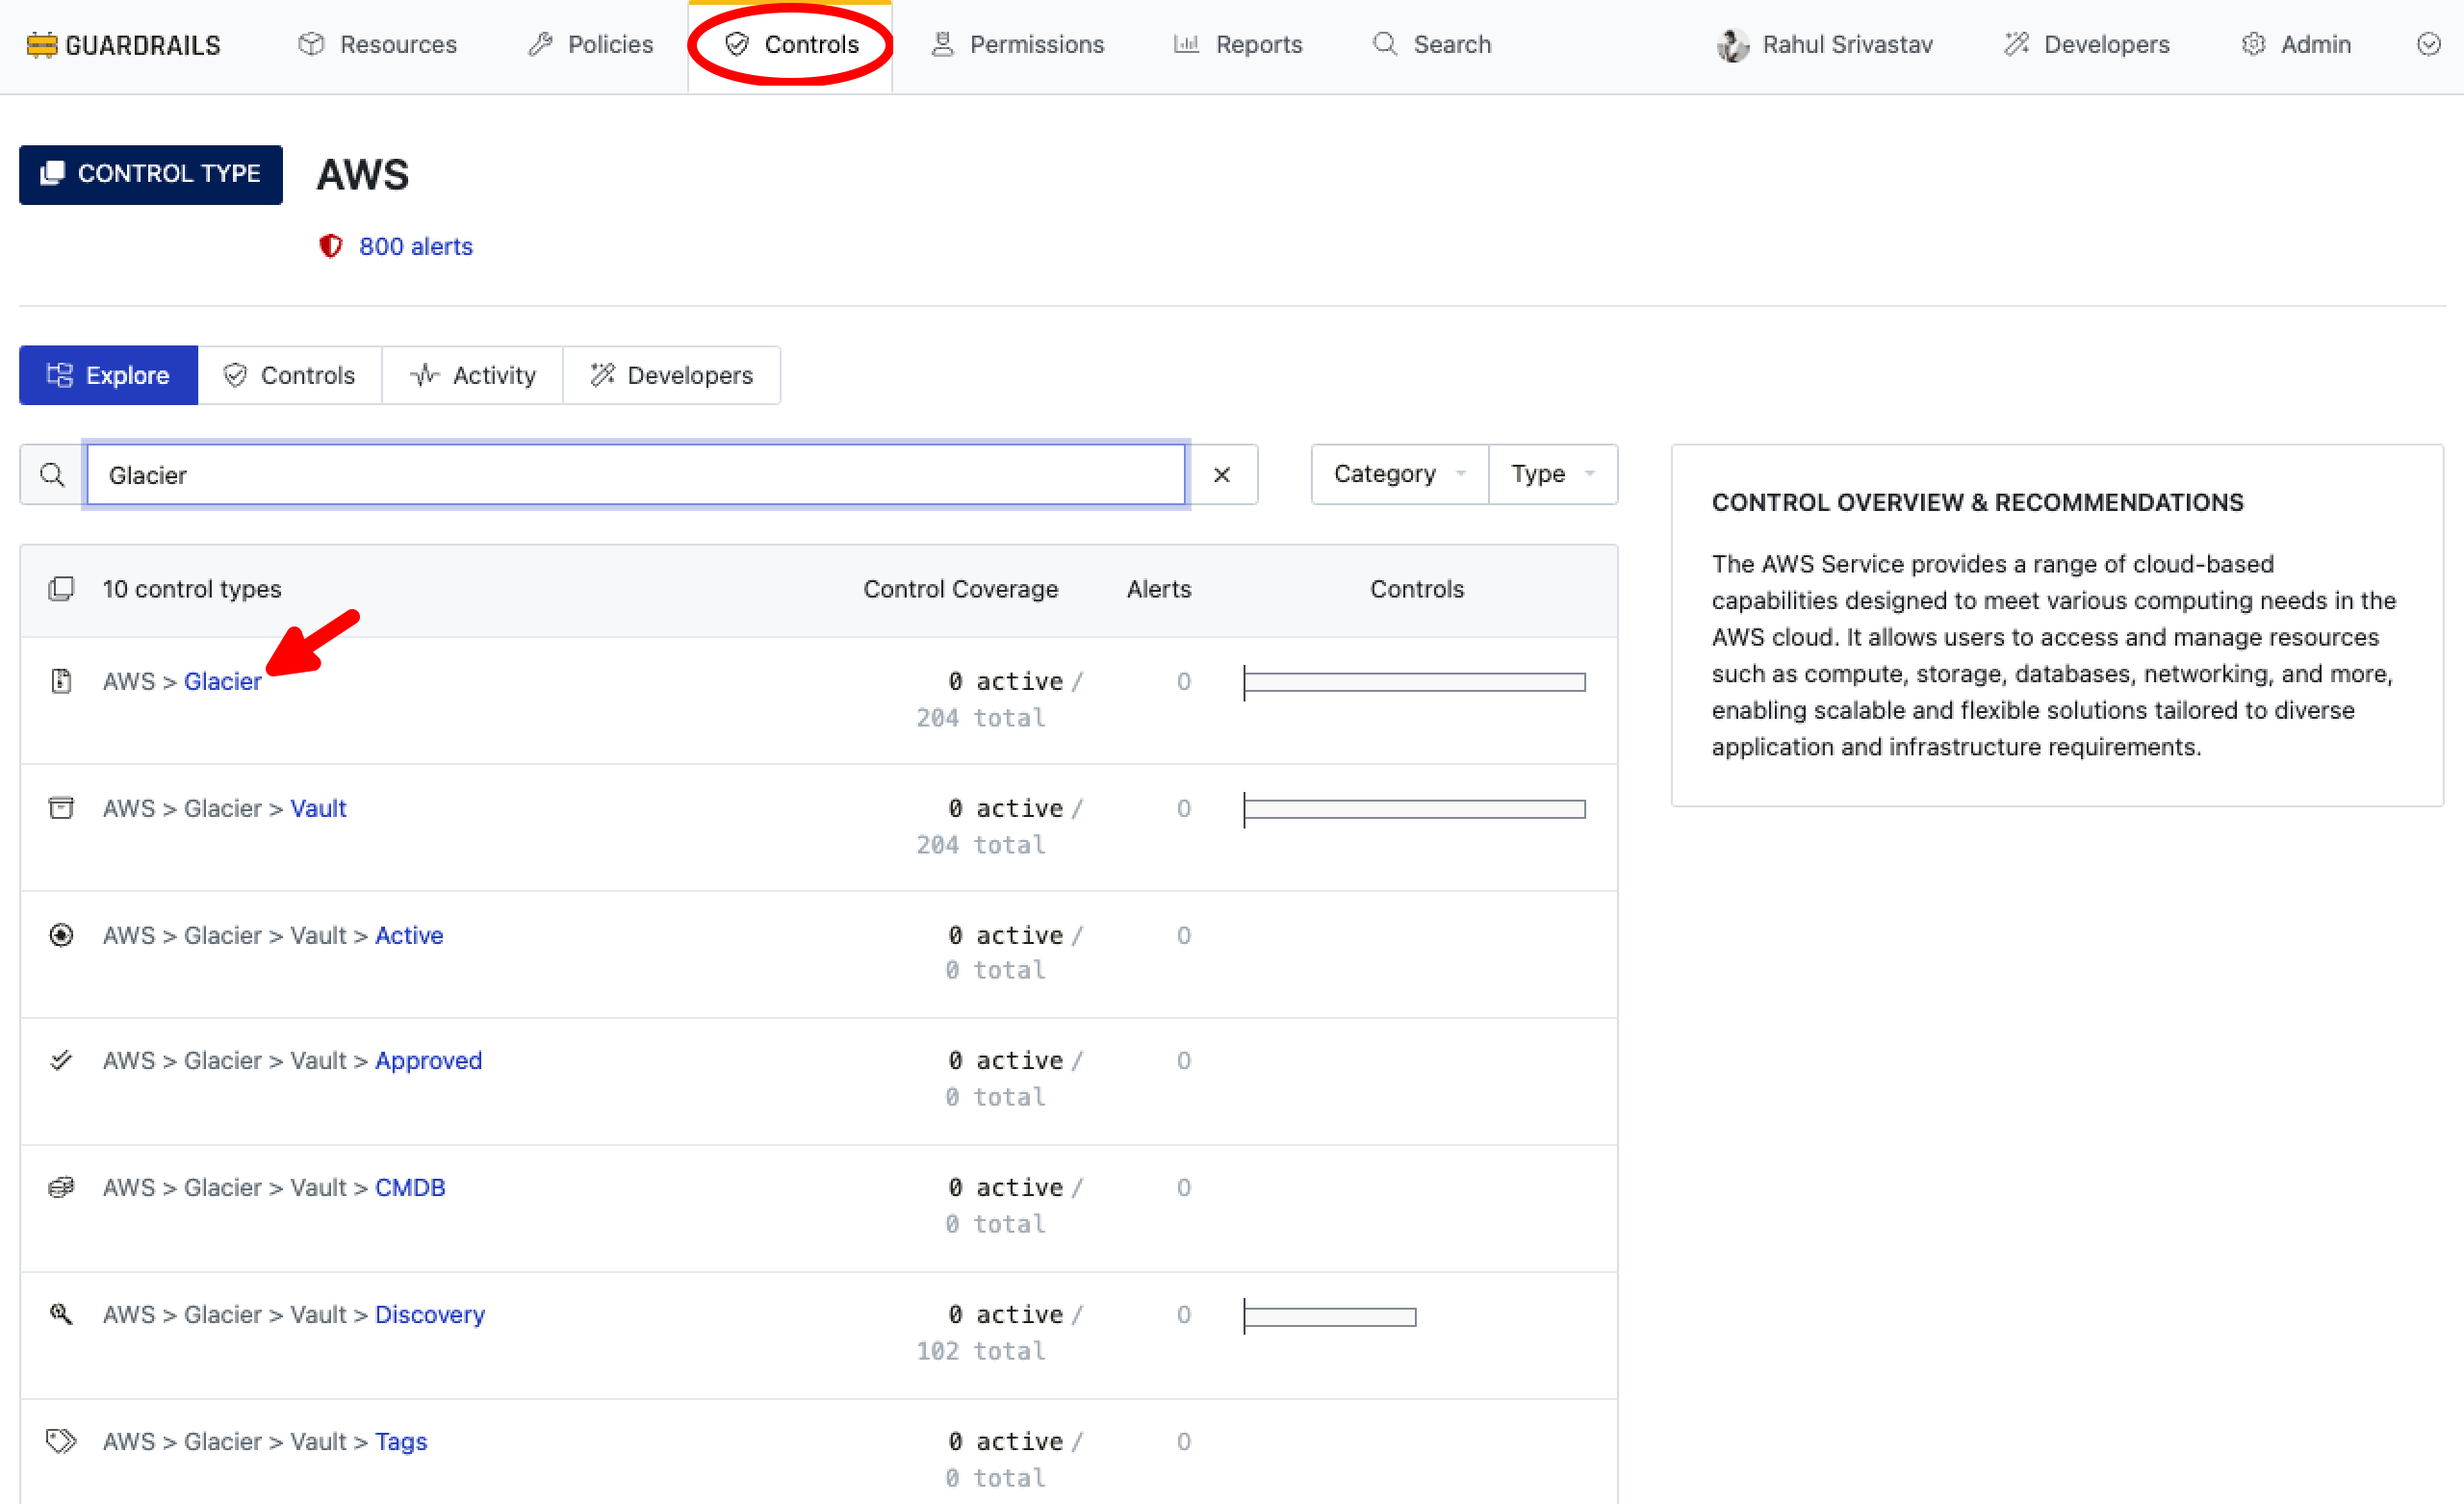
- The Control Types associated with the mod are available and displayed under Controls.
Next Steps
Please see the following resources to learn more about Turbot Guardrails Enterprise:
- Learn more about Turbot Guardrails Enterprise - Architecture.
- Learn about Updating Mod.
Troubleshooting
| Issue | Description | Guide |
|---|---|---|
| Mod Dependency | If the mod installation fails due the dependent/parent mod not installed. | Troubleshoot Mod Peer Dependency Error |
| Further Assistance | If you continue to encounter issues, please open a ticket with us and attach the relevant information to assist you more efficiently. | Open Support Ticket |