Datatank
Datatank
A Turbot Pipes Datatank provides a mechanism to proactively query connections at regular intervals and store the results in a persistent schema. You can then query the stored results instead of the live schemas, resulting in reduced query latency (at the expense of data freshness).
The ability to retrieve data on demand is a key feature of Steampipe; when you run a query, Steampipe retrieves data from the cloud service API and returns the live data. Steampipe's architecture and built-in caching allow it to scale remarkably well, but it is always subject to the throughput and rate limits of the APIs with which it interacts. A datatank can enhance your Turbot Pipes workspace, accelerating queries to the tables that you select. Datatank tables can bring the following benefits:
- Reduced query time/latency
- Larger scale (more AWS accounts, etc)
- More efficient use of cloud provider APIs, reduced throttling
- Customized tables
Datatank is a paid Turbot Pipes feature. It is not available in the free Developer plan.
Key Concepts
A Datatank is a Postgres schema that includes persistent tables that are populated at regular intervals.
A datatank contains tables. Each table is populated via system pipelines that run a query on a schedule and merge the results into a persistent table. You can query the datatank tables like any other tables in Steampipe. By default, datatank schemas are prepended to the front of the search path, so using the data is as simple as running a query with unqualified table names and relying on the schema search path to prioritize the persistent tables.
A datatank table is composed of one or more parts. A part represents a set of data that is refreshed and updated as a single atomic unit. When you add a table to the datatank, Turbot Pipes will create a part for each connection in the source schema.
Turbot Pipes creates a system pipeline for each part to refresh it according to the interval or schedule specified for the parent table. You do not need to manage this pipeline - Turbot Pipes will add and remove parts as connections are added and removed from the source aggregator. When the refresh pipeline runs, Pipes will move the connection associated with the part to the front of the search_path before running the update query, thereby scoping the update to the relevant connection. Updates to each part either occur in their entirety or not at all.
Creating a Datatank
Datatanks are a type of workspace-level schema. To create one, navigate to your workspace. From the Pipes tab, select Steampipe. Then go to the Datatanks tab. Click the New Datatank button.
Note: Because the datatank is meant to be persistent, you may only create a datatank on persistent workspace instance types - you cannot create a datatank on a
sharedinstance type.
Enter a handle for your datatank. This handle will also be used as the Postgres schema name and must be unique among all schemas in the workspace. You may optionally enter a description as well. Click Create Datatank.

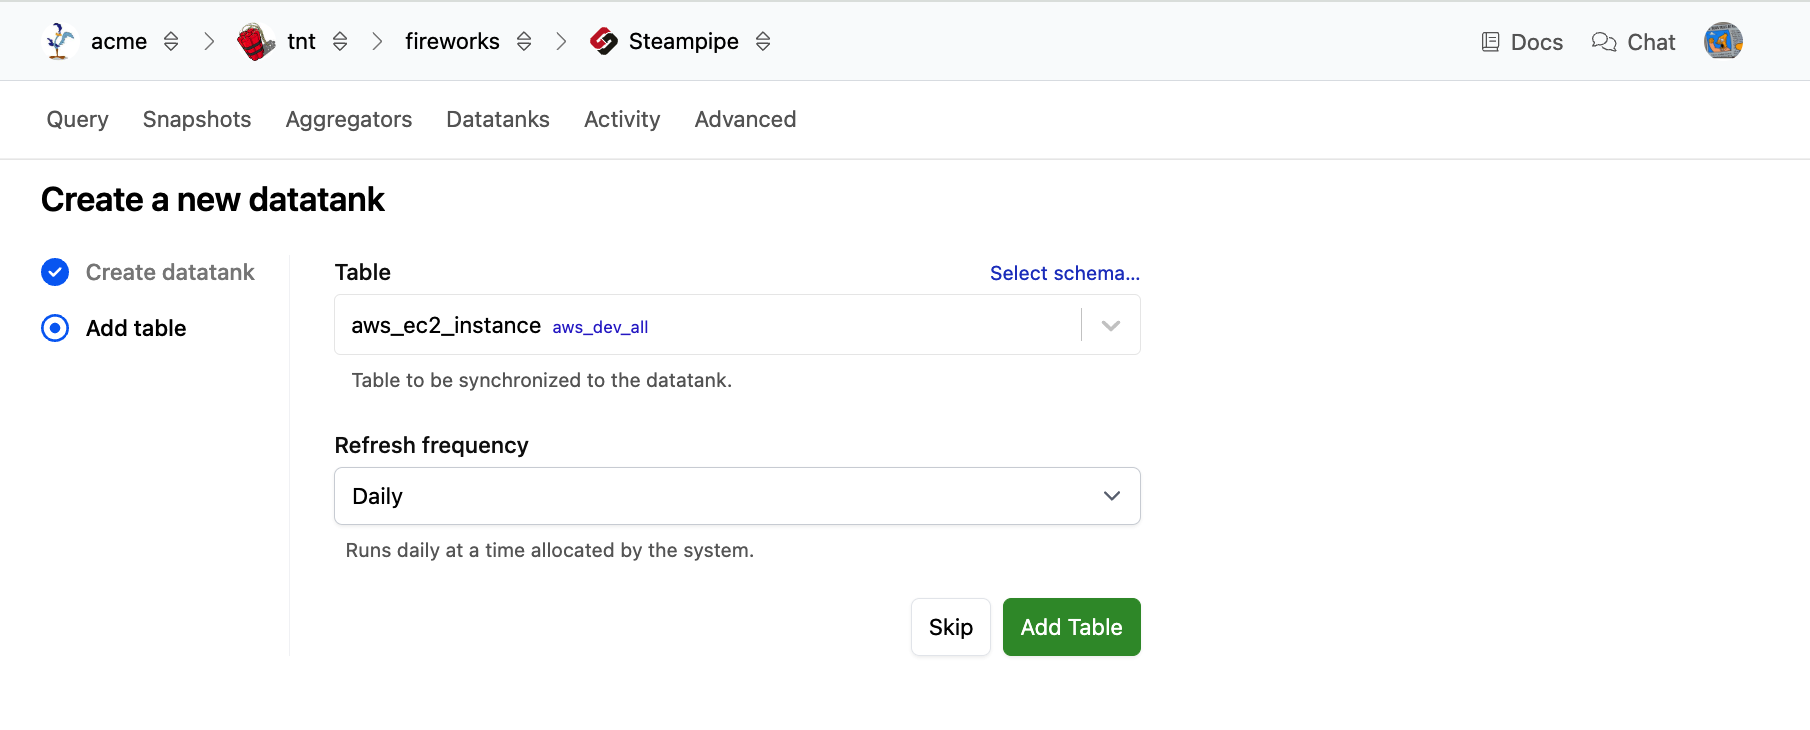
Next, you will be prompted to add a table to your Datatank.

You can click Skip if you don't want to add any tables at this time; otherwise, choose a table to sync, the refresh frequency, and whether you want to skip the initial refresh, and then click Create Table.
The refresh cycle will always be scheduled according to the frequency you choose. If you skip the initial refresh, the data will only start populating when the first scheduled run occurs. If you don’t skip, all parts will be refreshed immediately.
You will then be returned to the table status page for the datatank.
Deleting a Datatank
You can permanently delete a datatank and all of its tables.
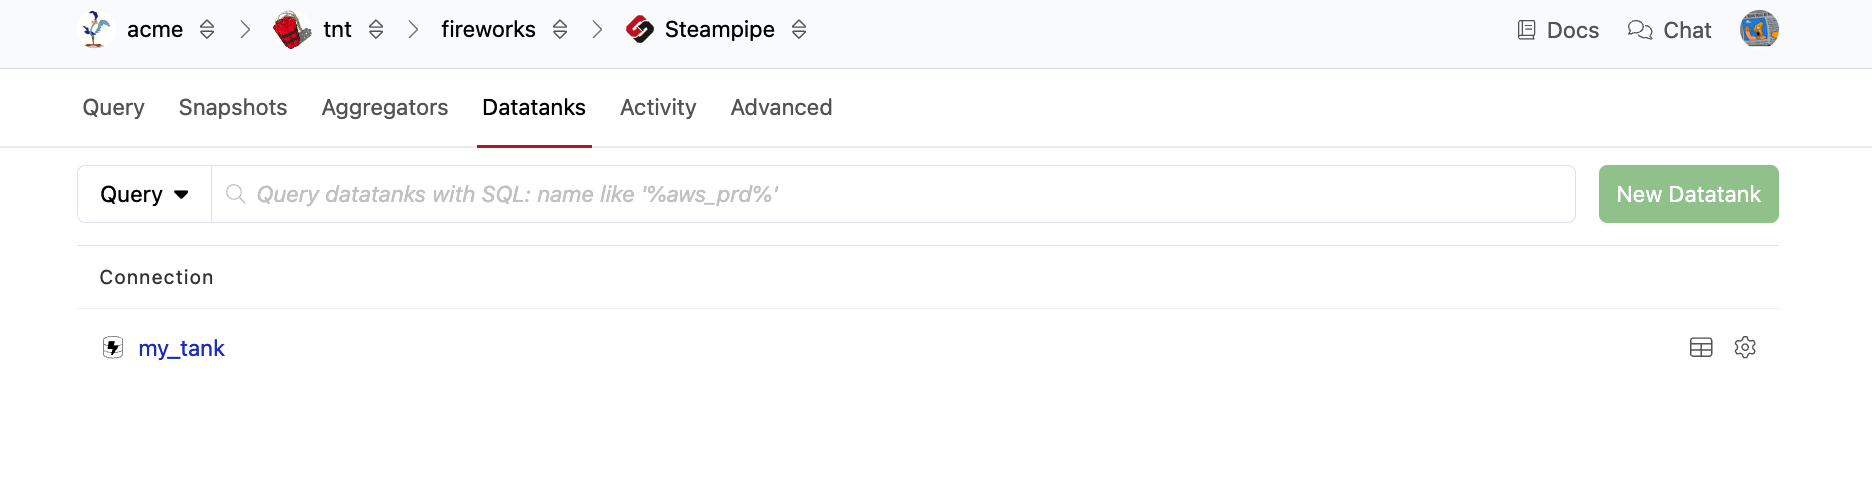
To delete the datatank, navigate to your workspace. From the Pipes tab, select Steampipe. Then go to the Datatanks tab. From the list of datatanks, click the gear icon next to the datatank that you wish to delete.
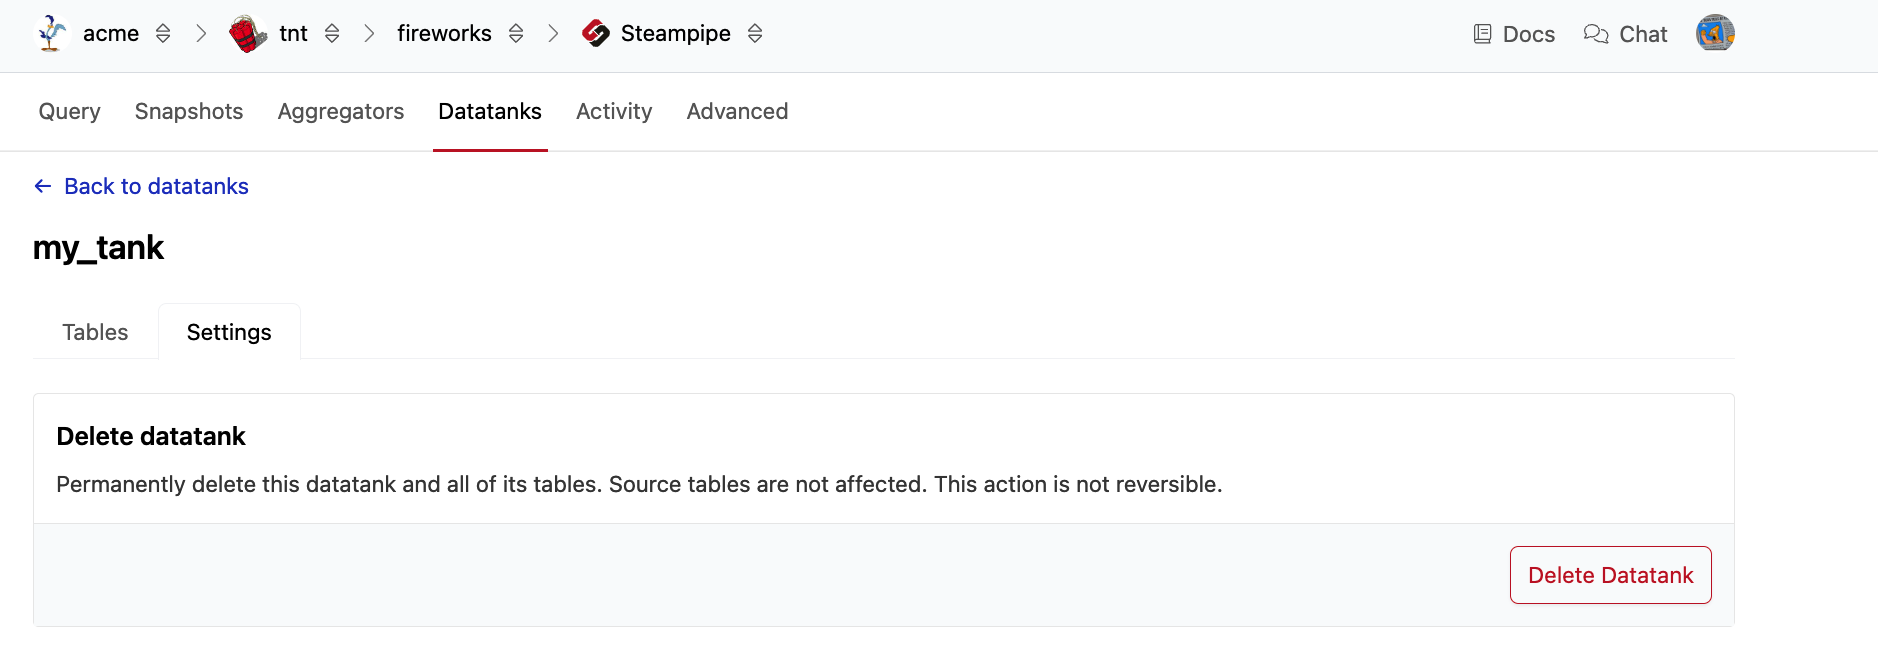
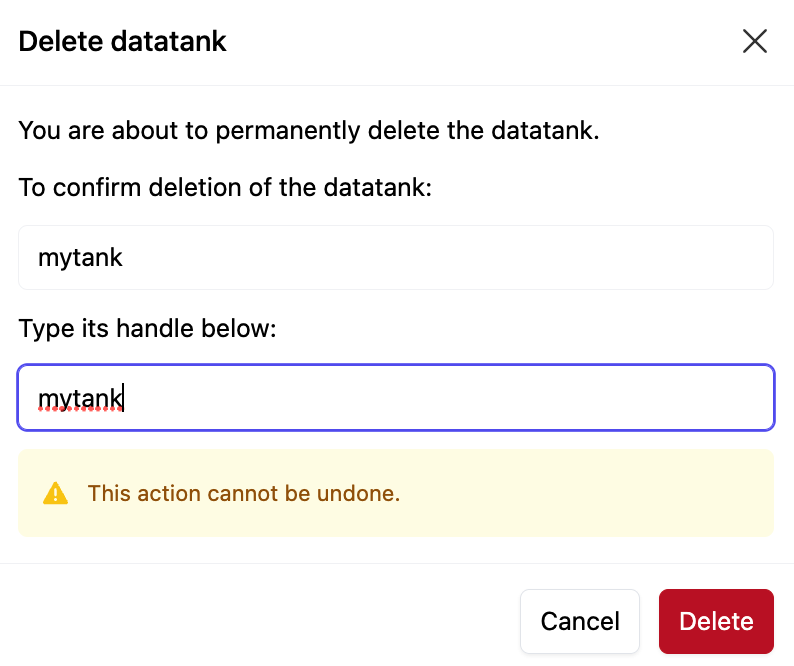
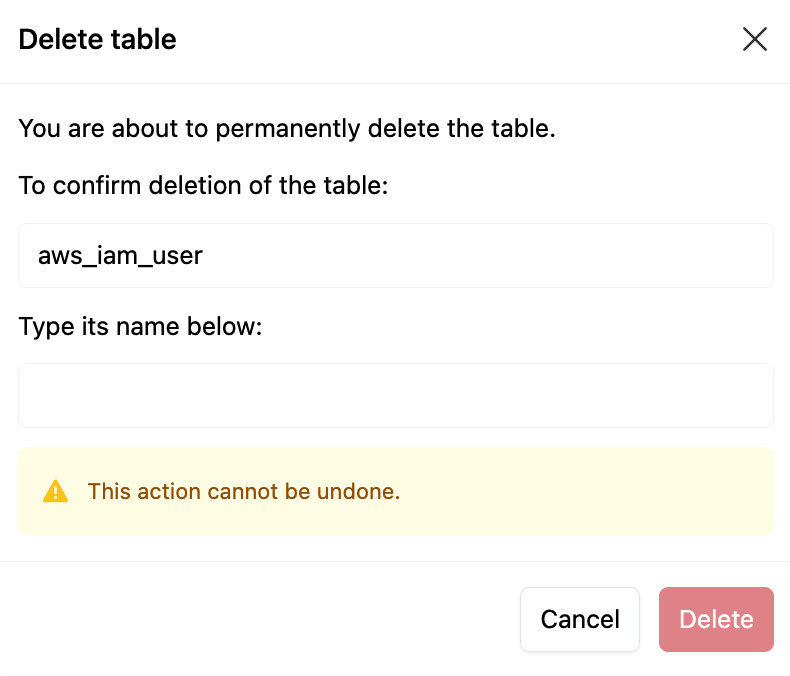
Click Delete Datatank. You will be prompted to confirm the deletion; enter the datatank name and click Delete. This action is not reversible.
Creating a Table
You can add a table from the datatank page. To get to the datatank page, navigate to your workspace. From the Pipes tab, select Steampipe. Then go to the Datatanks tab. From the list of datatanks, click the datatank that you want to add a table to.
Click the New Table dropdown button. You are presented with two options:
- Add Table: Accelerate and synchronize an existing live table from your workspace. Use this option to quickly create a table in your datatank that mirrors an existing table.
- Create Table From Query: Populate a table from a custom query that will run against your workspace. Use this option if you want to create a custom table from a query you specify.
Adding a table
Datatank allows you to accelerate queries to Steampipe by periodically fetching data and storing it in a persistent database table. Most of the time, you'll want to add an existing table to the datatank as-is. By default, the datatank schemas precede the aggregators and connections in the schema search path. Adding a table to the datatank that is identical in name and structure to the existing table allows it to be used instead of the live schema when running dashboards, benchmarks, and unqualified queries.
You can add a table from the datatank page. Click the New Table dropdown button and select Add Table.
Select the table that you wish to add. The list of tables includes the first instance of each table per the search path, but you can click Select Schema if you wish to use a different schema. Select the Refresh Frequency to specify the desired update interval. When finished, click Add Table. You will be returned to the datatank page, and your new table will appear in the list.
When a table is created, Pipes will kick off an initial pipeline refresh immediately, regardless of the schedule/interval, and data will begin syncing immediately. If your source schema is an aggregator, your datatank table will comprise multiple parts, one for each source connection. Each part will be refreshed atomically on its own schedule, and if connections are added or removed from the aggregator, the datatank parts will be added or removed automatically. The freshness graph shows the status of all parts of your table. You can view the status of the parts in detail by clicking on the table name or clicking an area on the freshness graph to see the parts filtered by their state.
Creating a Table From Query
Datatank enables you to create a custom table using a query that you specify. This allows you to create tables with custom columns, join and filter data, and even add static qualifiers for tables that require them.
You can add a custom table from the datatank page. Click the New Table dropdown button and select Create Table From Query.
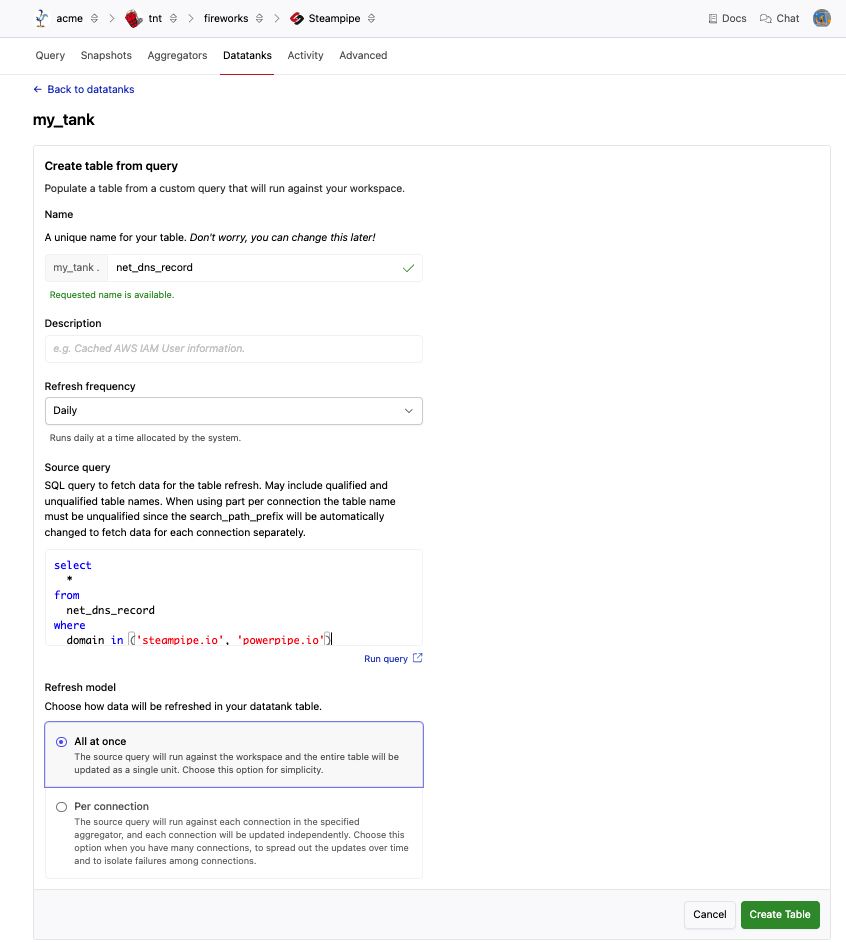
Enter a Name for your table that is unique in the datatank and is a valid Postgres identifier - The name must only contain lowercase alphanumeric characters or single underscores and cannot start with a number. If desired, enter a Description. Select the Refresh Frequency to specify the desired update interval.
Enter the Source query. This is a SQL query used to fetch data for the table refresh.
Choose a Refresh Model. A datatank table is composed of one or more parts where each part represents a set of data that is refreshed and updated as a single atomic unit. When creating a table from a query, you must choose the refresh model:
- All at once: The source query will run against the workspace, and the entire table will be updated as a single unit (1 part). Choose this option for simplicity when you don't require large scale.
- Per connection: The source query will run against each connection in the specified aggregator, and each connection will be updated independently. Choose this option when you have many connections, to spread out the updates over time and to isolate failures among connections. If you select Per connection, you must select which aggregator to partition. A part will be created for each connection in the specified aggregator.
Make sure you consider the refresh model when writing your source query.
- When the refresh model is All at once, the search path when the refresh query runs will be the workspace default search path which includes the datatank. When using the All at once refresh model, you probably want to use qualified tables names in your query to specify the aggregator or connection that you want to query.
- When the refresh model is Per Connection, the search path will be prepended with the part-specific connection to fetch data for each connection separately, so you probably want to use unqualified table names in your query for any tables in the aggregator.
When finished, click Add Table. You will be returned to the datatank page, and your new table will appear in the list. When a table is created, Pipes will kick off an initial pipeline refresh immediately, regardless of the schedule/interval, and data will begin syncing immediately.
Deleting a Table
You can permanently delete a datatank table and all of its data.
From the Steampipe Datatank page for your workspace, click the datatank to go to the datatank page. From this list of tables, click the table that you wish to delete, then click Settings to go to the table settings page. Click Advanced.
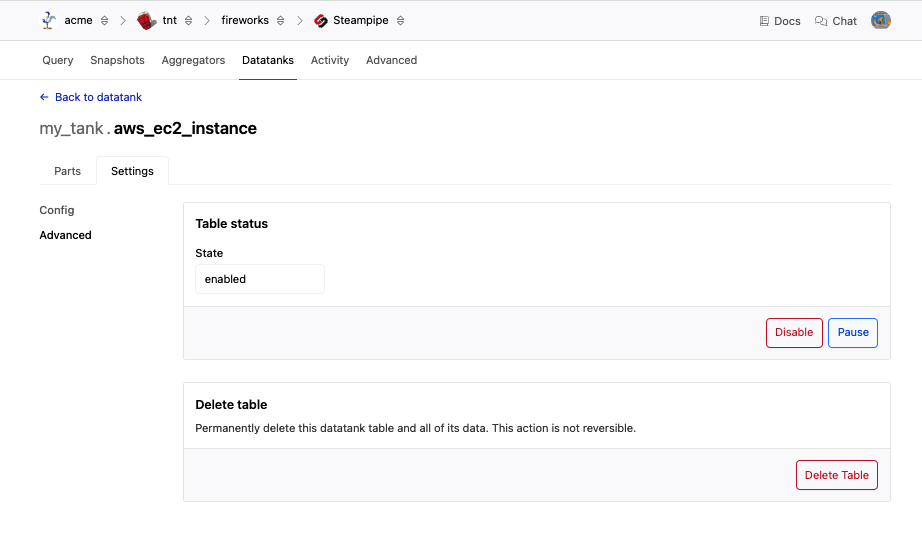
To permanently delete this datatank table and all of its data, click Delete Table. You will be prompted to confirm the deletion; enter the datatank name and click Delete. This action is not reversible.
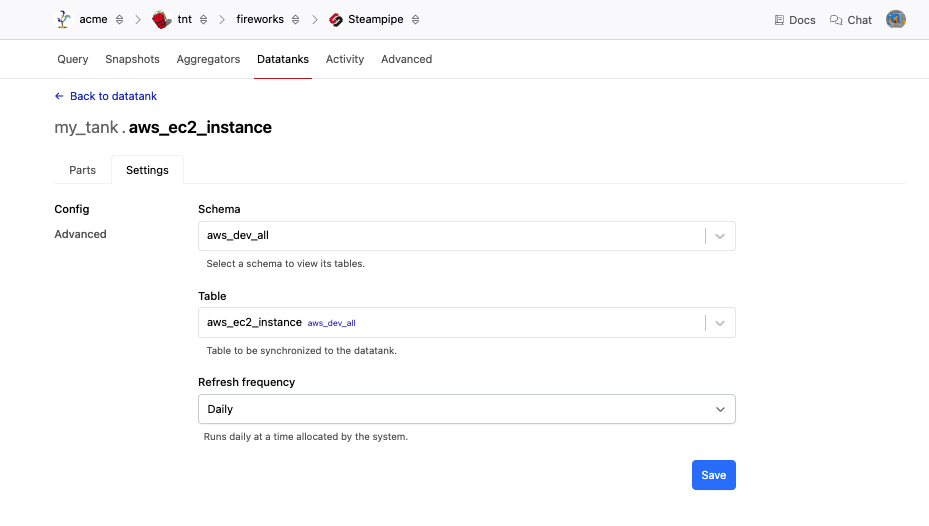
Modifying a Table
You can modify a table after it has been created. After changing the table settings, a refresh will begin for all parts in the table.
From the Steampipe Datatanks page for your workspace, click the datatank to go to the datatank page. From this list of tables, click the table that you wish to modify, then click Settings to go to the table settings page. Make your desired changes and then click Save.
Note: If you edit the source query and press Save your query runs immediately to refresh the data and then repeats according to the schedule.
Enabling, Disabling, or Pausing a Table
You can modify the state of datatank table from the Advanced settings page for the table.
From the Steampipe Datatanks page for your workspace, click the datatank connection to go to the datatank page. From this list of tables, click the table that you wish to modify, then click Settings to go to the table settings page. Click Advanced.
Use the buttons in the Status section to change the state:
- If the table is currently enabled, you may Disable or Pause it.
- If the table is currently paused, you may Enable or Disable it.
- If the table is currently disabled, you may Enable it.
Table States
| State | Description |
|---|---|
Disabled |
The table has been removed from the schema and will no longer update per the interval/schedule. |
Enabled |
The table is scheduled to be refreshed per the interval/schedule (for any enabled parts), and the table exists in the datatank schema. |
Paused |
The refresh is suspended for all parts in the table - it will not be updated per interval/schedule. Any data in the table that was present before it was paused remains in the table. |
Managing Parts
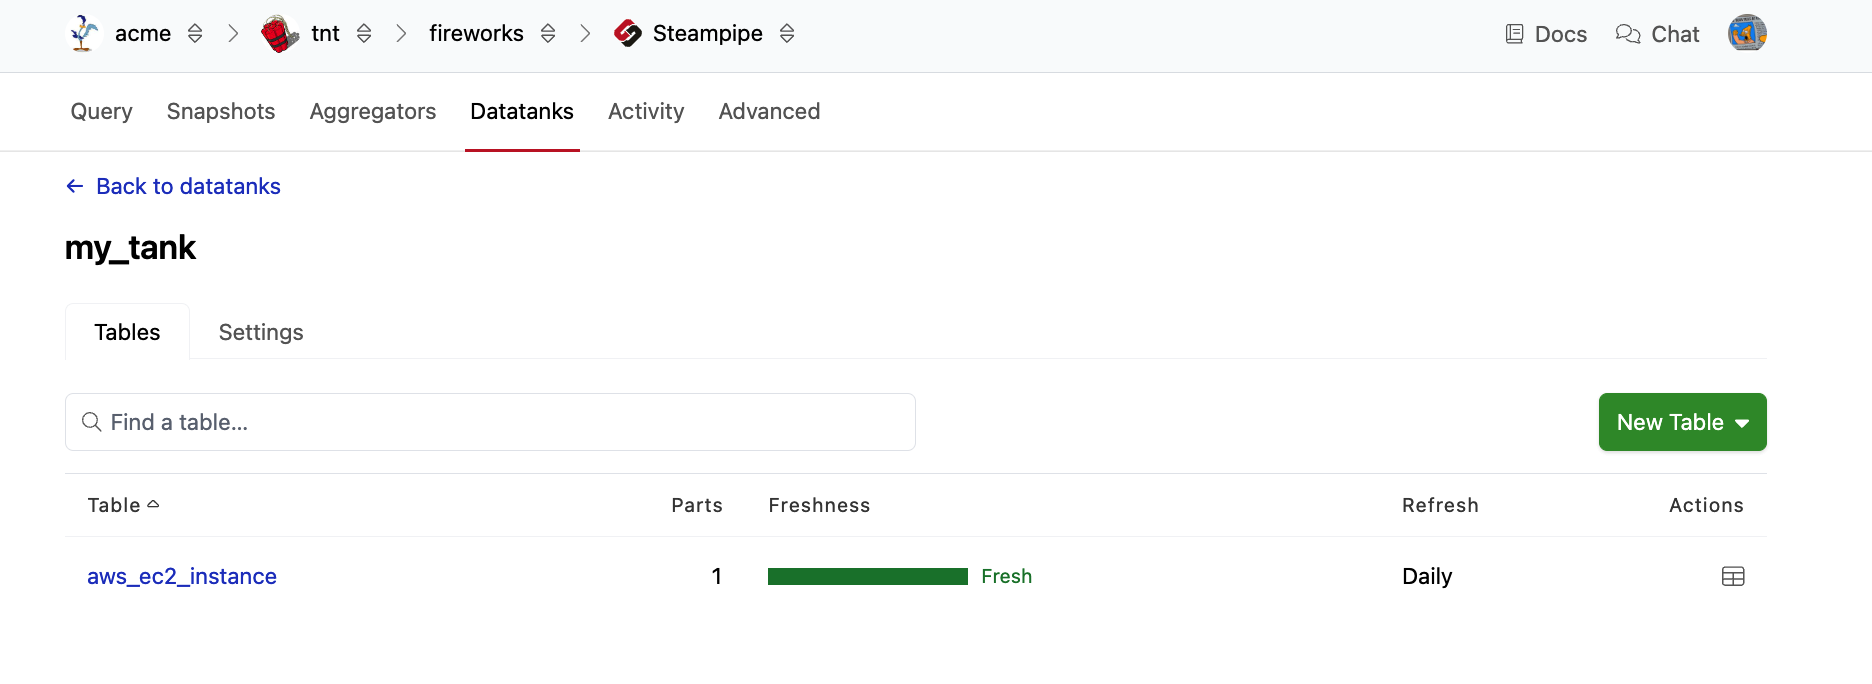
You can view the status of your tables from the datatank page. To get to the datatank page, navigate to the Pipes page for your workspace and select Steamipe, then go to the Datatanks tab. Click the Datatank you want to manage.
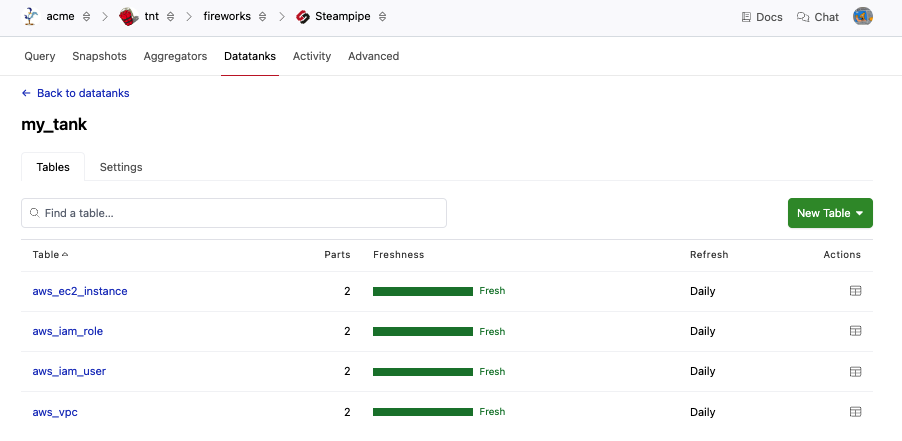
The datatank page lists the tables that have been added to the tank along with the refresh interval and the data freshness. Each part tracks its own freshness, and the freshness of all parts is summarized for the table -- The freshness graphs provide a quick view of the up-to-dateness of your table.
| Freshness | Description |
|---|---|
fresh |
This part is up to date. There has been a successful refresh within the staleness time frame (less than 1.5x of the refresh interval). |
stale |
The part is slightly out of date. The last successful refresh exceeds the stale time frame but less than the expired time frame ( more than 1.5x over the refresh interval, but less than 2x). |
expired |
There has been no successful refresh within the expiration time frame ( more than 2x over refresh interval). |
removing |
The data is in the process of being deleted. |
pending |
No query (successful or failed) has been completed yet for the part. |
error |
All refreshes have failed - after one or more attempts, the part has never been successfully updated. |
disabled |
The part has been disabled by user request. No data for this part exists in the table, and all refreshes are stopped. |
To see more information about a table and its parts, click the table name.
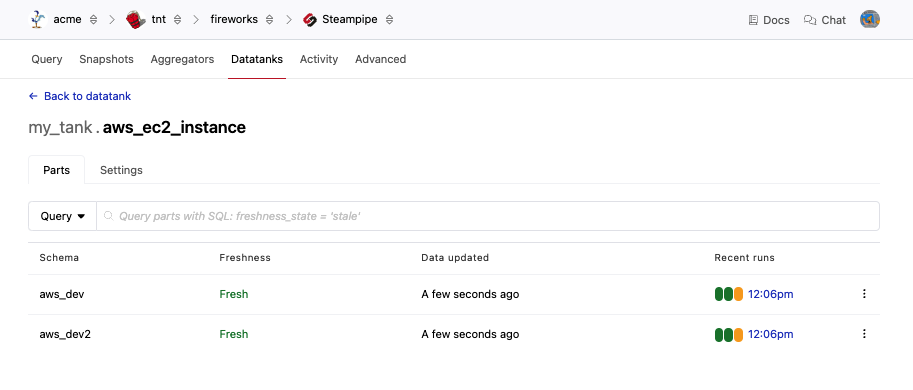
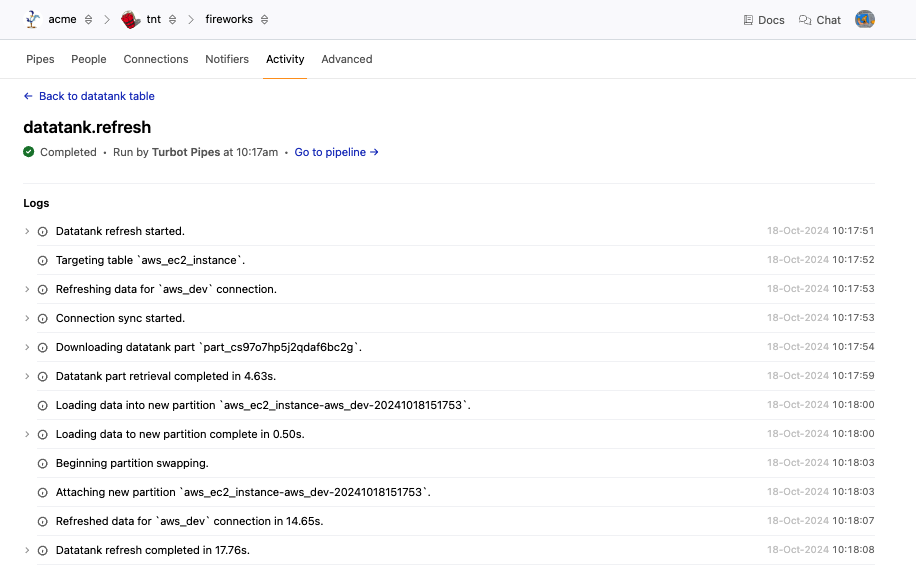
From this page, you can see the details for each part, including the freshness, last update time, and a graph displaying the status of the most recent refresh process. Clicking on any of the Recent Runs will take you to the logs for that process.
You can can manually refresh, pause, or disable a part from the options menu ('three dots' button) at the end of each line.
Part States
Each part has its own state, but it is also affected by the state of the parent table - If a table is enabled, you may pause or disable its parts, but if the parent table is paused or disabled, you cannot enable its parts.
| State | Description |
|---|---|
Disabled |
The data for this part has been removed from the table, and the part will no longer update per the interval/schedule. |
Enabled |
The part is scheduled to be refreshed per the interval/schedule and added to the table. |
Paused |
The refresh is suspended for the part - it will not be updated per interval/schedule. Any data related to this part that was present before it was paused remains in the table. |
Tips / Tricks / Best Practices
-
Only add the tables that you want to accelerate. Steampipe's architecture and built-in caching allow it to scale remarkably well. Datatank is another tool to increase query performance, but it comes with tradeoffs - more compute time, more operational overhead, and less up-to-date results.
-
Use the appropriate update interval. Running more frequently will increase your compute costs, both for the refresh pipeline and the database execution time. Reserve the short intervals for tables where you really need the data freshness.
-
Usually, you will want to create a 1:1 mapping of plugin tables to datatank tables. This enables you to run the existing mods against the tables in the datatank, as they have the same columns.
-
By default, datatank schemas are prepended to the front of the search path (in alphabetical order) so they appear before any aggregators or connections. This allows you to use unqualified queries for resolution across datatanks and other connections; if the table is in the datatank, it is used, otherwise, it will find it in the next aggregator or connection and use that one. Be aware that if you manually set the
search_pathorsearch_path_prefix, you would need to include or exclude the datatank schema as well, depending on your needs.