Snapshots
Snapshots
Turbot Pipes allows you to save and share snapshots of dashboards and benchmarks. A snapshot is a saved view of a dashboard at a point in time with a given set of inputs and variables. You can save and schedule snapshots from a dashboard or take snapshots from the Powerpipe CLI and upload them to your workspace.
You can manage these snapshots from the Snapshots tab for the Powerpipe service in your workspace.
Browsing Snapshots
To view a list of snapshots, navigate to your workspace. From the Pipes tab, select Powerpipe, then go to the Snapshots tab.
The Snapshots tab lists all the snapshots in the workspace, including the snapshot title, tags, and the date and time when the snapshot was taken.
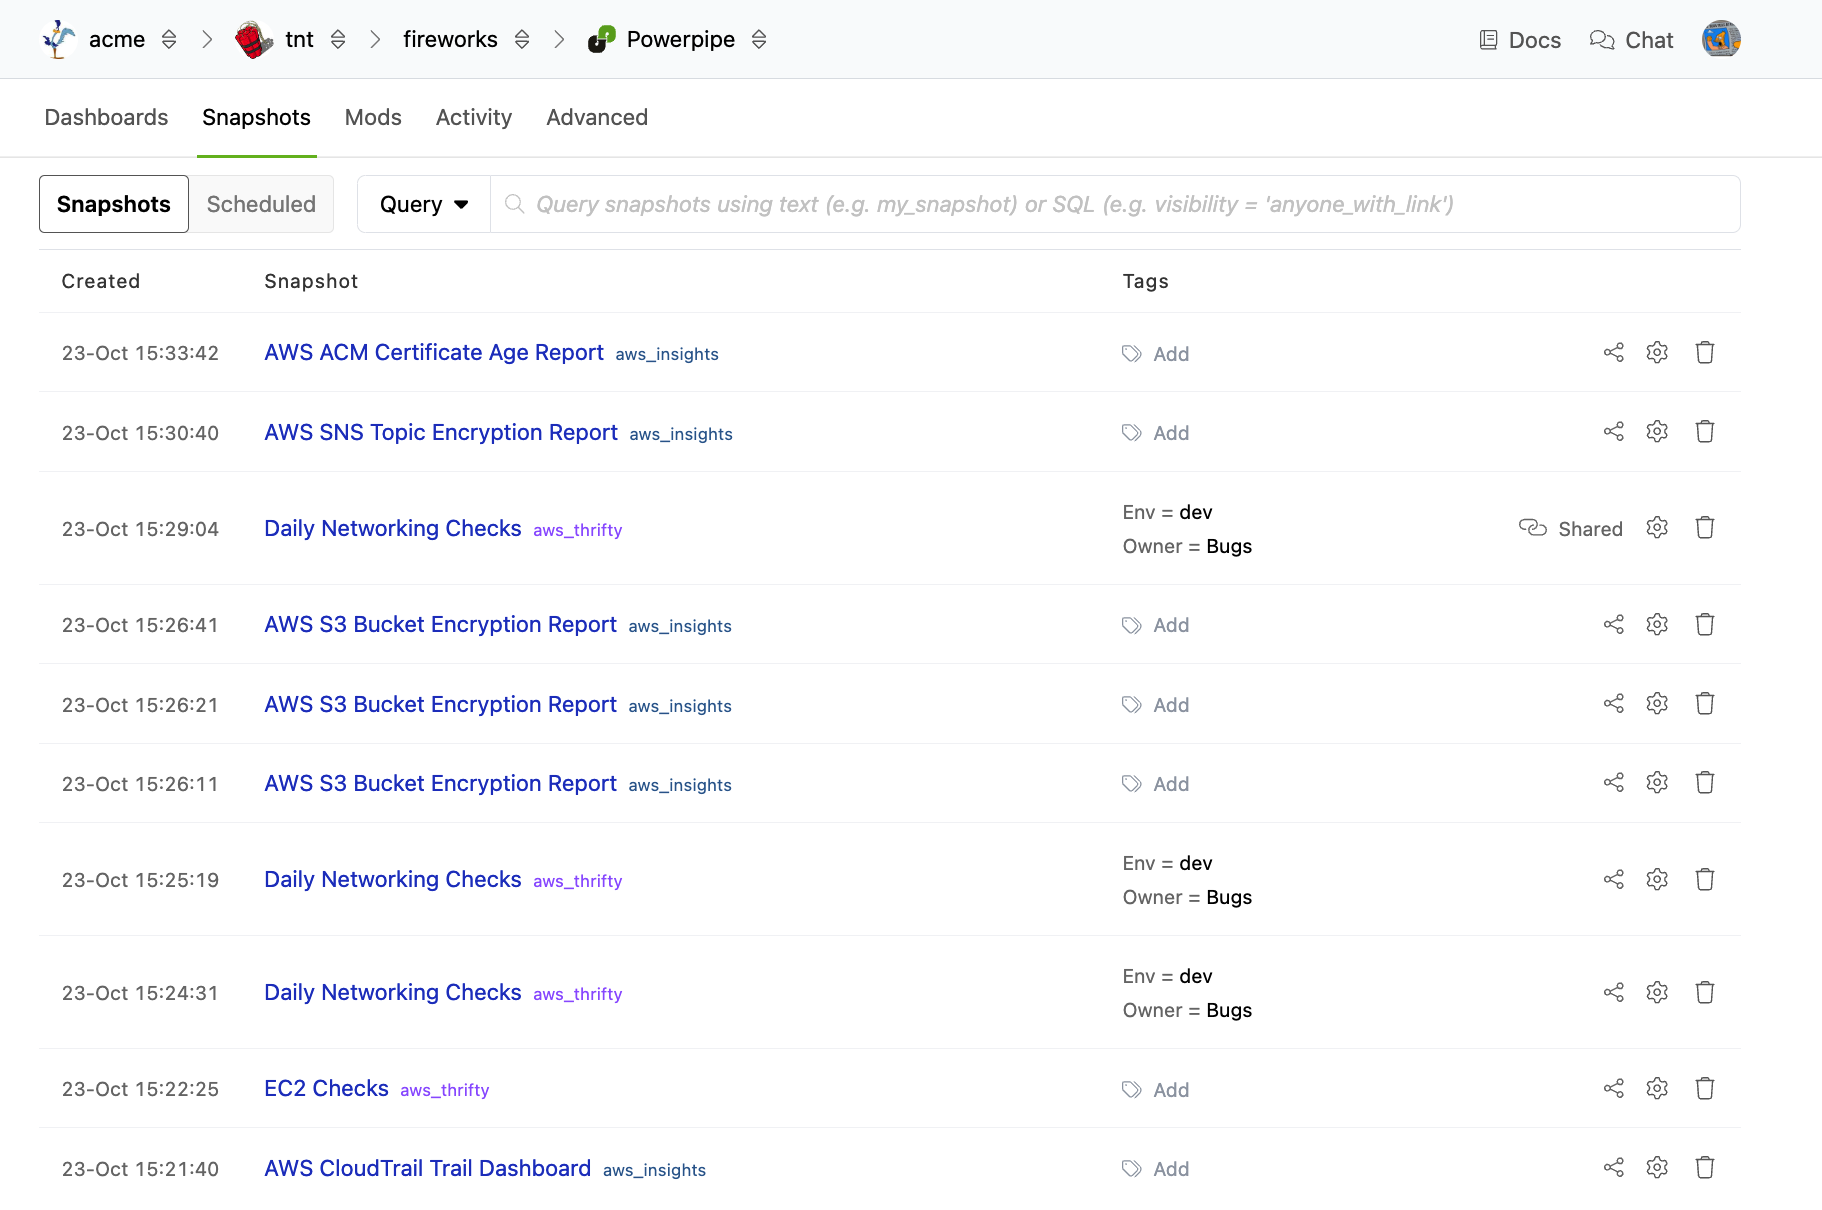
You can filter the list of snapshots using a query filter. Click the Query dropdown to select a pre-defined filter, or enter your own using the Pipes query filter syntax.
Click on a snapshot title to view or edit it.
Sharing Snapshots
When taking a snapshot, you can choose the visibility of the snapshot generated. By default, visibility is restricted to only those with access to your workspace, but you can choose to share it so that anyone on the internet with the link can view it.
You can subsequently change the visibility in Pipes in multiple places:
- From the Powerpipe Snapshots tab for your workspace, click the sharing icon for the snapshot you wish to modify.
- From the snapshot itself, click the Share button.
- From the snapshot properties panel, click the pencil next to the Visibility
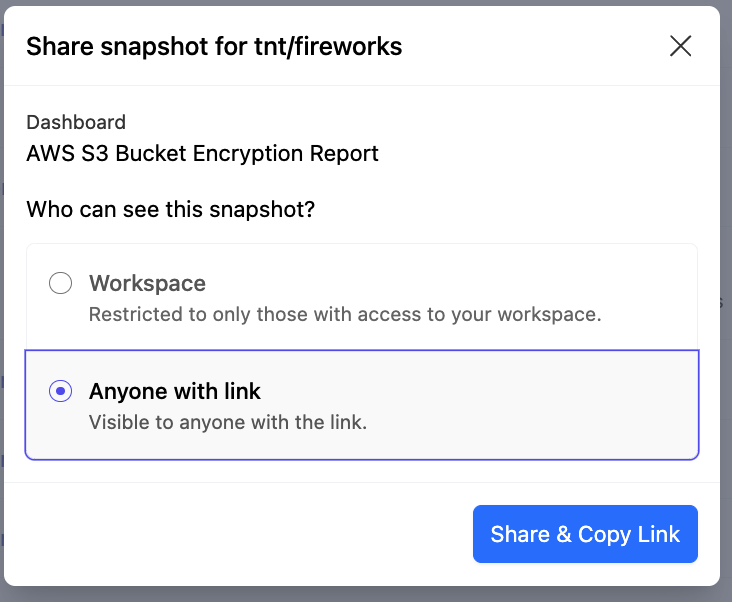
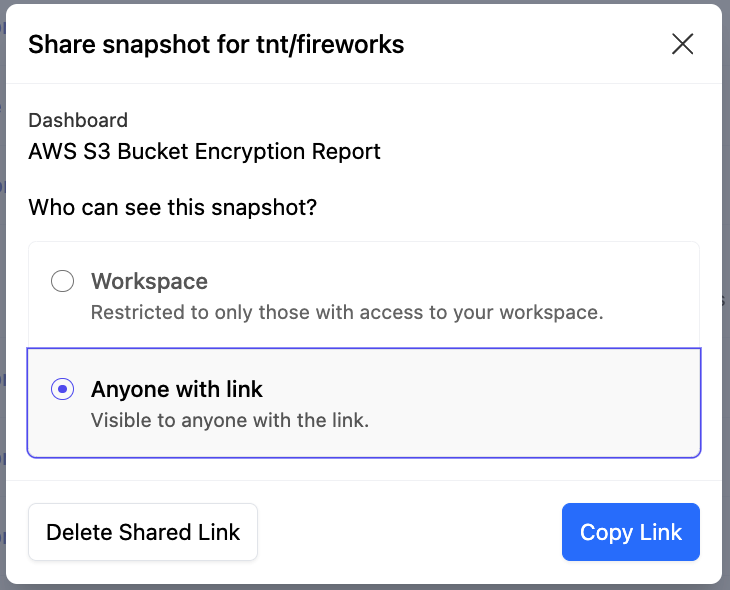
In all cases, a dialog will appear showing the current visibility.
To make the snapshot available to anyone with the link, select Anyone with Link, then click Share and Copy Link.
To restrict access to workspace members only, click Delete Shared Link.
Editing Snapshots
You can edit a snapshot's Title, Tags, and Visibility from the snapshot's properties panel. To view the properties panel:
- From the Powerpipe Snapshots tab for your workspace, click the gear icon for the snapshot you wish to modify or
- From a snapshot, click the gear icon at the top right.
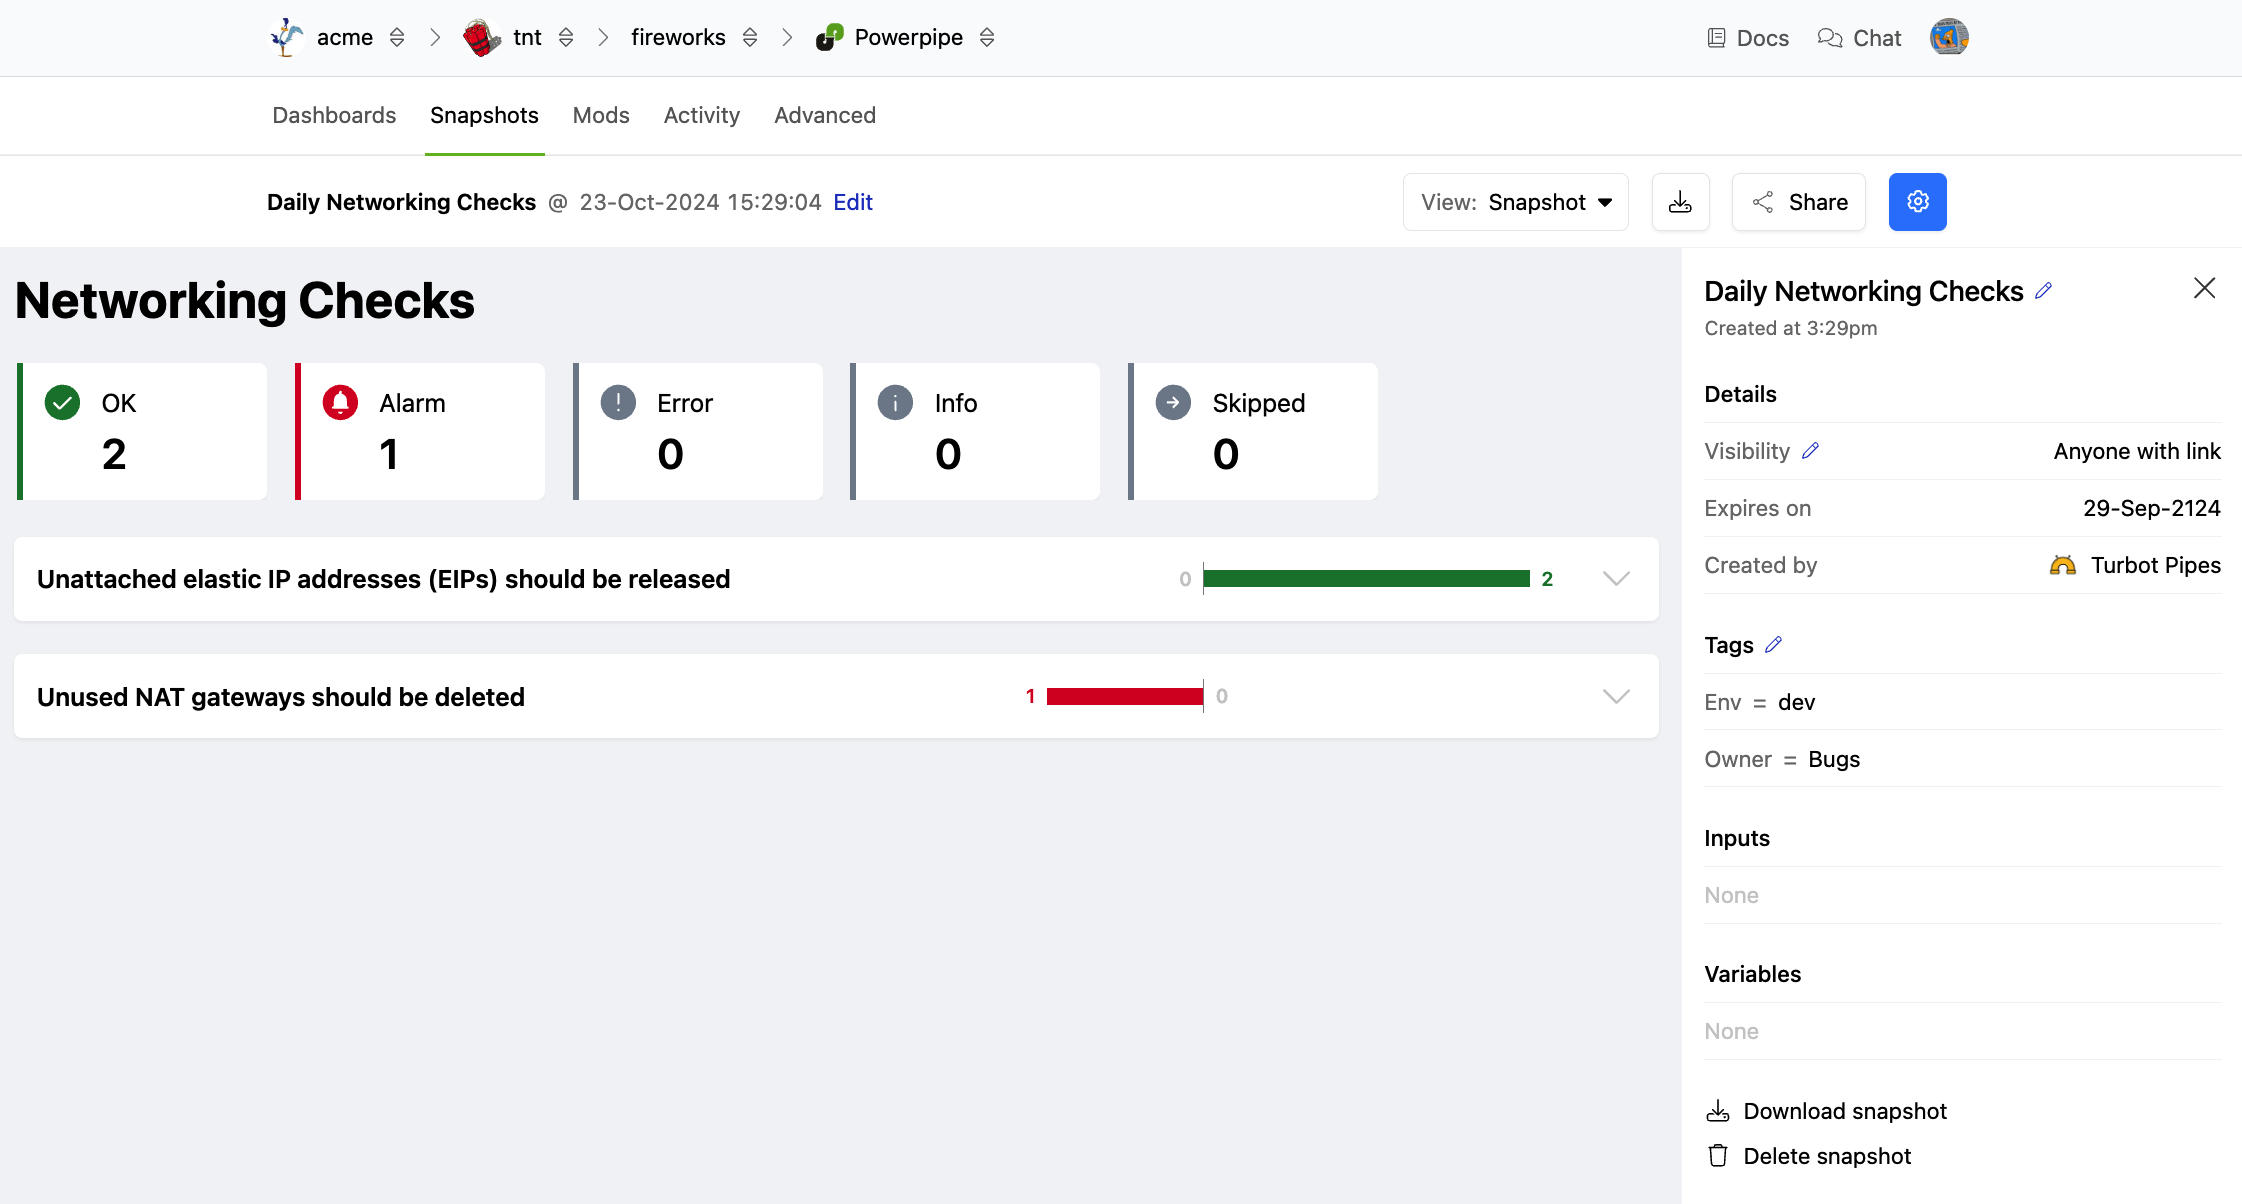
The properties panel will show details about the snapshot. Editable fields will have a pencil icon next to them; click the pencil to edit the field.
You can also download or delete the snapshot from the properties panel.
Deleting Snapshots
To delete a snapshot, click the trash can icon for the snapshot you wish to delete.
You can also delete the snapshot directly from the snapshot itself. Click the gear icon at the top right to show the properties panel, then click Delete Snapshot.
You will be prompted to confirm deletion; click Delete to permanently delete the snapshot.
Managing Snapshot Schedules
To view a list of snapshot schedules, navigate to your workspace. From the Pipes tab, select Powerpipe, then go to the Snapshots tab.
Click the Scheduled sub-tab to view a list of all the snapshot schedules in the workspace, including the schedule title, the next run time, the last run time, and tags.
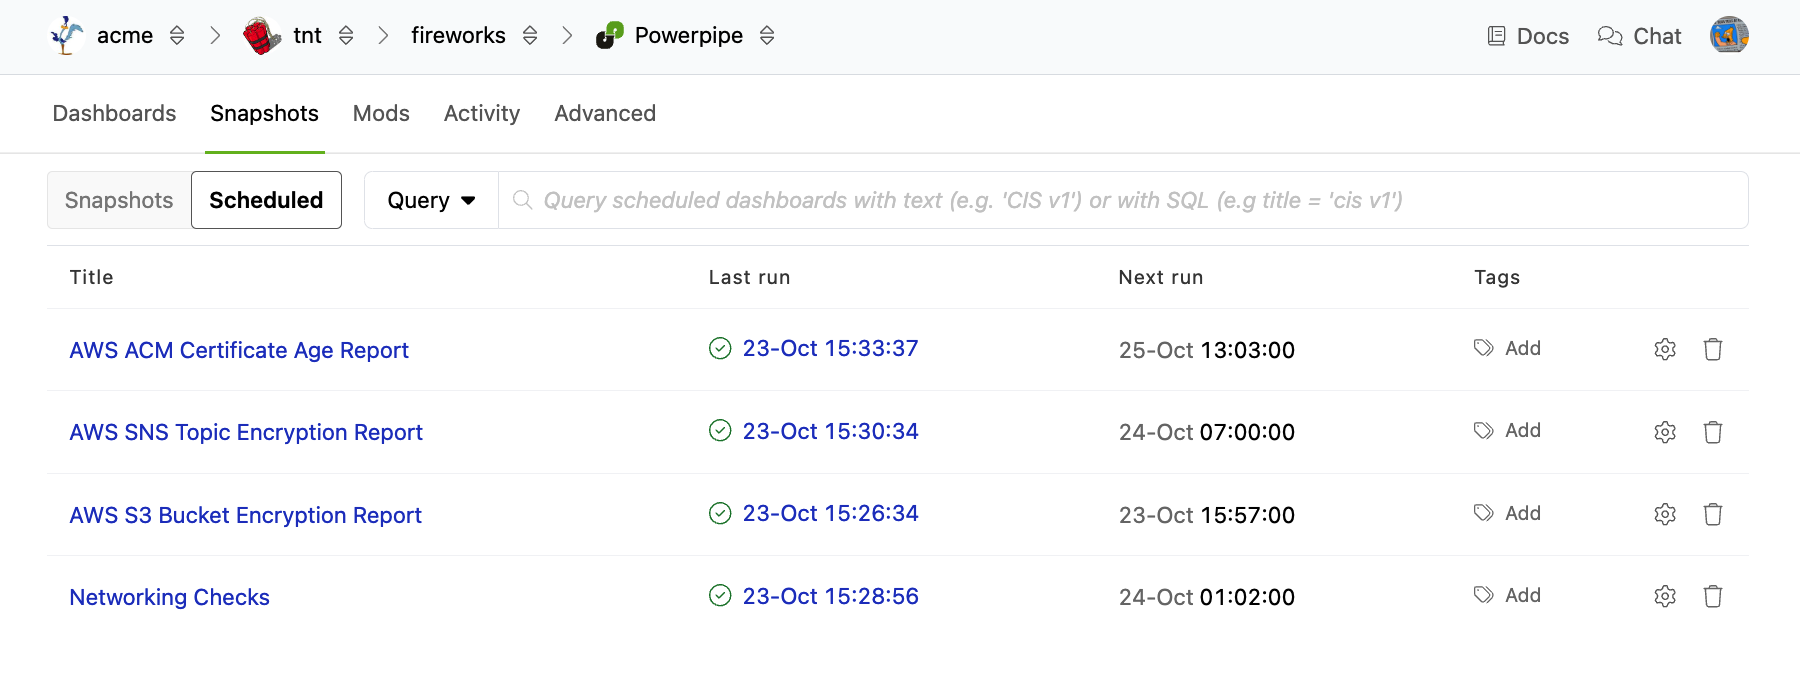
Click on a schedule title to view or manage the schedule.
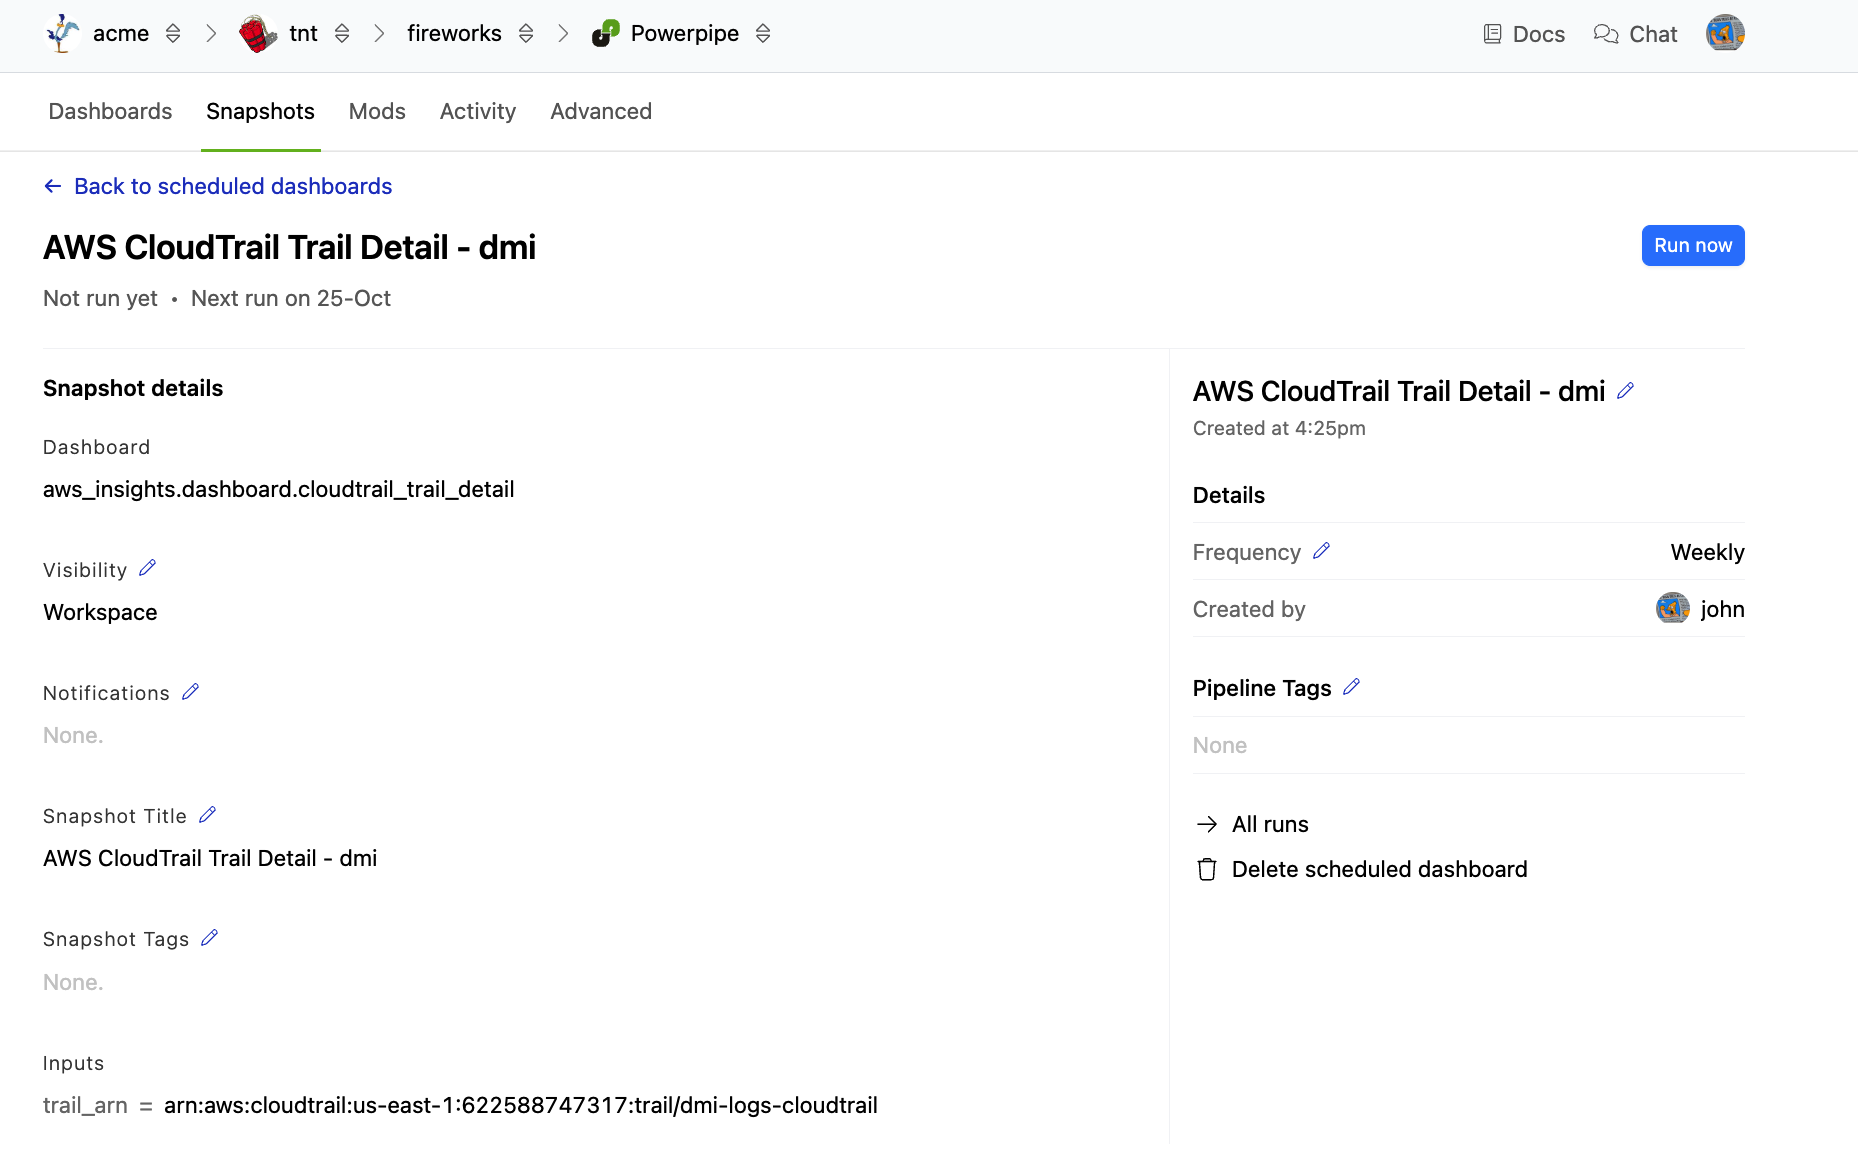
From this page, you can edit the schedule Title, Frequency, and Notifications, as well as the Title, Tags, and Visibility for the snapshots that it will generate. Click the pencil icon next to the relevant field to edit it.
The status of the last run appears at the top of the page, but you can link to the previous executions as well by clicking All Runs. This will take you to the Activity page, which will be filtered to show only the processes related to this snapshot schedule.
If you want to delete the schedule, click Delete Scheduled Dashboard. You will be prompted to confirm deletion. Alternatively, can delete the schedule from the list on the Scheduled sub-tab by clicking the trashcan icon for the schedule you wish to delete.