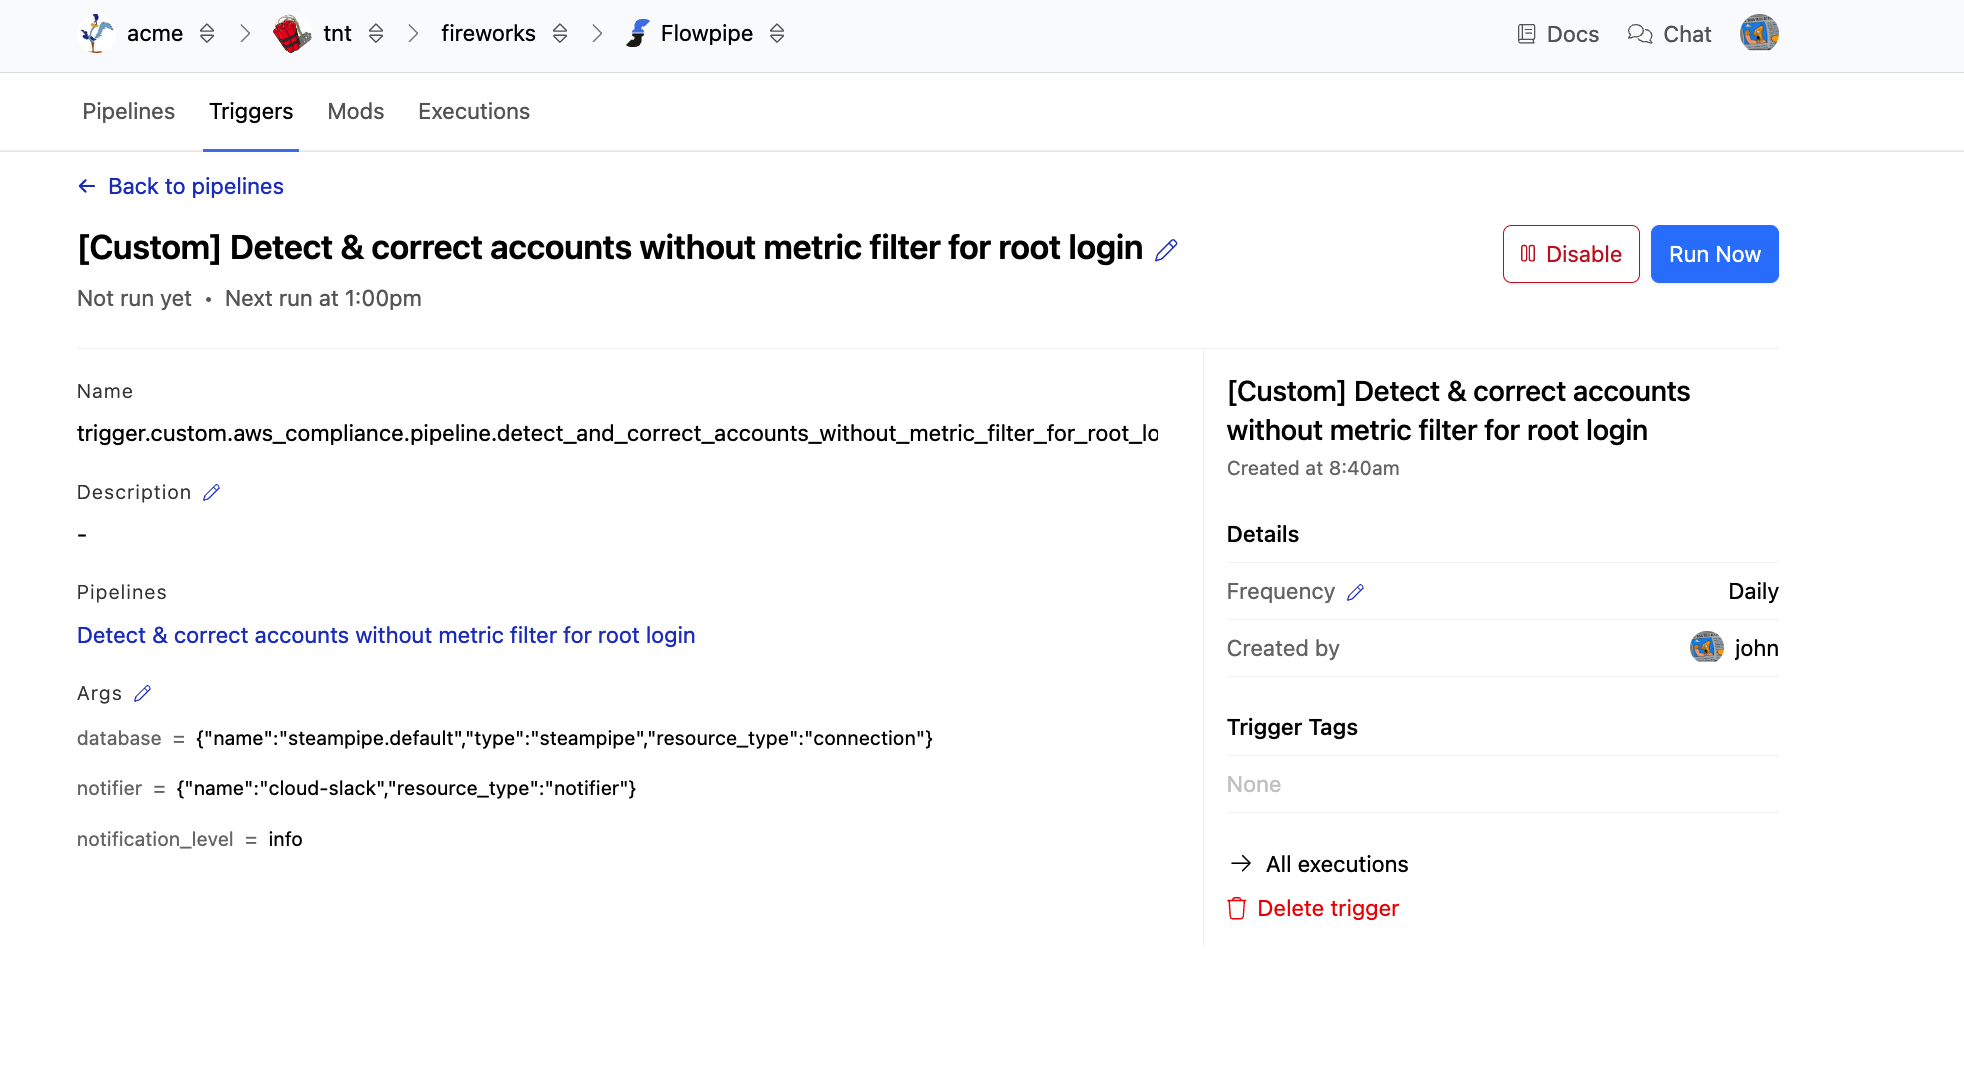
Pipelines
Pipelines
A Flowpipe pipeline is a sequence of steps to do work. Pipelines are distributed in mods - you must install one or more Flowpipe mods to run pipelines. You can find mods on the Flowpipe Hub, but you can also write your own mods and run them in Pipes.
Viewing Pipelines
You can view and run pipelines from the Pipelines tab for the Flowpipe service in your workspace. Navigate to your workspace, then to the Pipes tab, and choose Flowpipe. The Pipelines tab will list the runnable pipelines for the mods that you have installed, as well as information about any triggers that have been set up, the last time the pipeline has run, and the next time it will run if it has been scheduled. You can type a search string or filter in the Query box to filter the list.
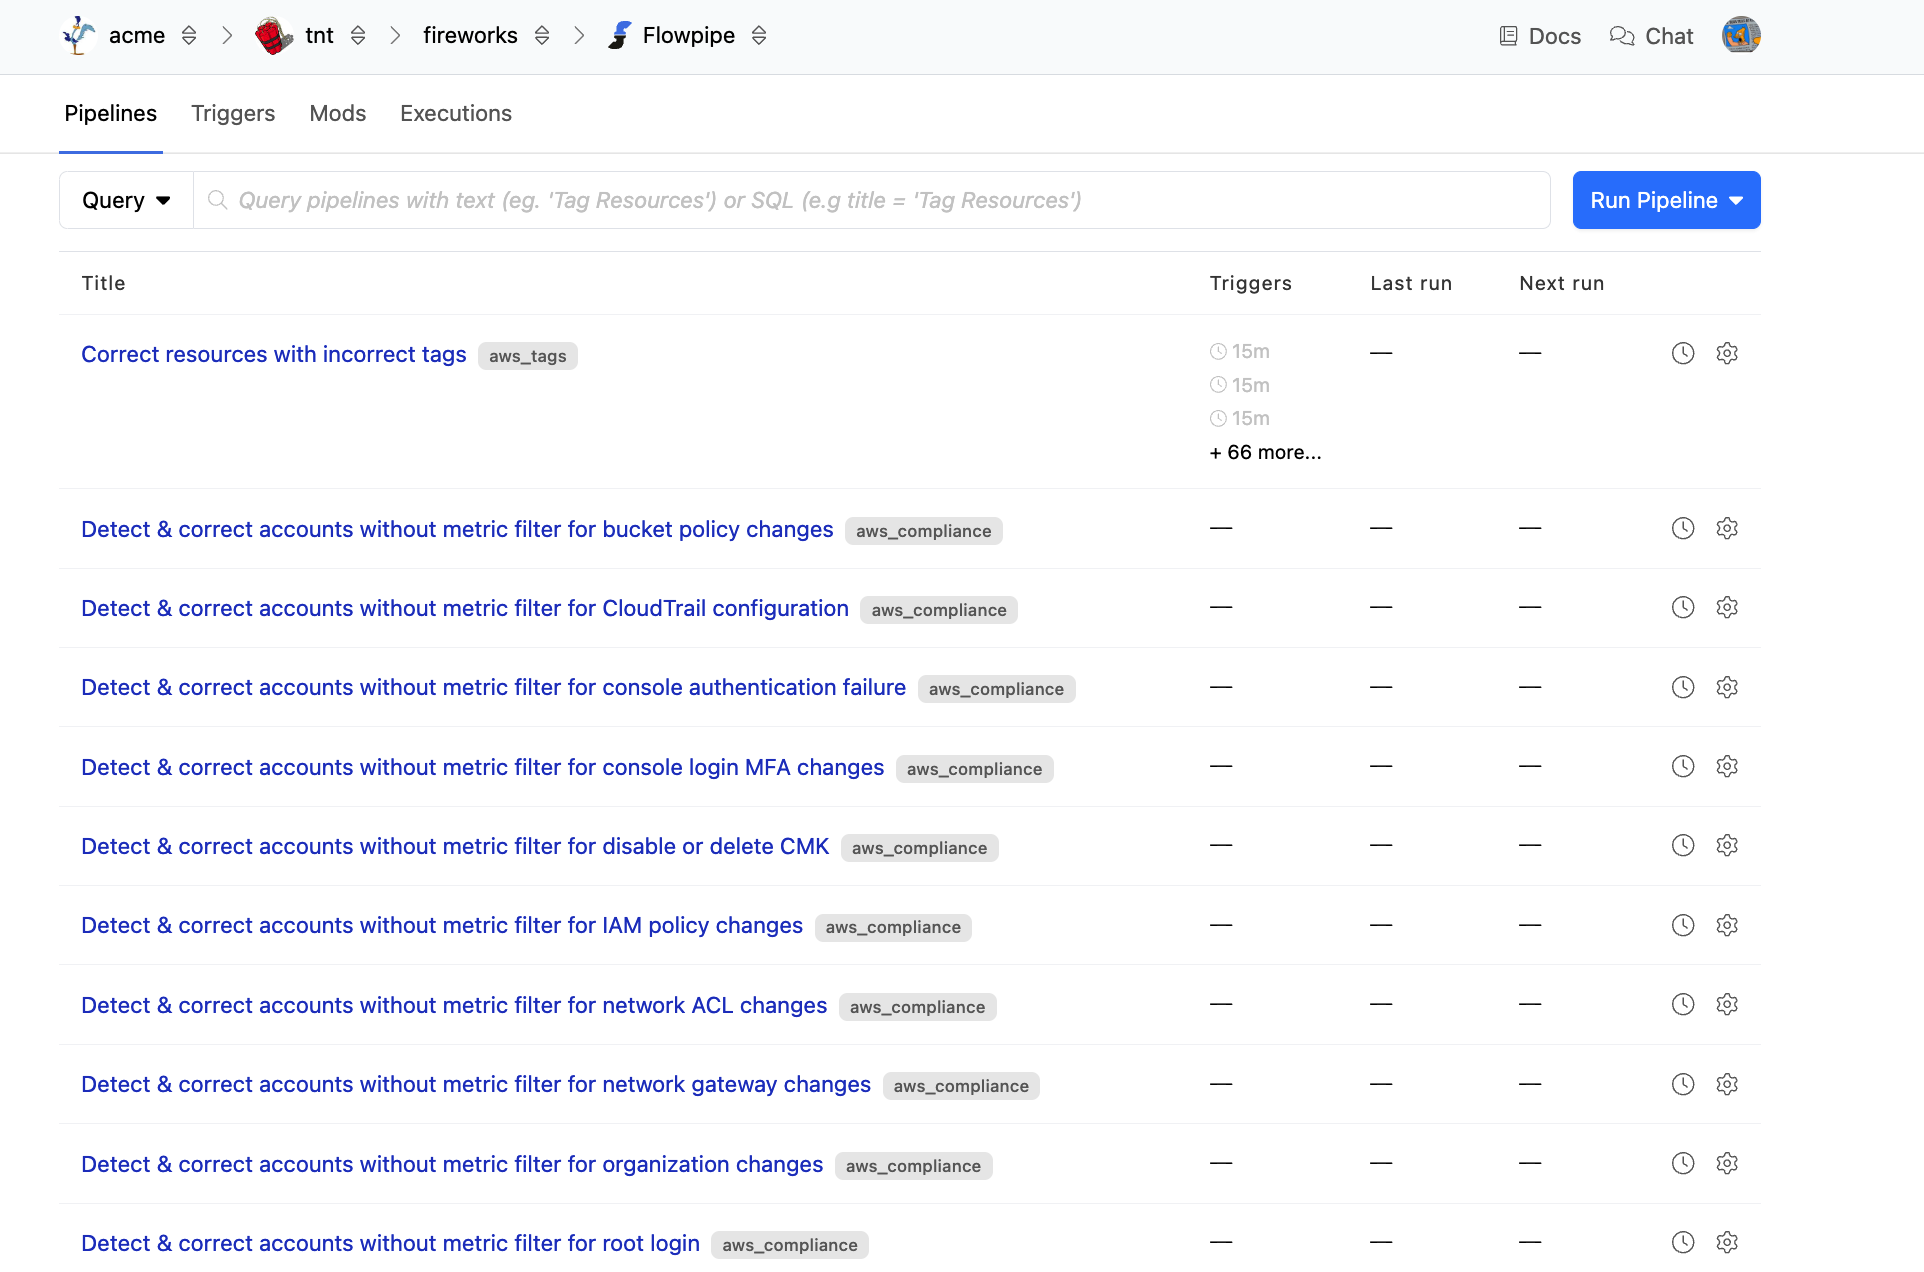
Clicking on a pipeline will take you to the pipeline detail page.
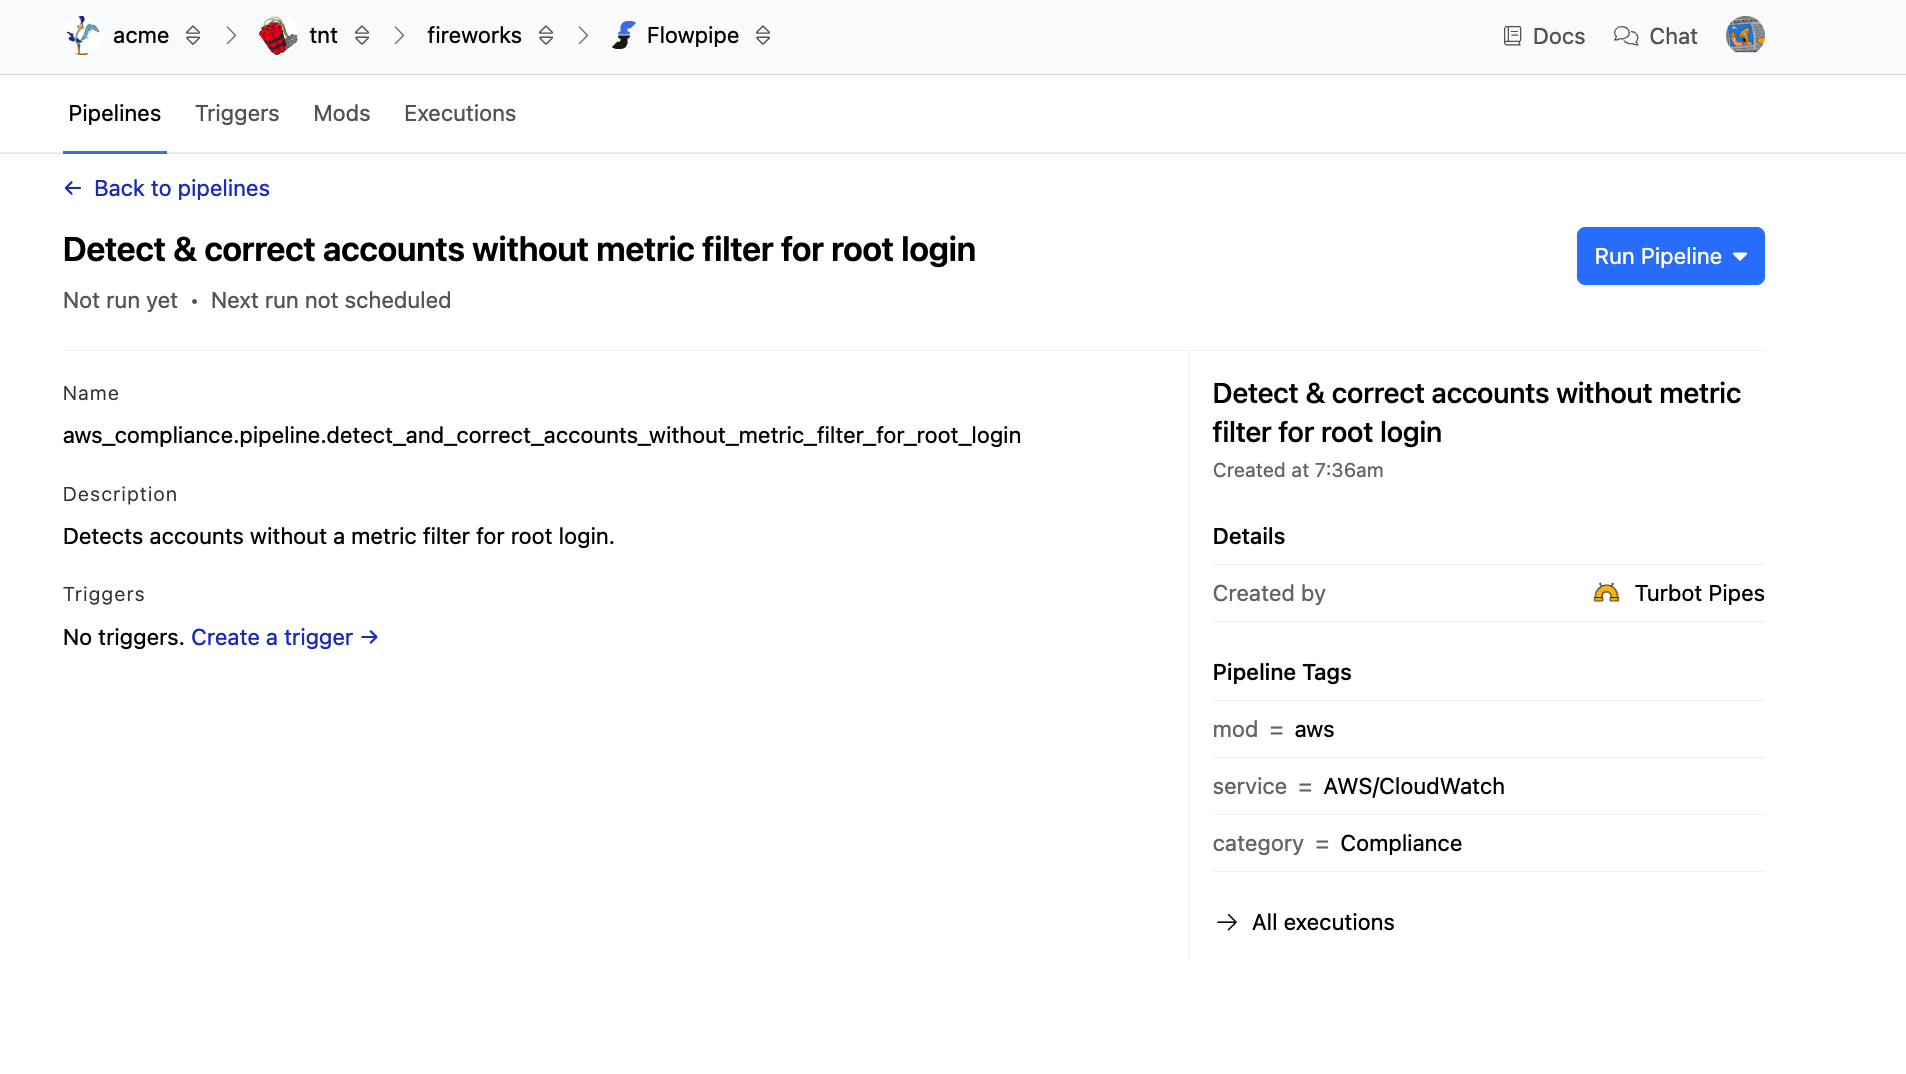
The pipeline detail page provides extended information about the pipeline, including the last run status, name, description, tags, and information about who created it and when. You can also see a list of triggers that are configured to run this pipeline, as well as a link to the process logs for all runs of the pipeline. From this page, you also have the option to run the pipeline or create a trigger for it.
Running a Pipeline
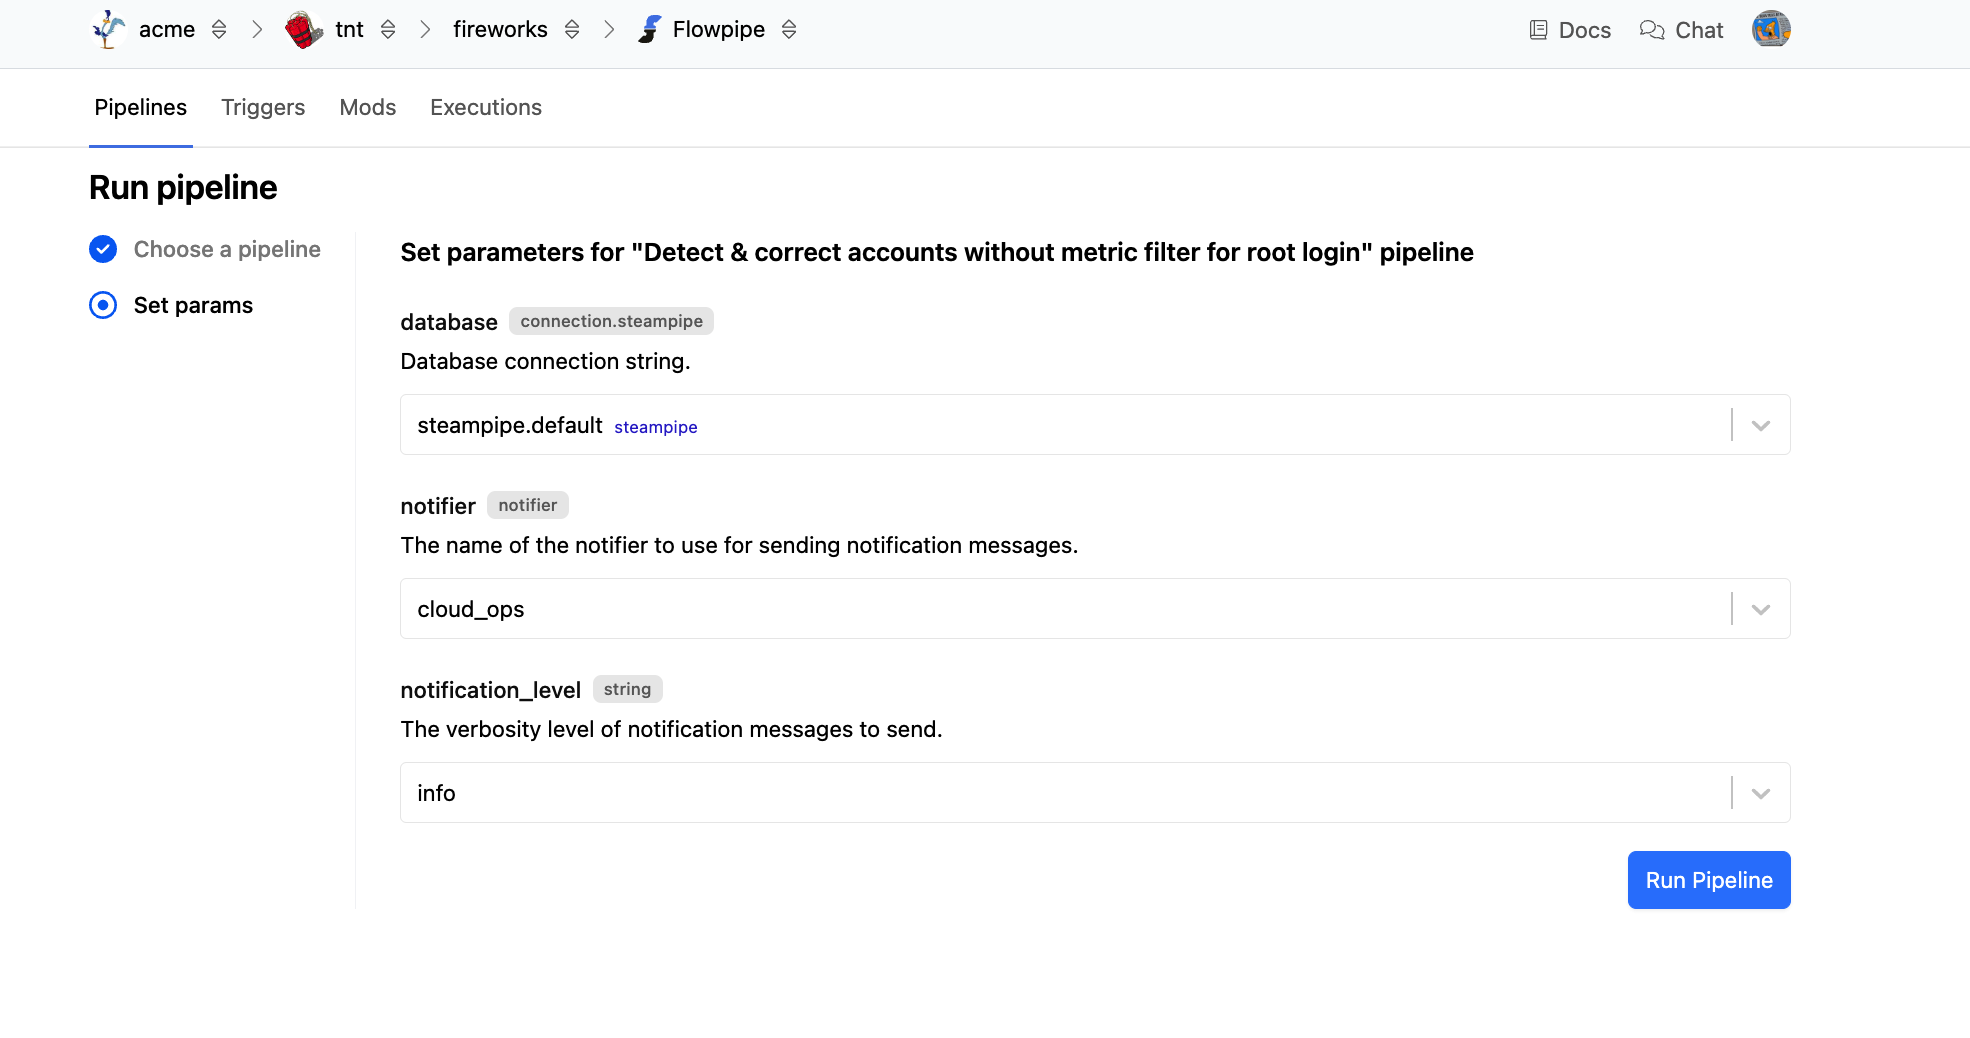
You can run a Flowpipe pipeline by clicking the Run Pipeline button from the Pipelines tab for your workspace or from the pipeline detail page. If the pipeline has parameters defined, you will be prompted for them. Enter the parameter values and click Run Pipeline.
 .
.
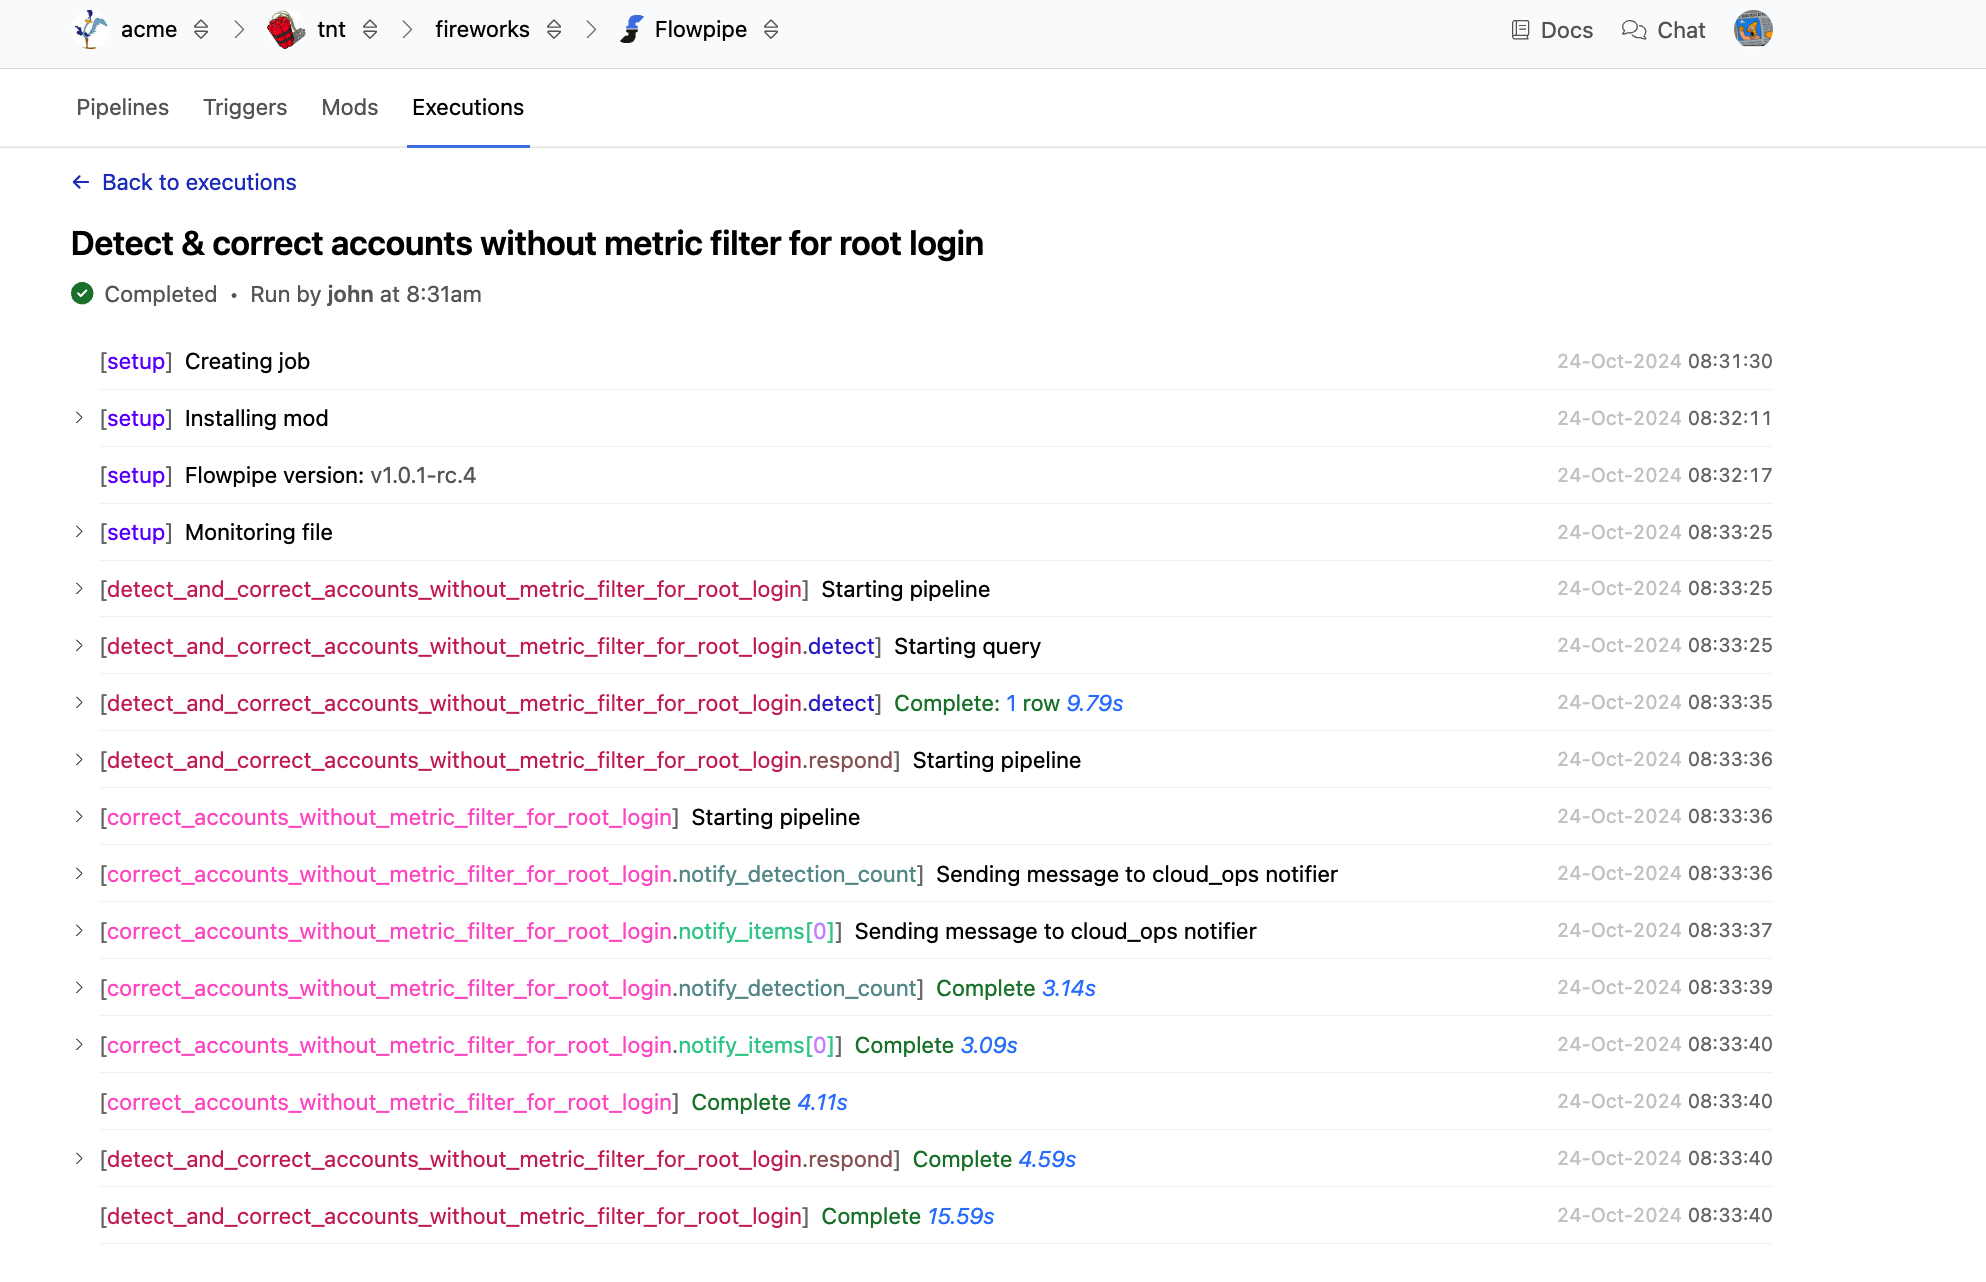
The pipeline will be submitted for execution, and you will be redirected to the process page, where you can view the logs as the process runs.
Scheduling a Pipeline
You can set up triggers to run your pipelines automatically. You can create a trigger from the Pipelines list by clicking the clock icon next to the pipeline you wish to trigger. Alternatively, you can click the Run Pipeline dropdown and select Create Trigger from the pipeline's detail page.
You will be prompted for any parameters.
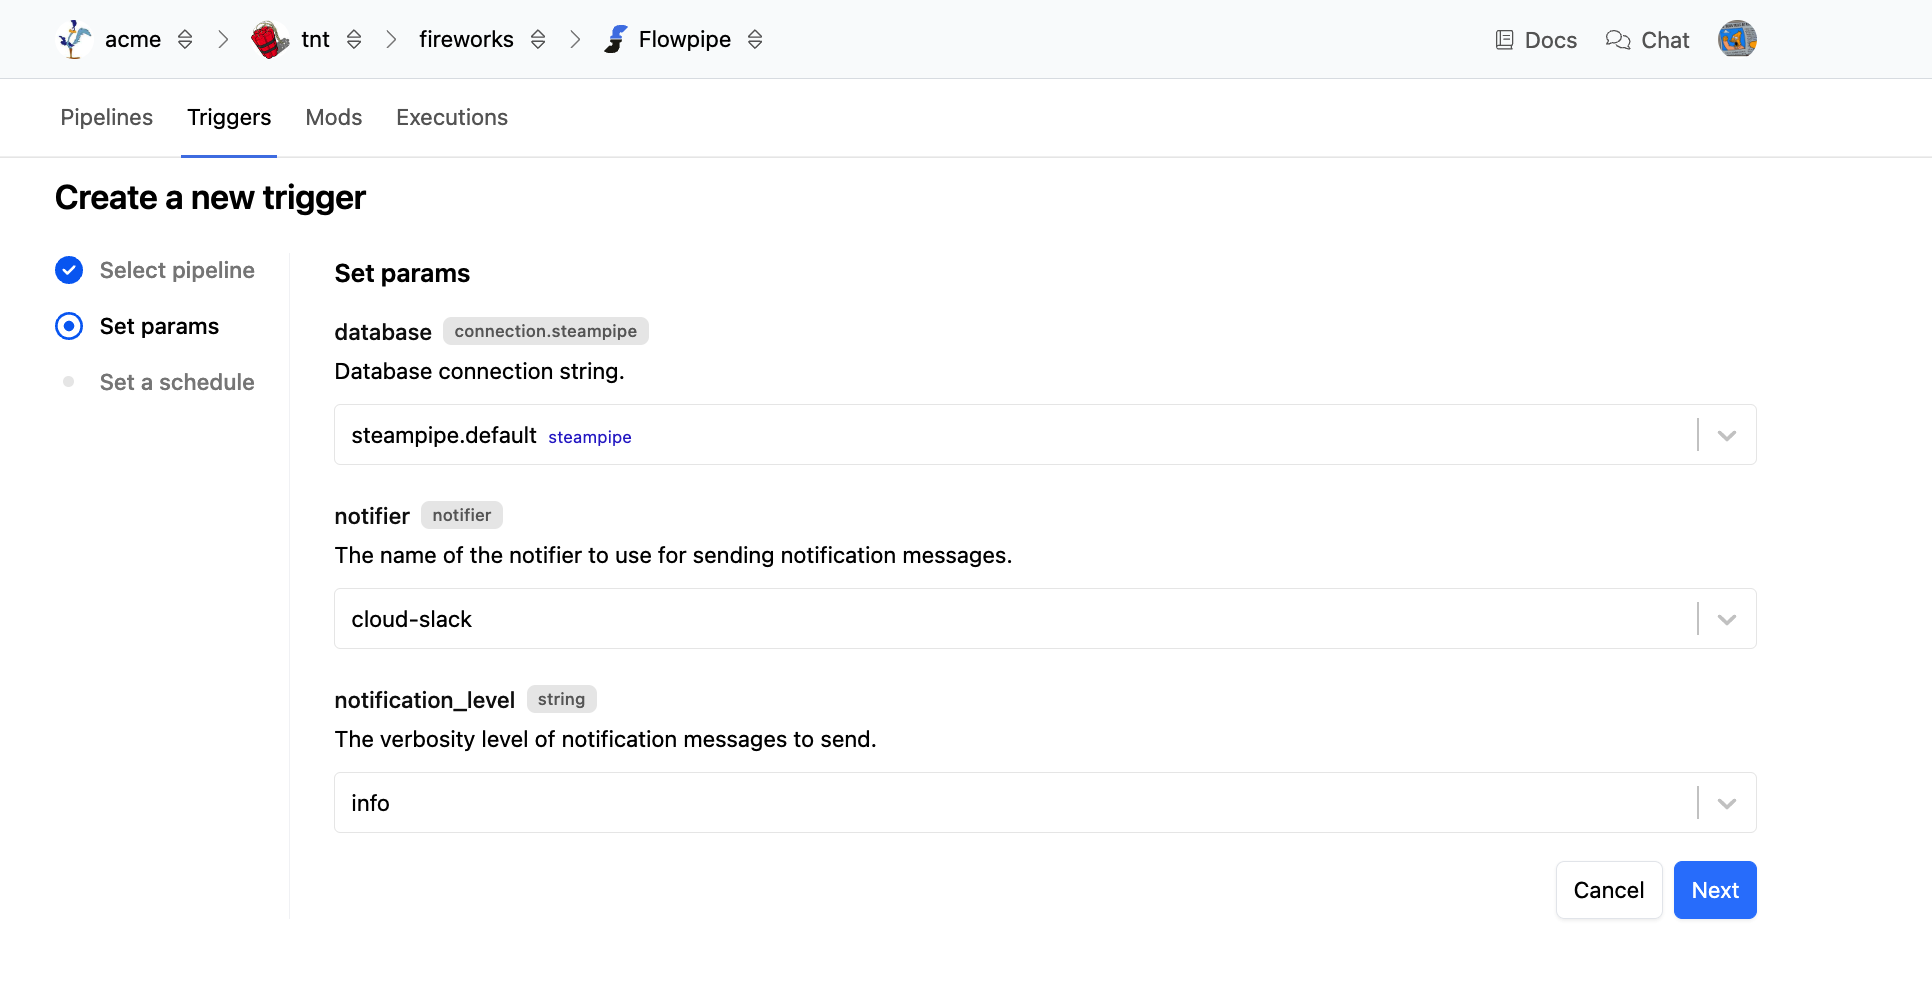
Enter them and click Next. You are then prompted for a schedule.

Select the desired interval or enter a custom cron schedule and then click Create.
A schedule trigger will be created, and you will be redirected to the trigger detail page.
