GitHub Integration
GitHub Integration
The GitHub Integration allows Turbot Pipes access to your GitHub repositories to be able to search and install custom mods from private and public repositories.
Once a GitHub integration has been added, you will be able to browse and install both private and public mods from the associated repositories and constrain them by either a semantic version constraint or branch. Pipes will detect changes to the source repository and automatically synchronize these changes to your workspaces!
Creating the GitHub Integration
You can create an integration for a tenant or an identity (organization or developer account), and where you create the integration affects the scope of the resources it creates; the resulting mods are only visible within the entity in which it was created.
| Level | Plan | Description |
|---|---|---|
| Tenant | Enterprise | Mods are available to all workspaces in the tenant. |
| Org | Team or Enterprise | Mods are available to all workspaces in the organization. |
| User (Developer Account) | any | Mods are available to all workspaces in the account. |
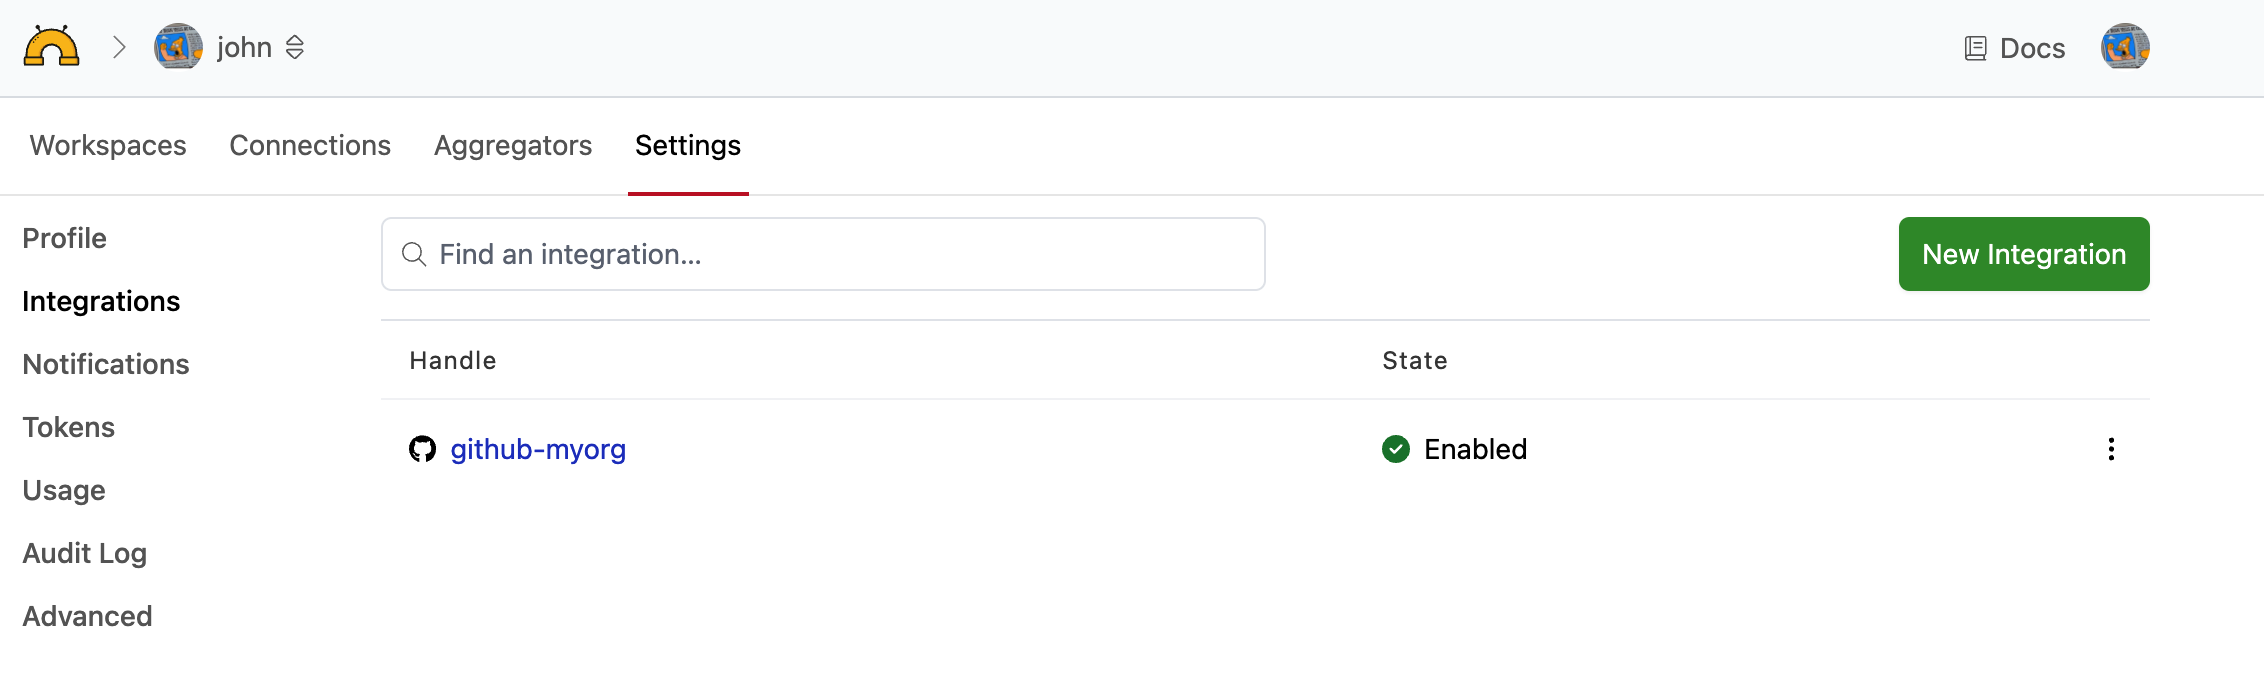
First, navigate to the Integrations page for the appropriate resource:
- To configure a Github integration for your Tenant, click the double arrow button from the tenant switcher at the top of the Pipes console, select your tenant, and then select Tenant Settings. This option will only be visible in a custom tenant for which you are a tenant owner. Once you've selected your tenant, go to the Integrations tab to manage the integrations for the tenant.
- To configure a Github integration for your Organization, click the double arrow button from the organization switcher at the top of the page and select the organization from the dropdown. Once you've selected your organization, go to the Integrations tab to manage the integrations for the organization.
- To configure a GitHub integration for your Developer Account, click the double arrow button from the navigation at the top of the page, select your account from the dropdown, and then select Settings from the menu on the left. On the organization settings page, select Integrations.
![]()
Next, click the New Integration button. You will be asked to select an integration to create.
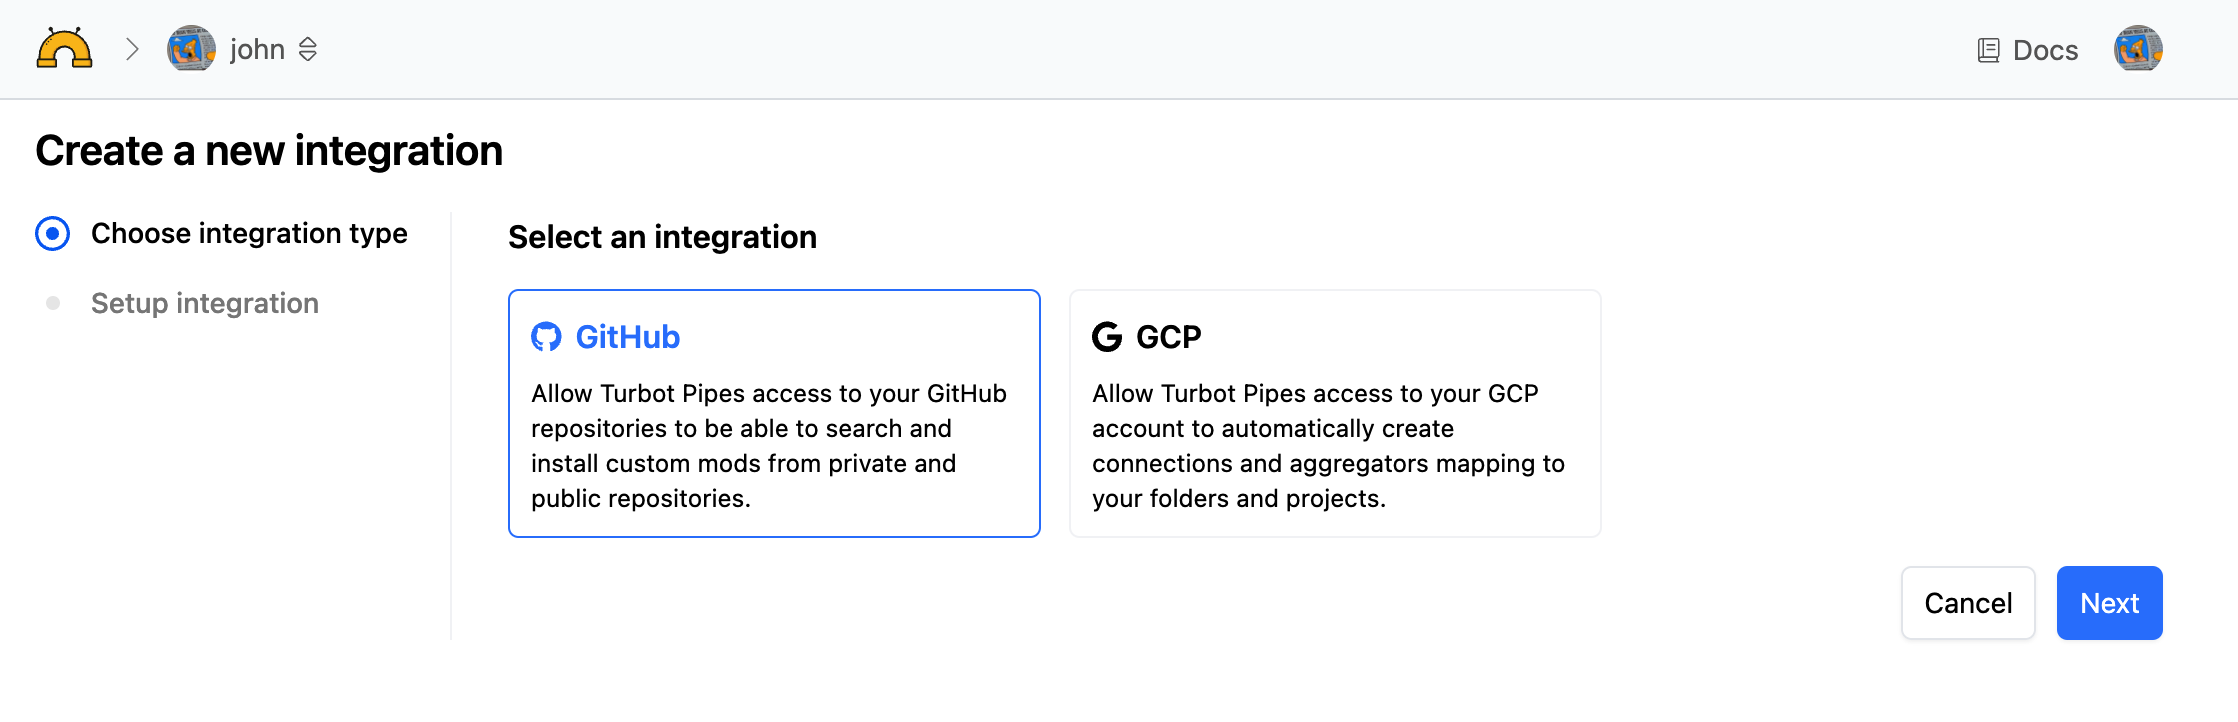
Select GitHub and click Next.
Provide a Handle for the integration. This handle should be meaningful and must be unique for all integrations in the tenant (including any org-level integrations).
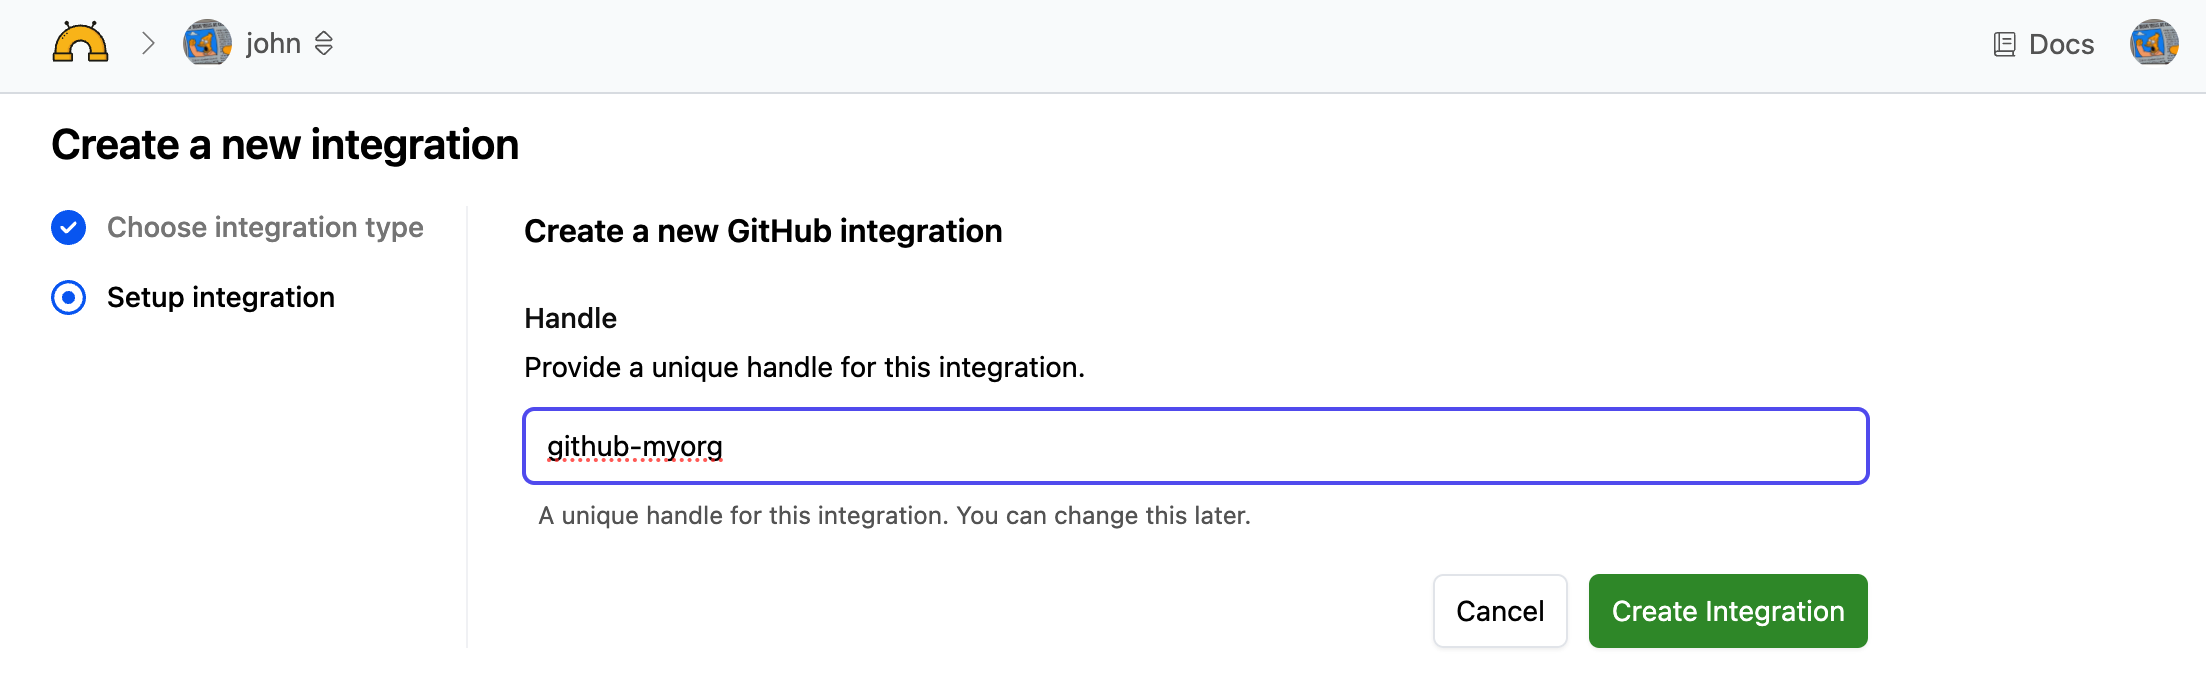
Enter a handle and click Create Integration. The integration is created, and you are redirected to the GitHub app installation screen.
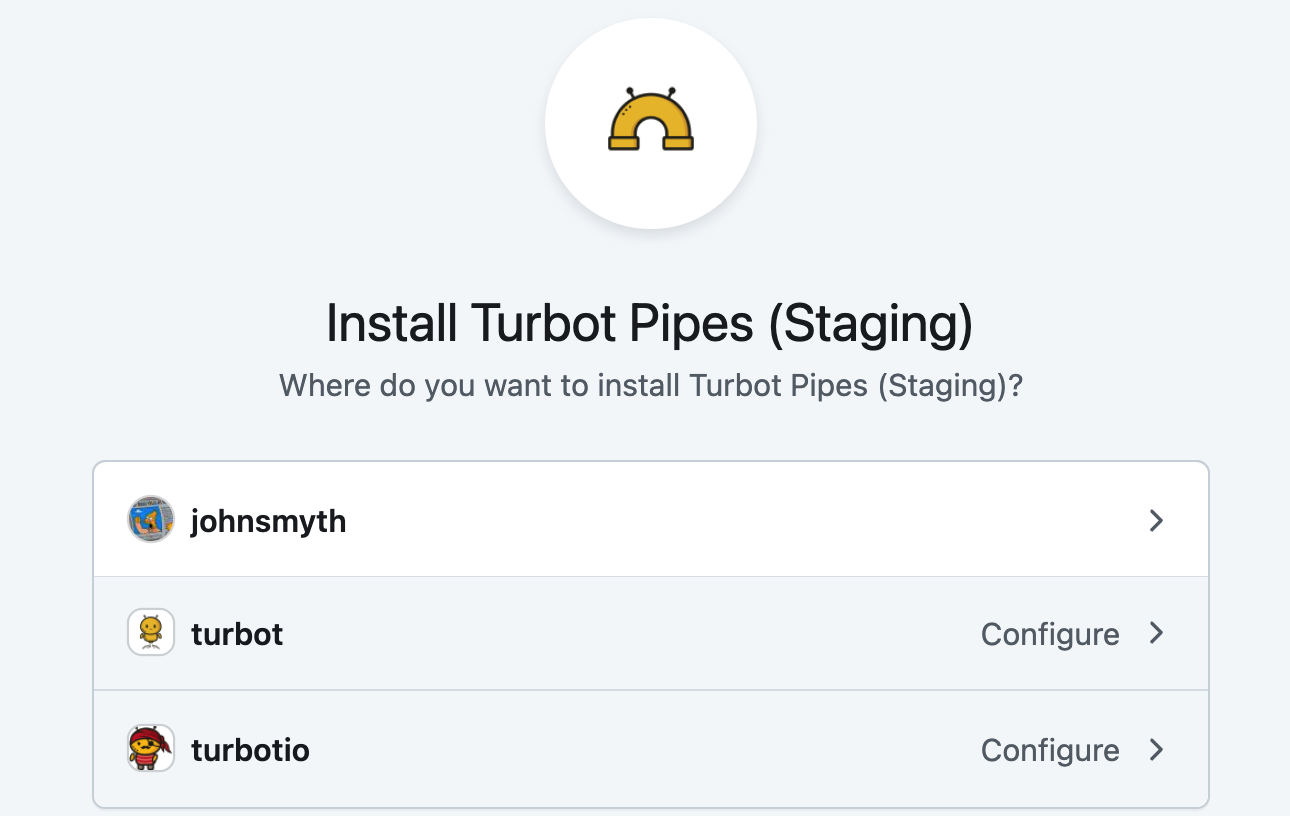
Select the GitHub user or organization that you would like to share with Turbot Pipes, then select which repositories to allow Pipes to access.
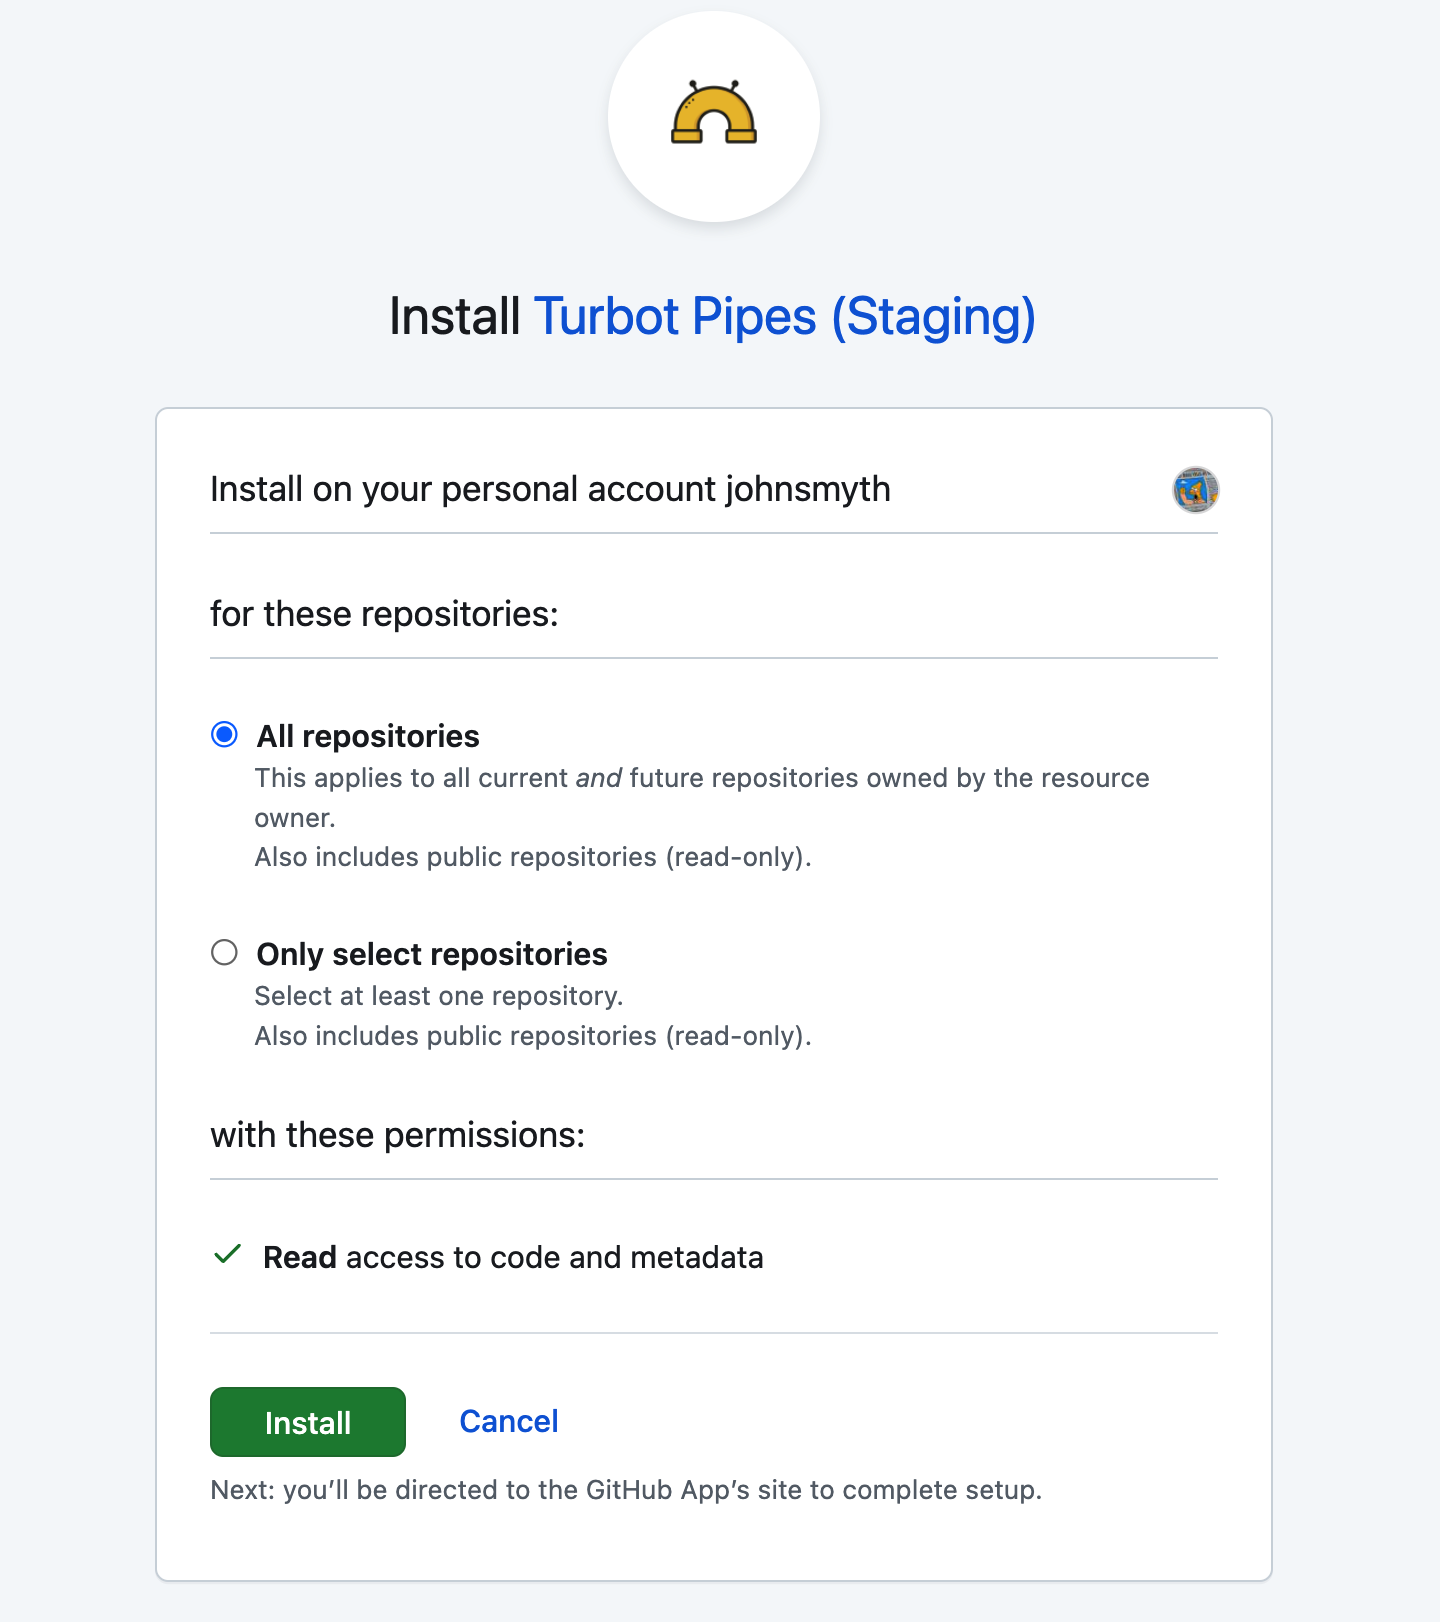
After you complete the GitHub setup, you will be redirected to the Integrations page. You should see your new integration in the list. If the state is Enabled, then the setup is complete, and Pipes will begin discovering the mods in your repositories.
Modifying the GitHub Integration
After you have created an integration, you can change its Handle.
Navigate to the Integrations page for the appropriate resource:
- To configure a Github integration for your Tenant, click the double arrow button from the tenant switcher at the top of the Pipes console, select your tenant, and then select Tenant Settings. This option will only be visible in a custom tenant for which you are a tenant owner. Once you've selected your tenant, go to the Integrations tab to manage the integrations for the tenant.
- To configure a Github integration for your Organization, click the double arrow button from the organization switcher at the top of the page and select the organization from the dropdown. Once you've selected your organization, go to the Integrations tab to manage the integrations for the organization.
- To configure a GitHub integration for your Developer Account, click the double arrow button from the navigation at the top of the page, select your account from the dropdown, and then select Settings from the menu on the left. On the organization settings page, select Integrations.
You can modify the Handle from the Advanced tab. Enter the new handle and click Save.
Deleting the GitHub Integration
You can delete an integration from its Advanced page.
If you delete a GitHub integration, all of its associated mods will be removed from all workspaces the next time they are rebooted. This action is not reversible!
Navigate to the Integrations page for the appropriate resource:
- To configure a Github integration for your Tenant, click the double arrow button from the tenant switcher at the top of the Pipes console, select your tenant, and then select Tenant Settings. This option will only be visible in a custom tenant for which you are a tenant owner. Once you've selected your tenant, go to the Integrations tab to manage the integrations for the tenant.
- To configure a Github integration for your Organization, click the double arrow button from the organization switcher at the top of the page and select the organization from the dropdown. Once you've selected your organization, go to the Integrations tab to manage the integrations for the organization.
- To configure a GitHub integration for your Developer Account, click the double arrow button from the navigation at the top of the page, select your account from the dropdown, and then select Settings from the menu on the left. On the organization settings page, select Integrations.
Go to the Advanced page and click the Delete Integration button. You will be asked to enter the handle to confirm deletion. If you wish to permanently delete the integration and all of its resources, click Delete.