
AWS SSO SAML Setup
This guide details configuring a Guardrails application in AWS SSO as well as the directory in Guardrails. Administrator
access in AWS and Turbot/Owner permissions at the Turbot level in Guardrails are required for configuration.
Create the Directory in Guardrails
- In the Guardrails console, click on the Permissions tab (designated with a user icon), then on the Directory card.
- Click New Directory and select SAML.
- Enter the following information:
- Title: The title for this directory that will display in the login screen.
- Description: A description for this directory.
- Entry Point: This is the identity provider's single sign on URL.
- Issuer: This is the identity provider issuer URL .
- Certificate: This is the Certificate from the identity provider
- The Profile ID Template can generally be left to the default value,
{{profile.email}. This is the unique identifier for any new user profile. - Advanced Configuration Options:
- Advanced > Allow IdP-Initiated SSO: Administrators have the option to allow IdP-initiated Single Sign-On (
SSO)
logins.
Allowing IdP-initiated SSO carries inherent security risks. The lack of an InResponseTo attribute means that
Service Provider (SP)-solicited SAML assertions cannot be validated.
Before enabling this feature, thoroughly assess the potential security implications of not verifying the
InResponseTo field. Decisions regarding this setting are typically guided by an organization's security team,
and
should be confirmed to align with security protocols prior to implementing the directory.
- Troubleshooting: If users encounter an error stating
InResponseTo is missing from responseduring SAML login, it indicates that the IdP-initiated SSO option needs to be enabled. Select the "Enabled" option to resolve this problem.
- Troubleshooting: If users encounter an error stating
- Advanced > Require Signed Authentication Response: Enable this option if you require the SAML authentication response from your Identity Provider (IdP) to be signed, ensuring data integrity and authenticity.
- Advanced > Strict Audience Validation: Administrators have the
option to enable strict audience validation. This should not be enabled
if the
Issuerfield above does not match the workspace URL.- Troubleshooting: If users encounter an error stating
SAML assertion audience mismatchduring SAML login, it indicates that the Strict Audience Validation should be disabled. Select the "Disabled" option to resolve this problem.
- Troubleshooting: If users encounter an error stating
- Advanced > Allow IdP-Initiated SSO: Administrators have the option to allow IdP-initiated Single Sign-On (
SSO)
logins.
Allowing IdP-initiated SSO carries inherent security risks. The lack of an InResponseTo attribute means that
Service Provider (SP)-solicited SAML assertions cannot be validated.
Before enabling this feature, thoroughly assess the potential security implications of not verifying the
InResponseTo field. Decisions regarding this setting are typically guided by an organization's security team,
and
should be confirmed to align with security protocols prior to implementing the directory.
- Click Create.
- The directory is now created and will appear in the list of directories. The directory can be activated immediately, but it will not function correctly until the SAML app is configured within the SAML application.
- Click the Edit pencil next to the new directory. Scroll to the bottom of the window and copy the Callback URL .
AWS SSO Configuration:
- Login to your AWS Organization Master account containing the AWS SSO directory.
- Go to AWS SSO Service.
- Select Applications → Add a new Application → Add a custom SAML 2.0 Application.
- Set the Display Name and Description to values that make sense, such as Turbot.
- Go down to Application metadata, select the option If you don't have a metadata file, you can manually type your metadata values.
- From the Guardrails directory you created, copy the Callback URL and paste it into the Application ACS URL and the Application SAML audience fields in AWS.
SAML Attribute Mapping
- Select the Attribute Mapping tab in AWS SSO for the Application you have created.
- Replicate the following fields in the application. Note that the Attributes are referred to
with
${ user : attribute }. Also, the attributes in the first column are case-sensitive. Refer to the AWS SSO Attribute docs for more information:
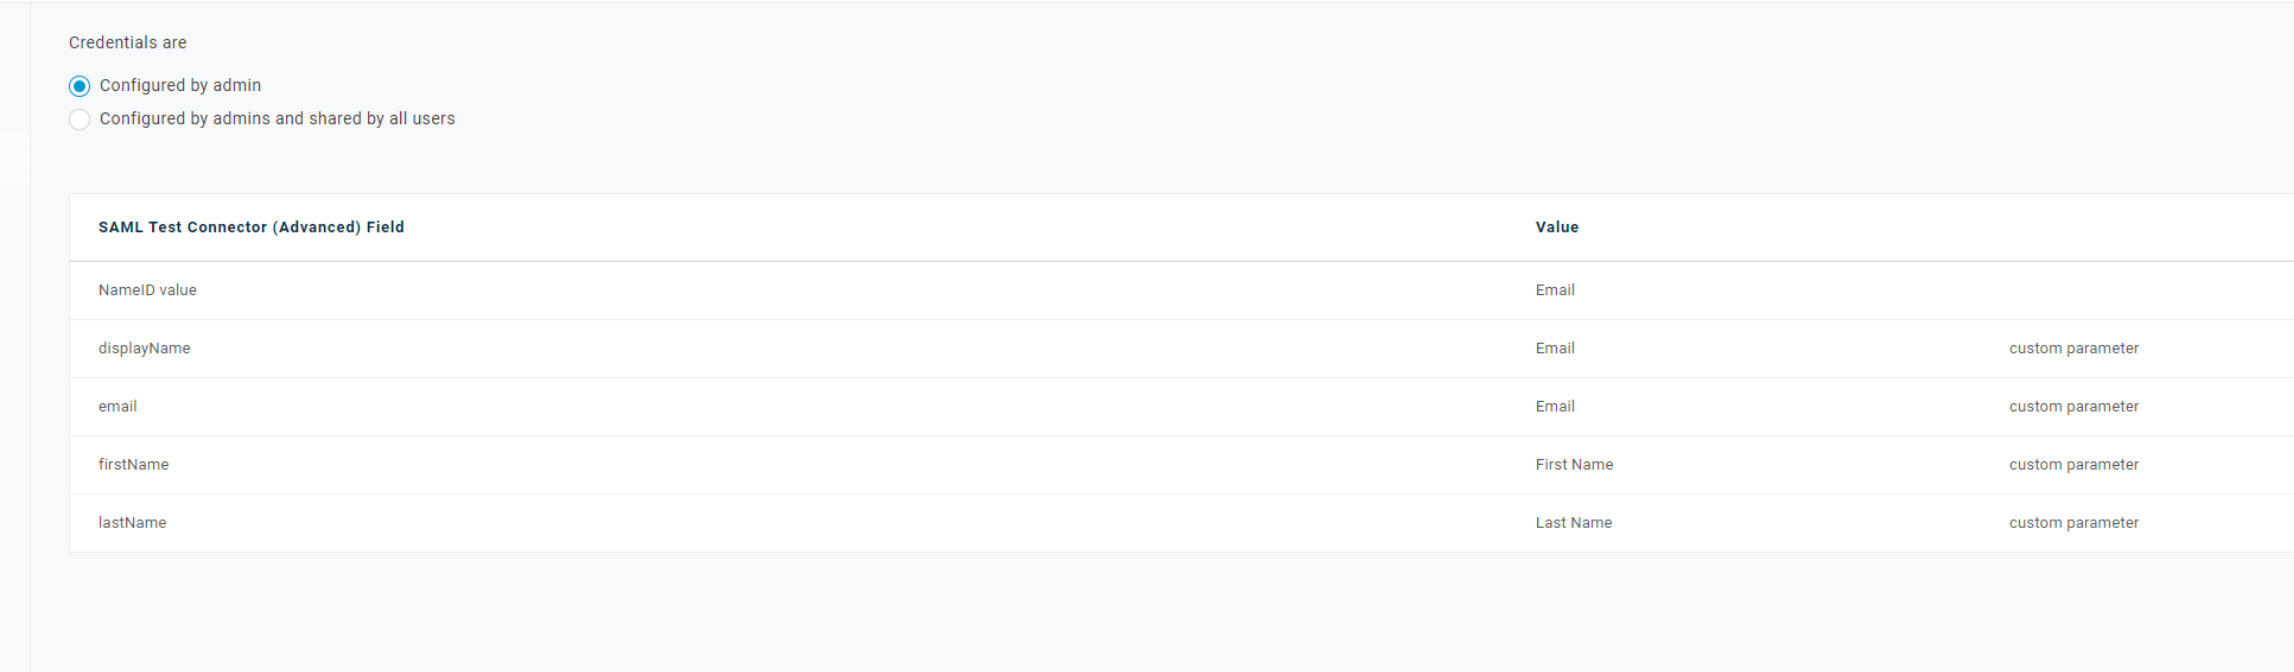
- Click Save Changes.
Re-configure Guardrails Directory
- In AWS SSO for your Guardrails SAML application, copy the AWS SSO sign-in URL, AWS SSO sign-out URL, and * *AWS SSO issuer URL** and paste them in a new file.
- Download the AWS SSO certificate.
- In Guardrails, paste the AWS SSO sign-in URL into the Entry Point field and the AWS SSO issuer URL into the Issuer field.
- Copy the AWS SSO Certificate into the Guardrails Directory Certificate field.
- Click Update.
- On the Directories page, be sure to click the up arrow in the new directories' row to activate!
- You can now test your directory by logging in with your new SAML directory. Please note when you first login you will not have any permissions associated with your new profile. Once the associated SAML user profile exists, any existing administrator can assign proper rights.